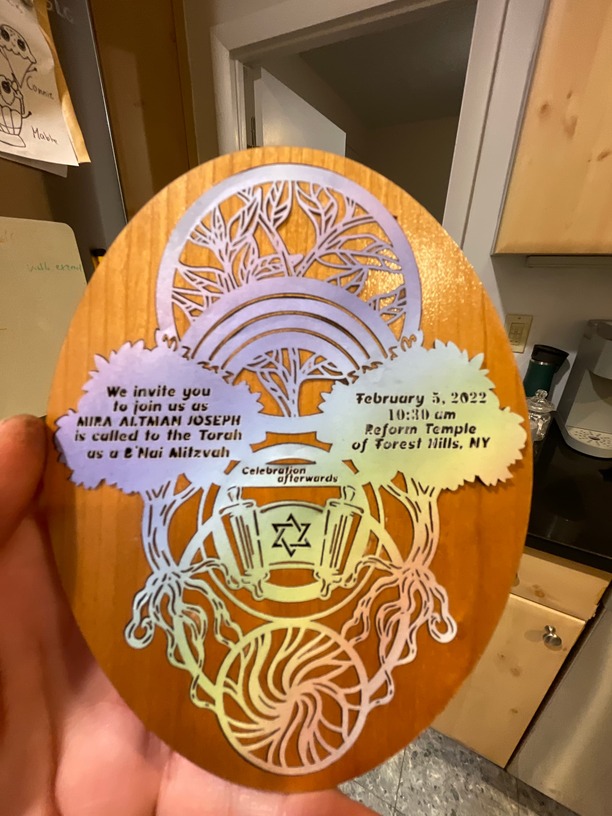
I am making a paper cut out for a party invitation in paper. That is working just fine. I am then cutting in wood the background - the paper sits ON TOP of the wooden background, in an inset so it’s roughly level with the wood.
This summer I tested it out and it looked gorgeous. Now, however, the CUT is not working in the wood. First, I need to cut out the letters - that makes letter-shaped holes in the wood. There are identical holes in the paper. When connected, and held to a light, the letters shine - looks awesome. I also need the cut line around the background outline, to pop it out.
I recorded the settings I used this summer - Cut: 163/Full - and I can’t get it to work. I tried both Medium basewood plywood and Medium Cherry plywood. It just is not cutting all of the way through - maybe 90%. I tried to have the outline to do passes, to see if that helped - that just caused more burning.
I can’t imagine what I am doing wrong. Or is the GF perhaps not working properly. Any ideas?
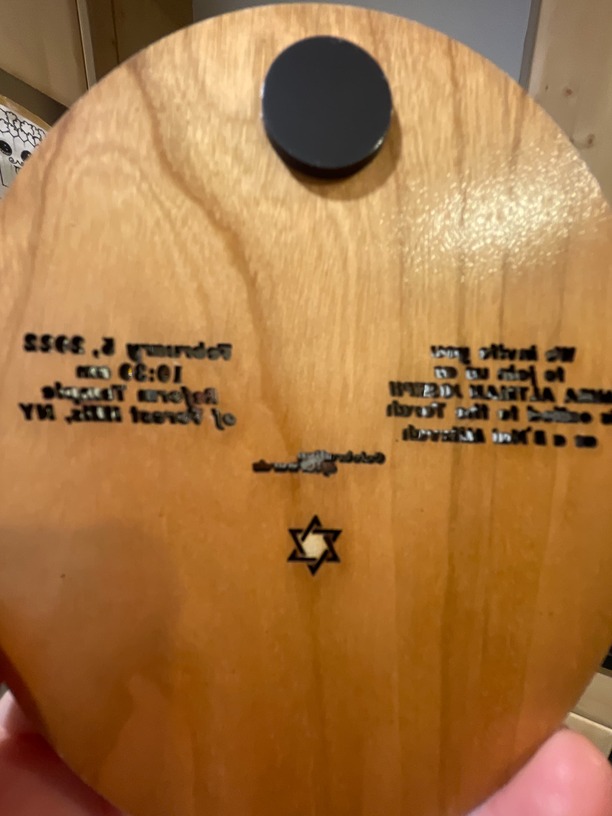
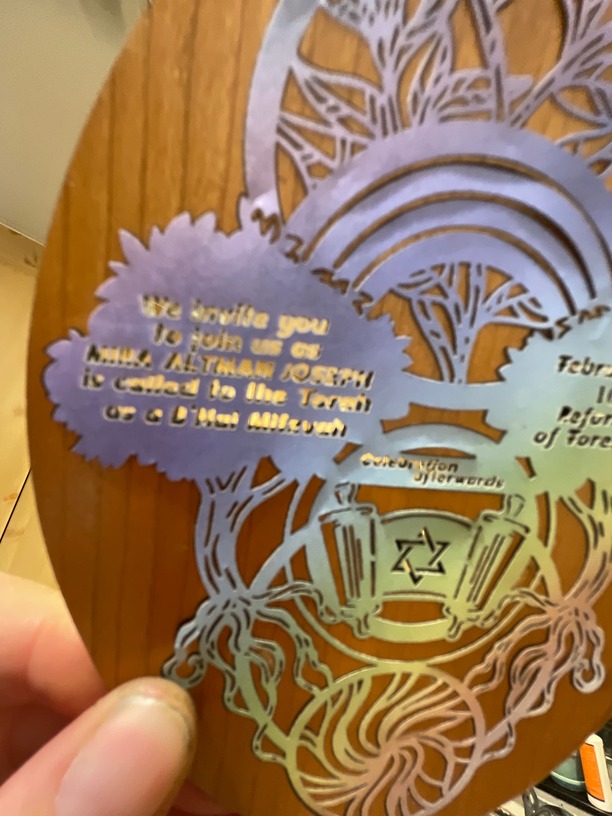
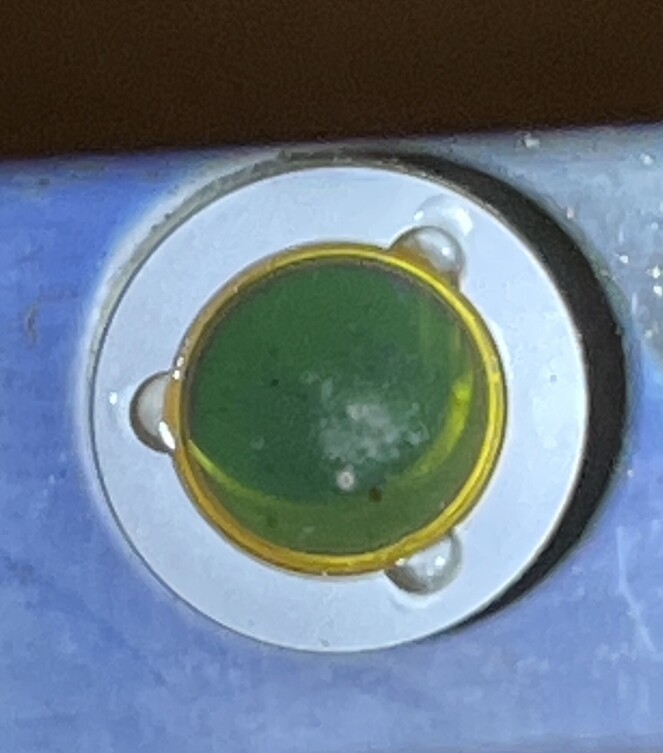
Here are some photos of what it looks like when it is working properly:
If it is close to cutting through, and all of your optics and fans are clean, try slowing the speed slightly - maybe 160 or 155. You can experiment with the “failed” one until you have a speed that cuts through without burning like 2 passes does.
I printed on two different woods, changed from 163 to 125 and 145. None of them cut all the way through (but seriously burned the wood). These very settings recently were cutting all the way through.
I did NOT do the instructions on the Lens or Windows are Dirty or Damaged as I can’t find my lens tool.
Any advice on what I do now? If I can’t cut, I can’t use my GW.
You don’t need a lens tool, but you do need to clean your lens. With the machine off, lift off the printhead top and with a qtip push the lens down and out. Be sure to catch it and don’t let it land on anything hard. Once your lens is clean, you can also clean the windows as that requires no removal tool.Dirty optics results in poor cuts.
Also there is a window on the far left wall of the Glowforge that will likely need cleaning. It’s a little hard to reach with your hand. Wipe it clean with an alcohol based lens wipe.
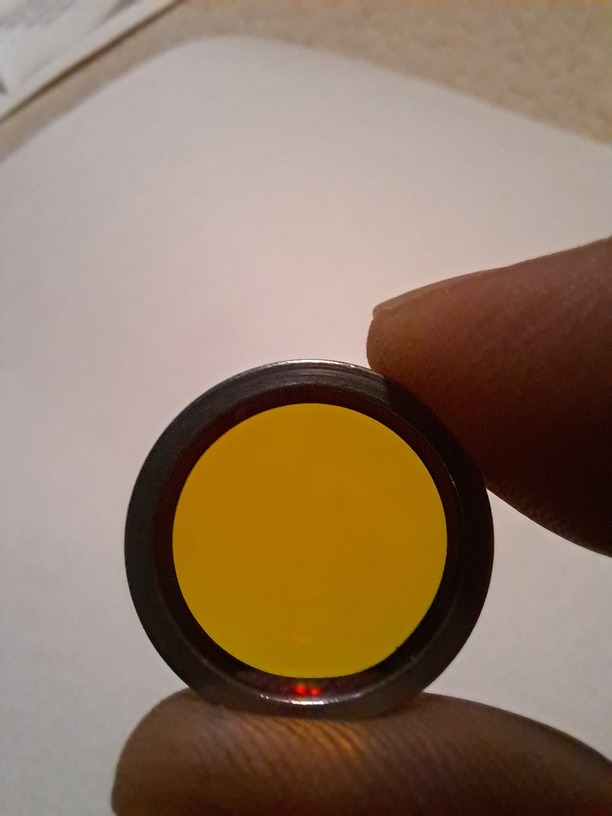
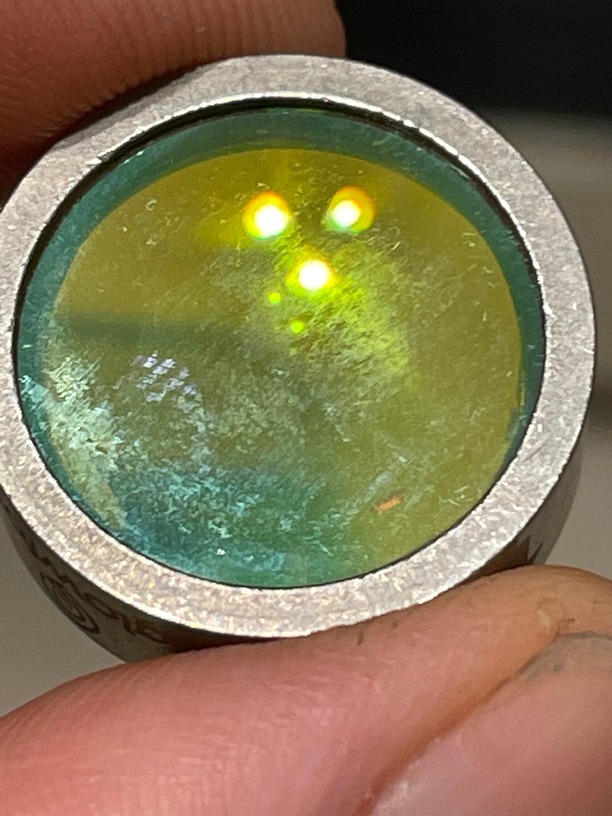
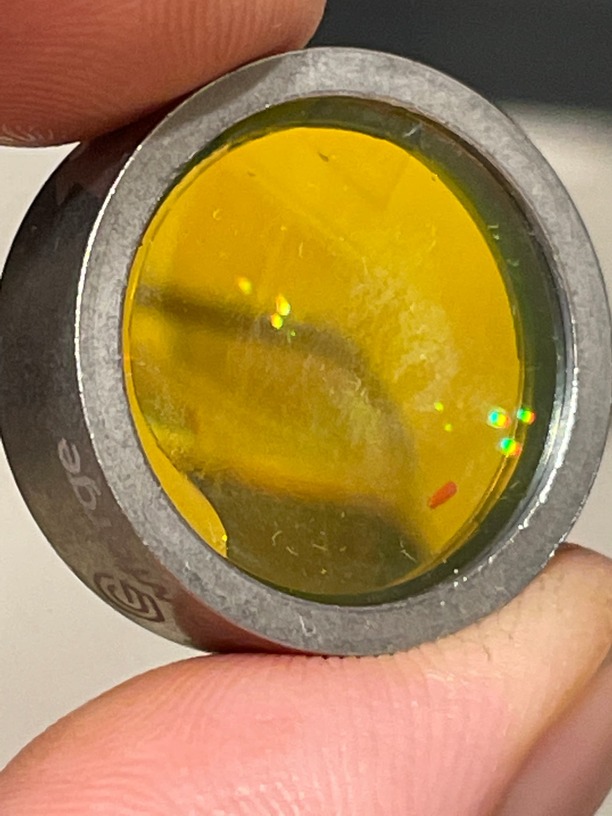
That lens looks terrible. Any contamination on the surface will absorb the energy from the beam. That will damage the optical coating, which will then absorb even more energy, and so on. If that doesn’t wipe off with a zeiss wipe, you need to replace it. It should be perfectly clean and clear, otherwise it will just absorb the laser energy and continue to destroy itself.
The same applies to the two windows and the mirror, they must be kept spotless.
If that doesn’t work, then try soaking it in Isopropyl alcohol for a few minutes and then wiping again. Sometimes it takes a bit of time for the alcohol to soften baked on crud.
That’s the window that the beam comes out to be transmitted to the head (which has a similar window on the left side.) They all need to be optically perfect for the machine to function as-designed.
The beam is ~4-5mm wide until it reaches the lens and is focused down to a point. Debris/damage as shown would significantly reduce the transmitted power, by absorption on those surfaces but also dispersion of the beam due to lack of clarity. Try putting a smudge of vaseline onto your sunglasses.
Two windows, one mirror, one lens. All need to be perfectly clean and clear.
I’m glad that you are able to operate again. I know it can be difficult for many people to look at the lens and laser windows and see all the deposits. Not everyone’s eyes are the same. But if you look at the close up pictures you took there is still an optically significant film and debris on the windows. If that were my glasses I wouldn’t be able to see well. The lens needs to be completely clear (with a yellowish tint). The laser beam will scatter, attract dirt and lead to early failure of the lens. The smoke will be burned into the lens over time. If you can’t better clean that lens you might want to order a replacement lens as a backup. Also the window on the left side of the machine looks even worse. It may have already burned slightly. It needs to be a perfectly clear yellowish window. Clean all windows and the lens frequently to keep this from happening. Be careful when you clean the mirror inside the head using only alcohol wipes since it can be scratched easily.
@bjoseph I am so sorry your Glowforge printer was not cutting through your material. I am so glad to see our amazing community was able to assist you in resolving this. If you ever have any questions or concerns please don’t hesitate to reach out to us.