Not cutting through multiple types of Proofgrade Material

Good morning Glowforge Support!

I have recently been having a problem with not cutting through material using several different sheets of Proofgrade Draftboard, Proofgrade Medium Walnut Plywood, and Proofgrade Medium Maple Plywood. I’m at the point where I have to peel off the backing and use a blade to cut the rest of the way through.

I have tried:

Cleaning lens and optics per the instructions

  • Using honeycomb bed pins
  • Using magnets in the center of the material where the bed pins don’t reach
  • Caliper Measurements

Proofgrade Medium Walnut Plywood

  • Laser Setting: .130
  • Measurement: .131

Proofgrade Medium Maple Plywood

  • Laser Setting: .130
  • Measurement: .135

Proofgrade Medium Draftboard

  • Laser Setting: .125
  • Measurement: .137

I am only using Proofgrade materials with the built in Proofgrade defaults.

Thanks for your attention.

It sometimes helps to list the times, time zone and date of the problem cuts, and post pictures showing the results so that support can review what was going on in your data at the times of the problem cuts.

Okay, I can do that for additional cuts, as the ones I’ve had I’ve already cut apart. However, I can tell you that it happened on all of my cuts that I did last night.

Time Range US/Pacific: Between 6PM and 9PM on 3/20/2018

I will be doing additional cuts tonight and will take pictures and record exact times.

I’m just now having the same problem. I had to hit Proofgrade Maple Plywood twice, just to get through it.

I’ve also been having the same problem. I first noticed it over a month ago but I had chalked it up to the lens being dirty. I had done a fair amount of cutting over the holidays and into January and hadn’t cleaned it yet. For the couple of things I needed to do I just manually slowed it down to let it get through and then had to take a break. I finally got time to get back to experimenting last week and did a full cleaning as per the instructions. A couple of days later I did a cut job and it failed again to get through some proofgrade draftboard.

In my case, it’s mostly getting through the wood but sometimes there is just a bit of material left at the bottom. Sometimes it makes it through the wood but not the masking on the bottom.

Okay, did a few quick squares. Honestly, one of the best cuts I’ve seen in the last 2 weeks, but still not making it all the way through. None of the pieces broke this time, so that is good news :slight_smile:

Timeline (US/Pacific)
5:23 PM - Power on Glowforge and launch http://app.glowforge.com
5:27PM - Loaded simple file with 4 small 1 inch boxes (box-test.svg)
5:28PM - Loaded Proofgrade Medium Draftboard into Glowforge
5:31PM - Hit print, and subsequently cancelled so I could get a screenshot of the settings
5:32PM - Hit Print again
5:33PM - Pushed glowing button on Glowforge
5:34PM - Complete

What follows is several pictures of the app, the Glowforge, the finished cut both sides, details of the individual cuts, as well as noticing the “after” pictures on the App that shows that cut alignment doesn’t match up so well either.

Please hold…uploading photos in better order with descriptions…

Screenshot of APP showing it is a proofgrade cut.
box-test-ss

Proofgrade material in place with hex pins and magnets (Yep, mickey mouse duct tape heheh)
20180321_172946

After the cut, lid still closed, can see 4 cut squares distributed.

Backside of the material. Can barely even see the 4th squar to the right above the circle cutout. Lower middle one also evident it didn’t cut through.
20180321_173612

Several photos that are just closeup shots before and after removing tape to see that cuts hinged or had to be forcibly popped out. No material ripped or broke this time, but most times it does. If you want pictures of plywood chipped or broken draftboard let me know.


Some additional photos showing camera shot after cuts were completed. Can see that where it said it was going to cut, and where it indeed did cut, didn’t always match up so well.


1 Like

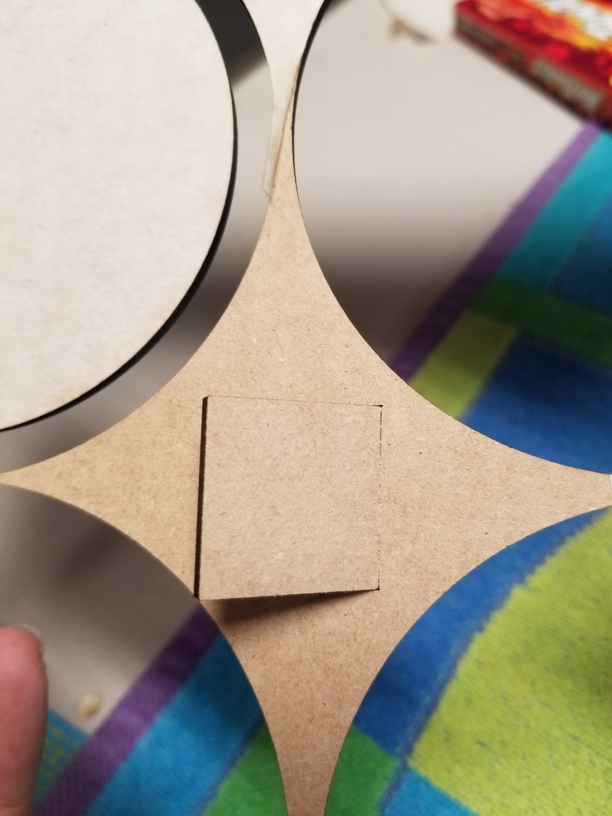
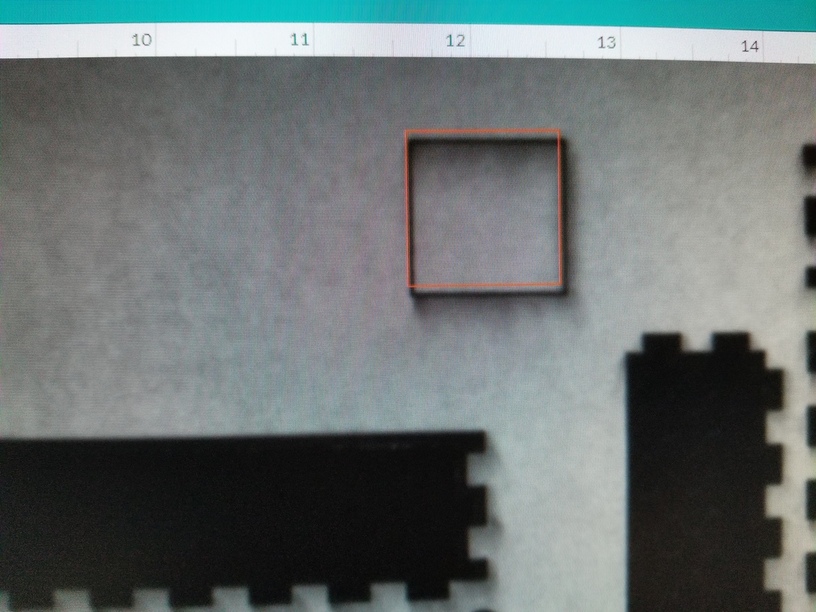
Holy cow! Your alignment is well within spec right now - one of the better cases I’ve seen. (Lucky you!)

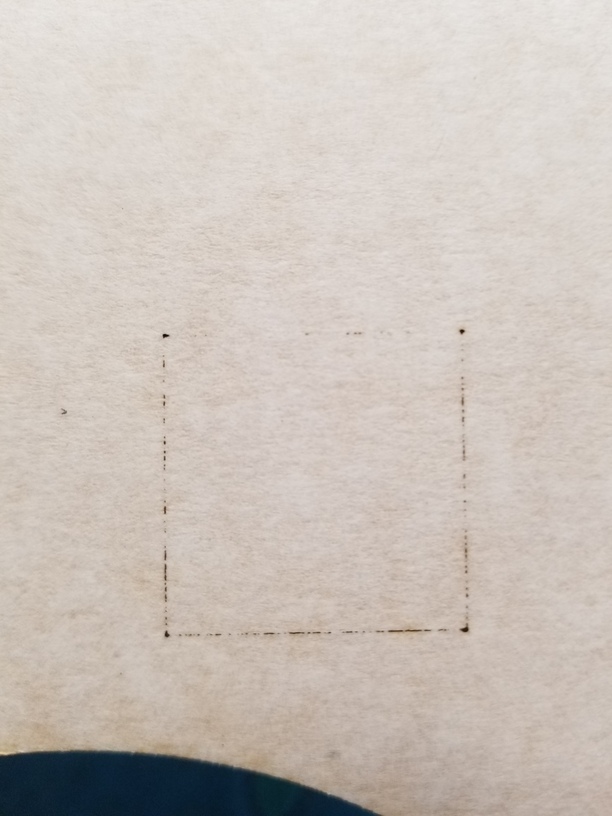
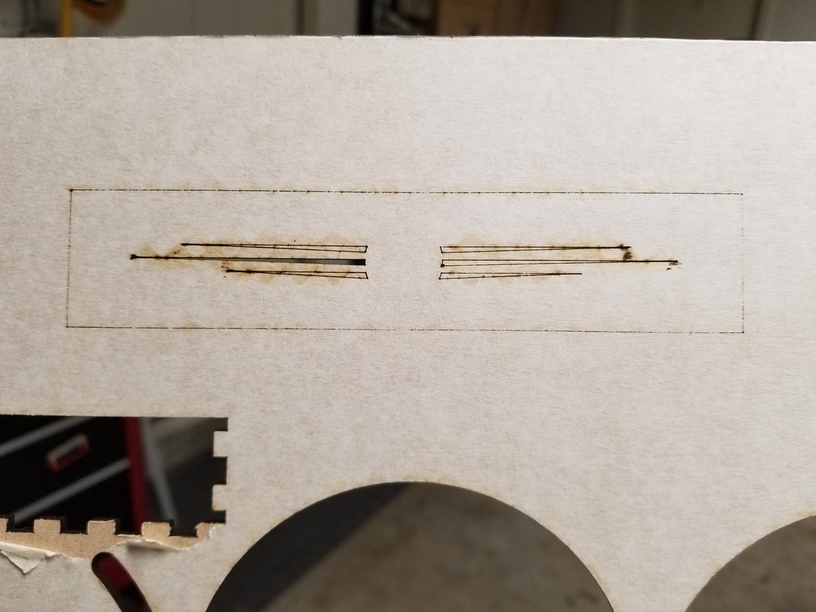
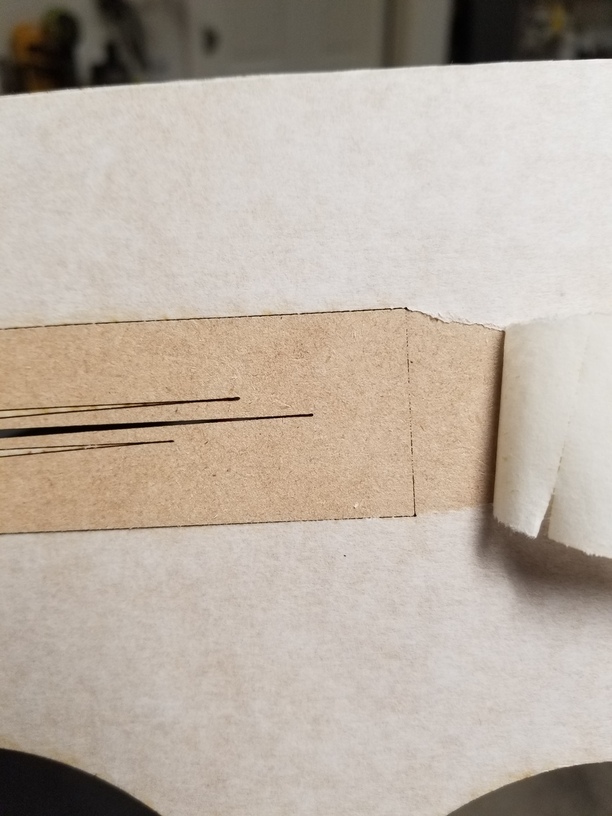
As far as it not cutting through, that seems to be pretty close, but not quite complete, so likely not a machine problem. And they will probably suggest that you make sure the material is flat and lenses are cleaned.

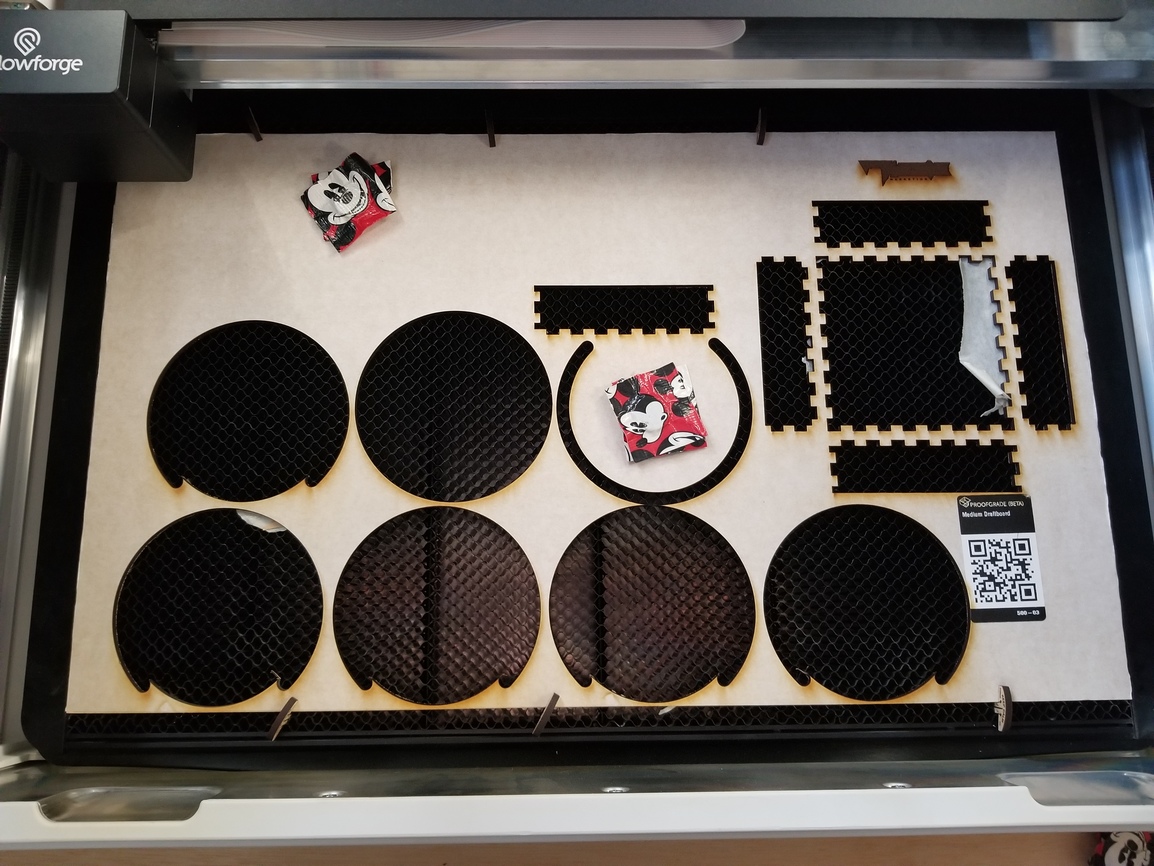
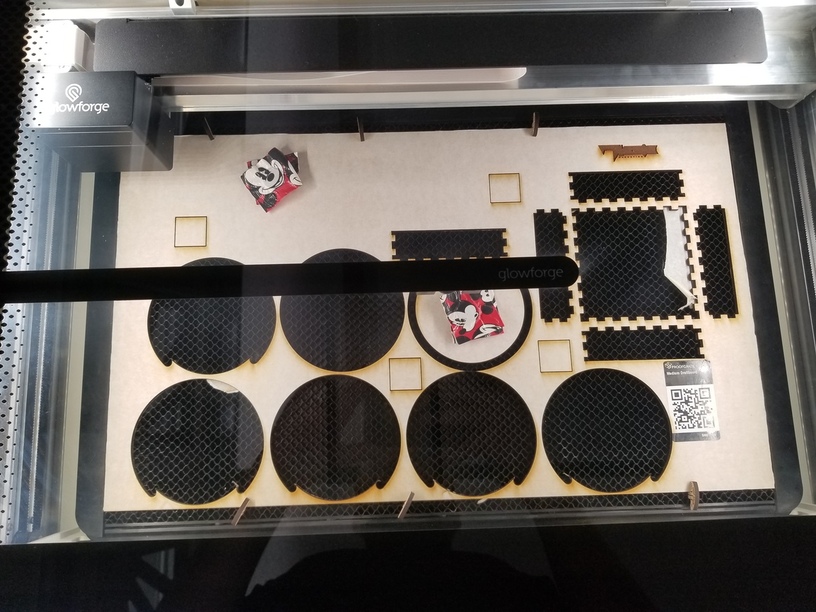
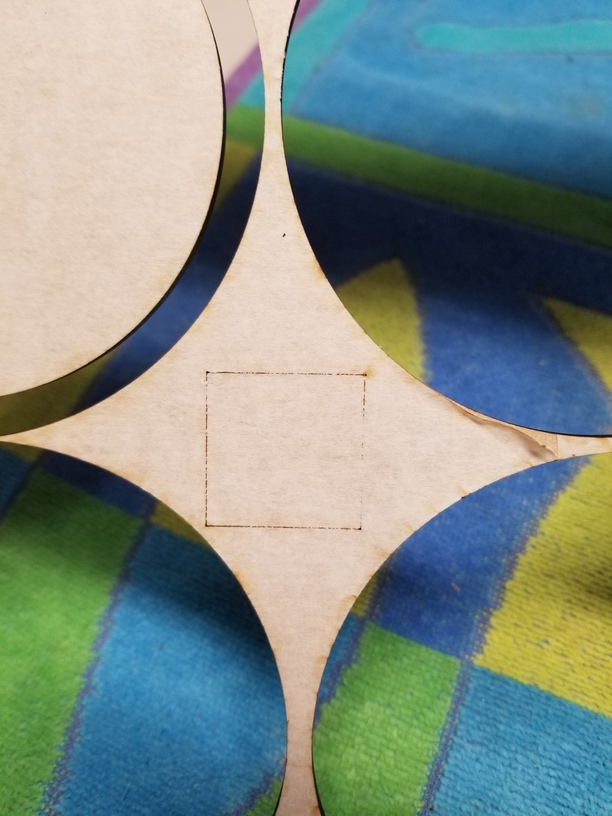
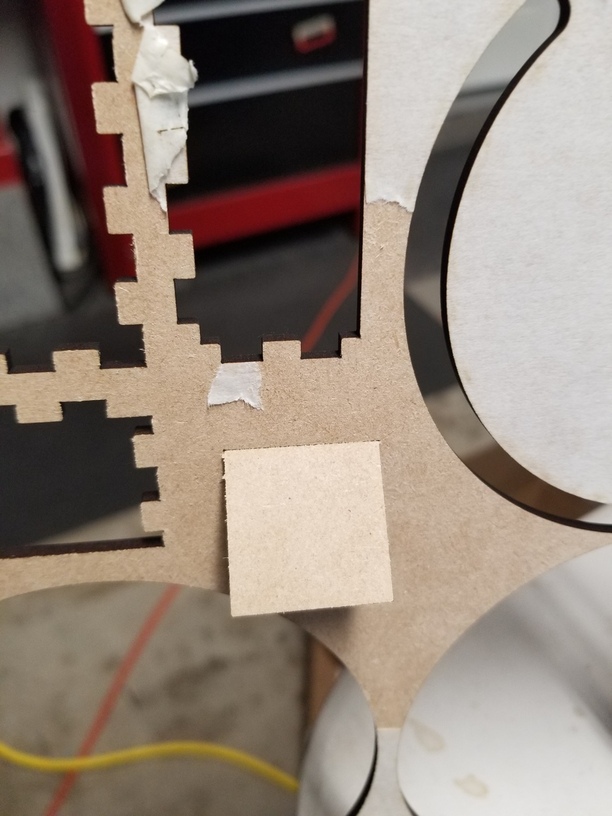
I’m going to add that when you have a piece of material that you are cutting from, and it has a lot of area cut away like that one does, you will want to use those little honeycomb pins inside the cutout circle areas as well, because partially cut out sheets will warp and twist in a very short period of time. They can also bow a little, not much, but a mm or two can make a difference in how this thing cuts. They are fairly conservative with the default settings, but it only takes a pin or two to flatten it out in the center as well.

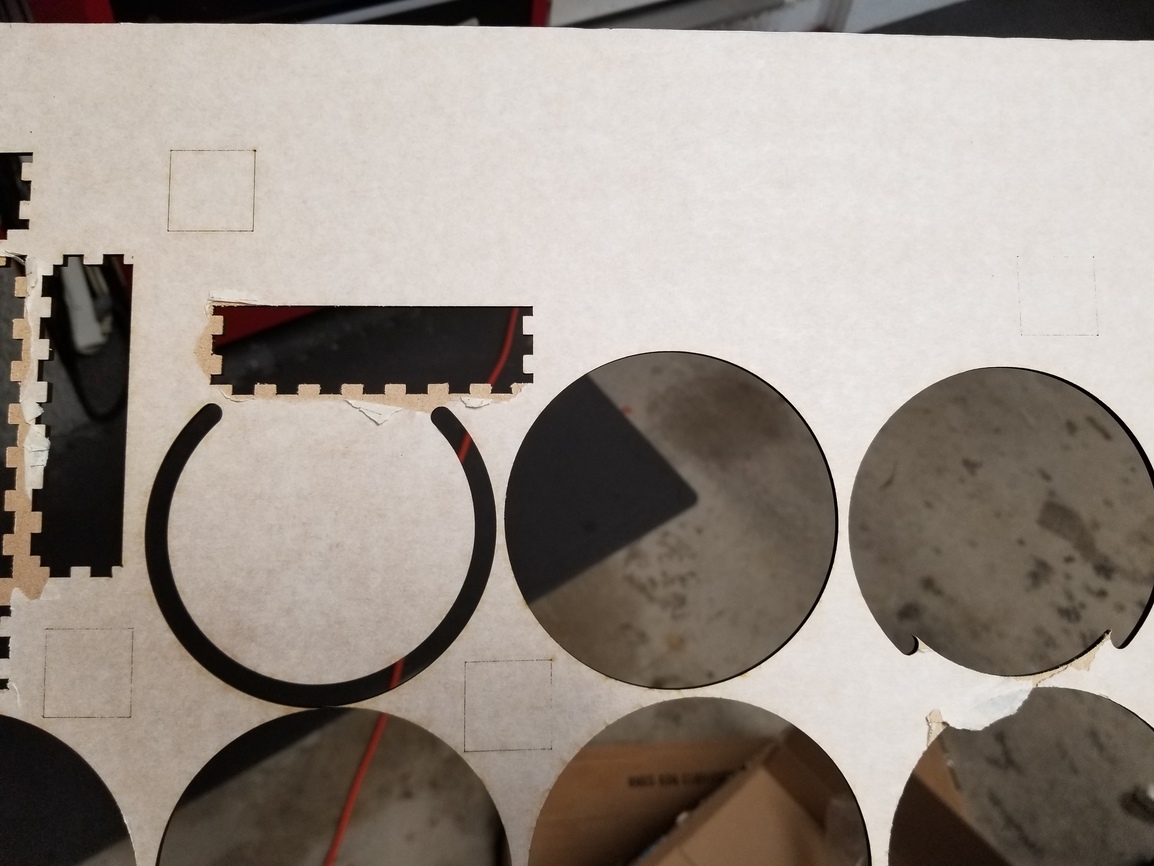
Looks like some of the earlier cuts didn’t cut clean either though, and it is possible to get hold of a sheet or two from a batch that has slightly thicker than normal finish. (It’s also possible to get sheets from a different batch where the finish is a little thin. Of the two, the thicker finish is much more desirable, even if you might have to make a second pass to cut all the way through it.)

They’re working on improving the consistency of the finish between batches, but it’s a manufactured product, there are going to be slight variances sometimes.

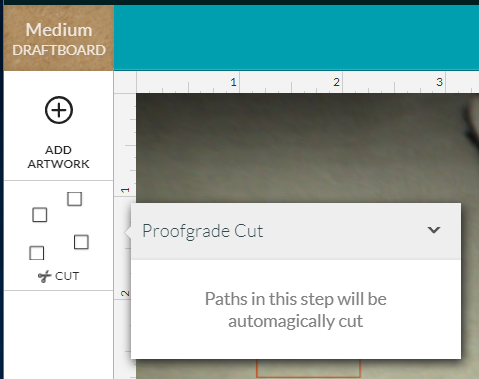
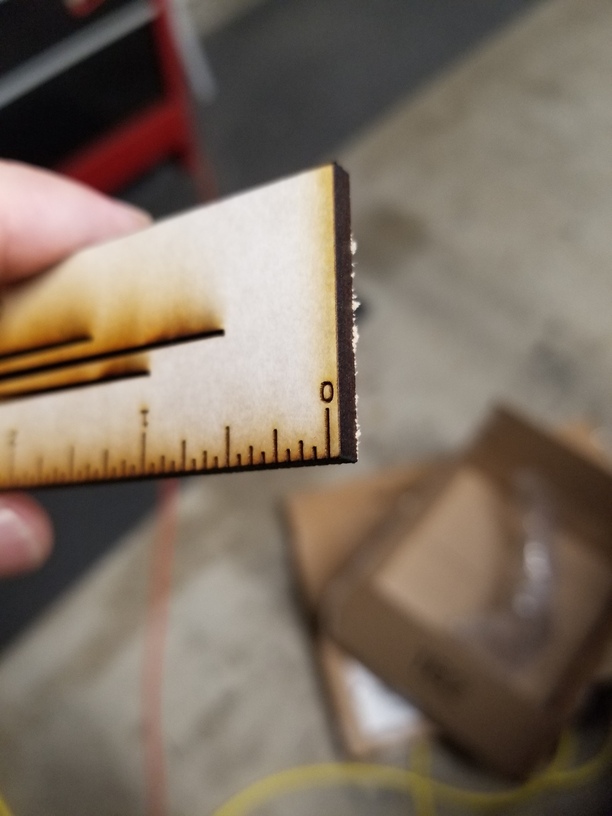
There are a couple of things you can do to deal with it. The first thing is to get into the habit of checking to see if the cuts are complete before you move the backing material. A thin pick like this one lives in a holder next to the machine - I can easily poke the cut to see if it went all the way through. If it didn’t quite make it, just send the cut portion of the job again, without moving the background material, and it will finish the cut with a much nicer edge. You can also use a piece of tape to try to lift the cut out.

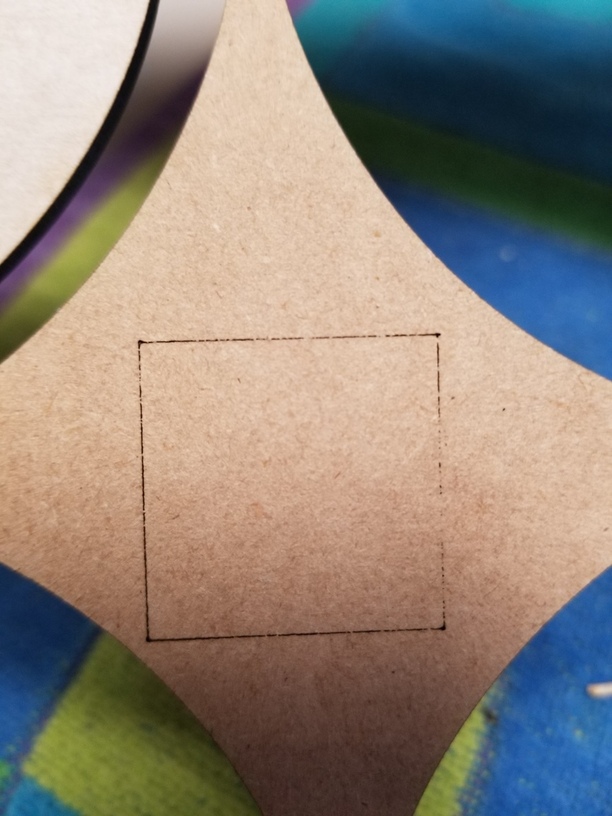
If you get a sheet that you have trouble cutting through, write yourself a note on the masking. The next time you cut from that sheet, slow the cut speed down about 5-10 points, and it will generally finish the cut in one pass.

Anyway, hope those tips help. You might have just gotten some thicker finish on a batch.

4 Likes

It does this, and usually worse, on 3-4 different materials from different batches. I’ve had to toss a few pieces because the plywood layer broke off while trying to remove it.

(As my cat lays on the keyboard and submits my response before I’m ready)

Anyway… heheh… I guess I’m fine with consistently removing 5-10 off the cut speed, but it still seems to me like this should just work. It used to cut just fine, and now all 3 materials I use require extra care and feeding to get them to cut out. Just a bit frustrating.

As I work on other projects I’ll post pictures and measurements to see if anything other than going in and editing settings every time will solve my issue.

As far as the hex pins, yes i have put them in the middle of the material hoping it would hold it down better and keep this from happening, but it had no effect. Just forgot to do it this time.

Alignment - If that alignment is considered really good, that is kinda scary. I’d like to think if I place an image using the camera’s view, that that is where it would go. This means I can’t engrave pre-cut items because I don’t know where it will end up. That greatly reduces the usefulness of the product.

Which lenses and optics have you cleaned?

Heheheheh! I’ve got a kitten that does that too. I usually just go ahead and submit her responses, they’re probably just about as useful as mine. :smile:

1 Like

@halclay & @stevan.hird We try to keep to one topic per post in the Problems and Support section. Can you create a new post with this question?

@impatience I’m sorry you’re having trouble with your prints. Thank you for providing that information.

Were the measurements you’ve provided taken with the protective layers on both sides of the material?

Yes, measurements taken with protective layers on.

Since I don’t know what they are all called, here are photos of everything I found that I could clean :slight_smile:

Lol I like the pictures :slight_smile:

For the last picture, the lens in the head, did you use the lens removal tool and actually take it out and clean it? I’m guessing it’s not put in backwards because you are so close to punching through.

The only other piece is a hidden mirror in the head under the removable lid. I don’t know how often Support recommends cleaning that, but I’ve had to do it a couple of times.

2 Likes

Yep, I used the tool following the visual instructions, cleaned both sides, and then carefully put it back in (using the tool).

Goes back to the machine wondering where this other mysterious hidden mirror might be lurking.

Found it! Looks VERY clean to me. I have one wipe left, (just ordered a box of them that will get here Friday or Saturday), so going to do another pass over all of them and then do a test print again.

Pop off the top of the print head (the one with the GF logo on it). It’s only held on by magnets. There’s a blue plastic protrusion that you pull up and there’s the angled mirror that bends the laser into the lens. Put it back the way you found it after cleaning.

1 Like

Okay, all but one side did much better this time. Running out of time to do tests tonight, but will do some of my other designs that seemed to have issues and post those. Here are pictures from this run.

Didn’t make it through the paper, used fingernail to release enough of it to get to an edge to peel paper for the rest of the view. Only one edge appeared to not cut through material. Minor compared to previous experiences. Probably one of the best cuts I’ve had in a while. Now it’s just trying to make me look bad.


I’m so sorry it took us so long to reply, @impatience. Thanks for getting back to us, and for taking the time to run those tests.

Unfortunately, it looks like your unit is experiencing an issue that we can’t resolve remotely. I want you to have a reliable unit, so I’m recommending we replace this one. I’ll be in touch via email to sort out the details. I’m so sorry about the bad news.