Is anyone else having an issue with the camera not seeing the full sheet of PG material?
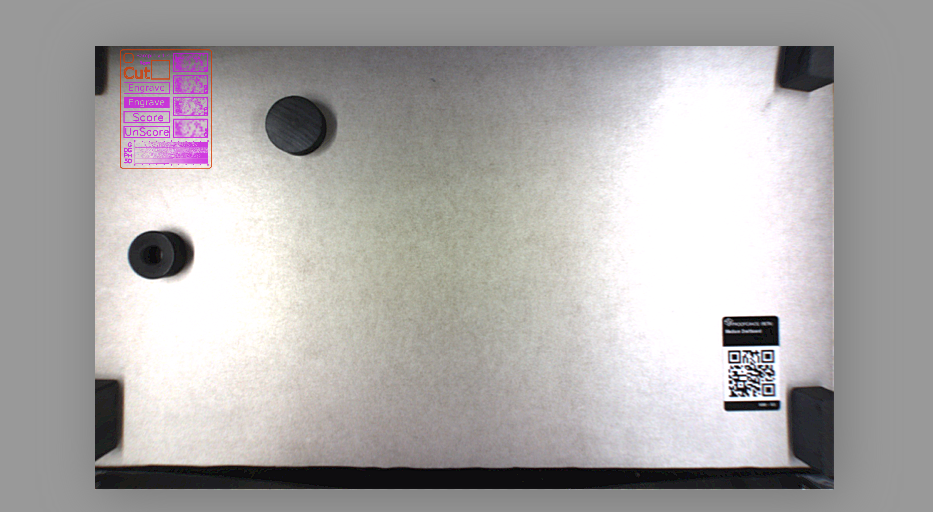
When I put in a full sheet and have it all the way down, towards the tray door, I seem to lose about 5/8" on the top and 1 1/4" on both right and left sides. Is this a known problem? Is there anyway of fixing this other then cutting it in half outside of the GF? Here is a picture of what I see on my Mac. If I move the piece over it falls into the gray area and says “no artwork”. I know there is still room tho. The black thing in the upper left corner is a magnet holding down that corner, not the edge of the GF
1 Like
My camera does not see the full sheet of material. It does display the full printable area.
4 Likes
So is that then saying that the edges of a full sheet will always be waisted, unless the full sheet is cut smaller?
2 Likes
Yes or move the sheet so you can see one corner.
2 Likes
The printable area varies depending on what you’re doing (engrave vs cut, perhaps speed settings). So far I always end up wasting the edges of the material on the main cuts (i.e. biggest things) and then I slide the board around to use the edges on smaller pieces. It seems inefficient.
Eventually I hope that the GF team figures out how to engrave while acellerating/decellerating, which should let engraving go out to the edge of area that the head can move to, which will eliminate most of the margins. That’s more complex than when the head is moving at constant speed, of course, but “math is your friend”.
2 Likes
They should be able to get 1/2" back when / if they fix the +/- 1/4" camera error. Because they don’t home accurately they can’t go near the physical end stops because they risk hitting them.
3 Likes
I’ve been pretty successful at cutting right to the edge (sometimes too close). There’s plenty of room to shift a full sheet of plywood right and left to show either edge. More than enough room up and down too. For bigger jobs where I cost a whole sheet I start in the middle.
1 Like
Good point - you can’t cover the entire 20x12 sheet in one job, but you can choose to put the printable area in the middle or along an edge. The vertical positioning via the lid camera is pretty accurate, so I’ve been running jobs along the bottom edge of the sheets, leaving a wider strip of unused material along the top, which I can use for smaller objects. I’ve got a Pro, so I rotate the board 90 degrees to use the ends, with the end right under the camera so positioning is better.
3 Likes
Thanks for reaching out.
The Glowforge Basic bed can accommodate materials measuring 18” x 20”. The maximum printable area is 11 x 19.5”, and it’s reduced somewhat when the laser operates at high speed, as it can take space for the laser to decelerate. We’re working on software improvements that will increase the printable area.
If you have any other questions, please post a new topic or email us at support@glowforge.com
3 Likes