Any idea why I would be getting an error that says, “Design needs snapmarks. Your design does not have the necessary Snapmarks necessary to use this feature.”
Yep! It either can’t see the marks (spaced too far apart or out of the view of the lid camera) or they are not the right size or spacing, or they are a different spacing than what is printed, or any one of half a dozen other things. ![]()
I’ve put together a few notes of things to check for here:
1 Like
So is the problem in my digital design or in the previously scored snapmark on the cardboard?
could be either but if you have done things mostly right it is usually in the cardboard.
1 Like
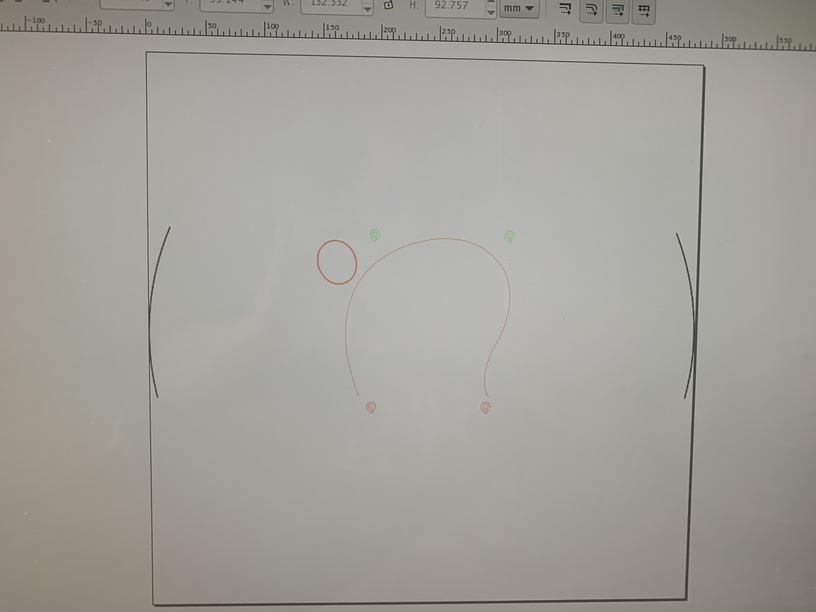
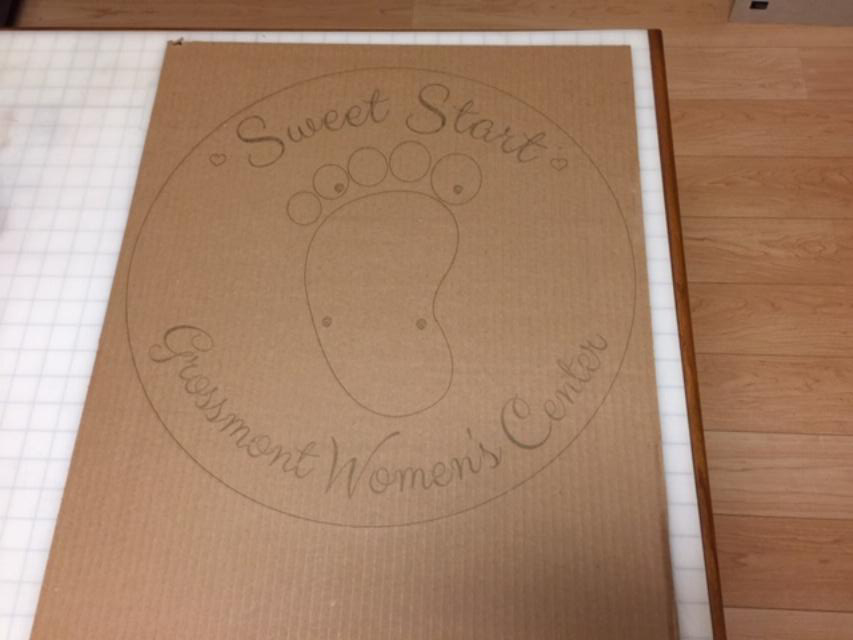
Ok. The weird thing is it is doing the first 2 cuts fine but is giving me problems on the third (and last image) with snapmarks. It is a 19” circle with design that I cut I to three sections.
19 inches with the snapmarks outside? Probably too wide for it to read the marks.
2 Likes
I think the recommendation was 16” max spread?
2 Likes
You can get up to 17" wide, but placement becomes critical. (And that is the absolute limit.)
2 Likes
Thanks. I had put the snapmarks in a cutout and they are about 3 and a half inches apart. Still same darn response.
I’m not sure I can picture that…you might want to post a screen capture so we can see what’s going on.
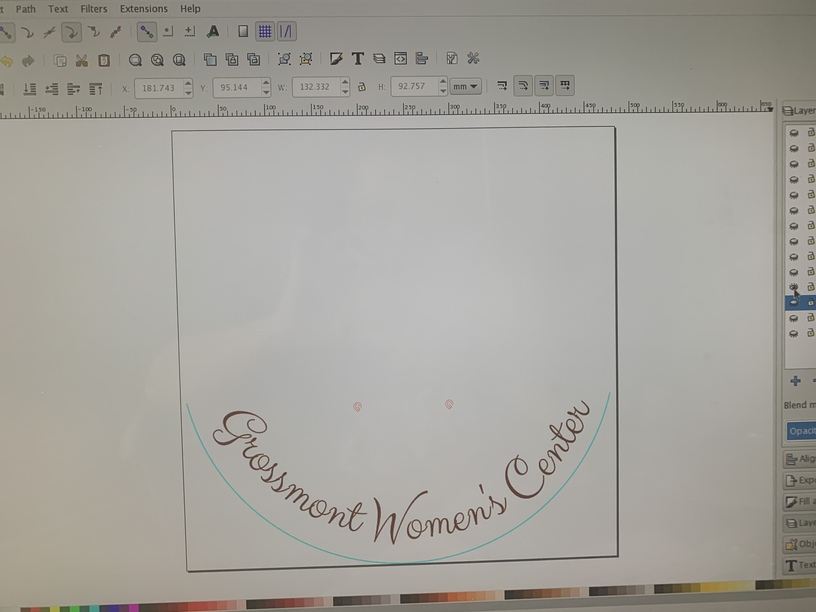
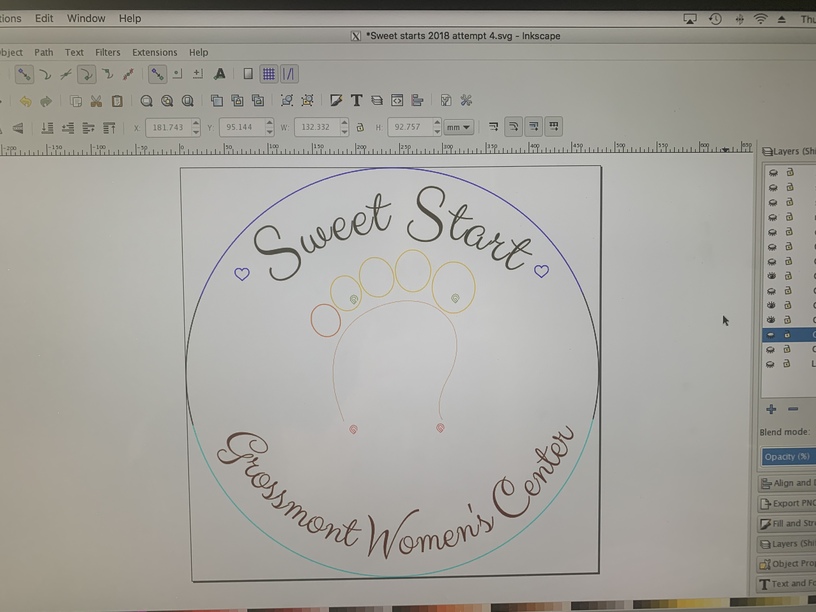
The large circle is a 19” circle. The foot is being scored and going to have a foot cutout glued on top so I was putting the snapmarks there. For some reason the top snapmarks work and the bottom ones don’t. I read your article from begin to end and thank you for the guidelines. I feel like I’m following them and after three days and many hours I’m obviously missing something. I will gladly take any suggestions. I’m use Inkscape. The hospital charity event is on April 1st. My last case scenario will be to make half circle puzzle pieces to put together if I can’t get the pass through and snapmarks to work.
1 Like
Okay so you’re trying for a 3 part Passthrough file? And you’ve set up three files? (Does the bottom part of the foot not cut out?)
If you want to zip the files and load them up here I can run a test or two on them.
Sweet starts 2018 oversized.zip (302.0 KB)
The bottom part of the foot does score. I removed it for a test wondering if it somehow caused the error being near the snapmark. Still no success. I just relized I have not saved it as a plain svg. So that will be my next attempt.
Okay, I got it…I’ll run a few tests to see if it works on my machine, but that will take a while, so you can go prep dinner in the interim. 
Well there’s definitely something going on in the file…I keep getting an Unexpected Error message when I try to load any of the parts.
Maybe saving as a plain SVG will help.
At least I now know the issue is in the file and not my machine.
Yeah, and it’s in that bottom section…like you suspected.
Can’t tell you what it is though - the original file had two sets of snapmarks on top of each other. Since the snapmarks have to be identical in each subsequent set of files, I deleted one set in the original file, and then recopied the correct snapmarks into new files. I still can’t seem to get the Snapmarks to read on that bottom section.
They might be too close together, or slightly rotated, although they seem perfectly vertical to me.
You might want to re-import another set of snapmarks and try a fresh file.
One thing that you will have to do though - make sure with a 19 inch file that you center your first section at the point between 9 6/8 and 9 7/8 inches on the GFUI, and that the material is up against the right side of the tray. Otherwise, the center section will fall into the gray zone on the second cut. Very very tight tolerances for this one.
Thank you. Maybe I’ll go with an 18 inch circle.
Yeah if the 19 inches isn’t a requirement, you might have better luck. 
Okay, got it! (Finally)
And I had to do the strangest things to get that bottom set of marks to read!
- First, make sure when you run these that you center the first file in the GFUI exactly like I told you above. (At exactly 9.75")
- You might need to cut the material down width wise to 20" wide. I’ll tell you why below.
- The first two cuts/engraves have to be performed with the material pressed up against the right side of the tray.
- But when you process the third file, the search can’t see the snapmarks unless you shift the material over about 3/4 of an inch to the left. Don’t ask me why this happens, but it can’t see the marks with the material pressed against the right side of the tray. I tried about 20 times. It wouldn’t snap until i moved it over.
I reloaded the bottom set of snapmarks with a set that i knew was correctly sized for Inkscape.
Anyway, you can try the files yourself using the files below. (And if you decide to reduce the size to 18", you’ll have a little more leeway to get the marks to read i think.)
try try again.zip (35.8 KB)
3 Likes