I’ve gone through every calibration test, every setup and reset test, and this thing just wont work - what’s up?
If you’ve tried everything, I would contact support and have them run a diagnostic on your machine. They have access to all the behind the scenes stuff and can usually diagnose the issue… just takes a couple days sometimes to get back to you.
1 Like
Maximum material thickness is 1/2", and that is a struggle to cut thru. I’ve never seen a banana that thin but look forward to seeing your results.
If you want actual help from the community or support (you’ve opened a ticket by posting here), you might want to share what problems you’re having.
3 Likes
thanks - ill hit support for diagnostics
1 Like
Welcome to the forum.
Can you share a screenshot of failed prints along with your settings?
1 Like
The Glowforge is not meant for cutting fruit, might as well be a piece if aluminum foil. 
3 Likes
I am fairly confident you could cut through a banana with a Glowforge. This stick of butter wasn’t under 1/2" thick and that cut fine.
2 Likes
FYI, opening a ticket here does contact support - so by emailing you’re opening a duplicate. In the future if you want community input just post here, and if you want it to stay private just send an email. Don’t do both ![]()
Fingers crossed they can help you out.
3 Likes
Hello, @terry1 I am sorry to hear about the cut-through issues you are running into. I will do my best to get this resolved for you. The best way for me to narrow down the issue is to establish a baseline with a test print.
There are several things that need to be checked if the laser doesn’t cleanly cut through the material. We’ve discovered that photos don’t always come through well in emails, so I’ve included several links that will take you to reference instructions and photos. Please turn off your Glowforge and check the following:
The crumb tray is clean and properly installed
The material is perfectly flat on the crumb tray
All optical components are clean and undamaged
Once all these things have been checked, please perform the following test print.
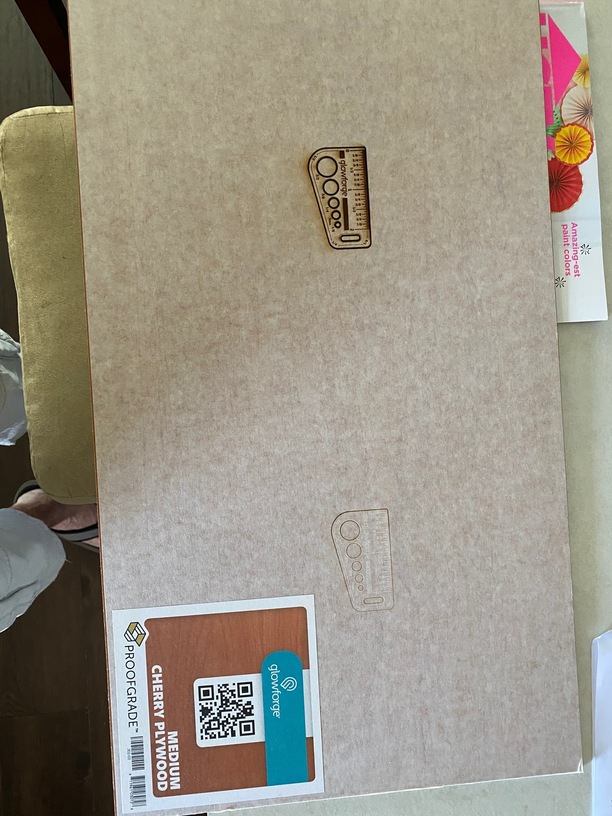
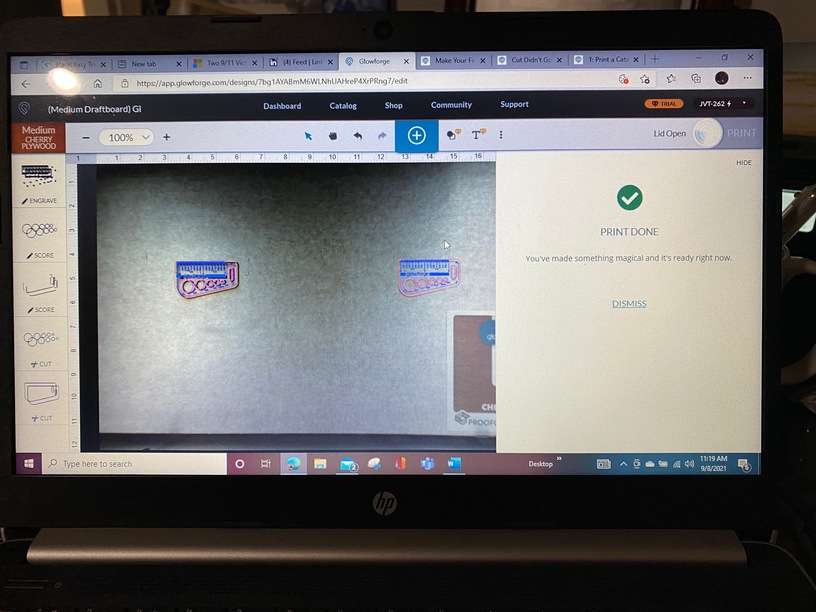
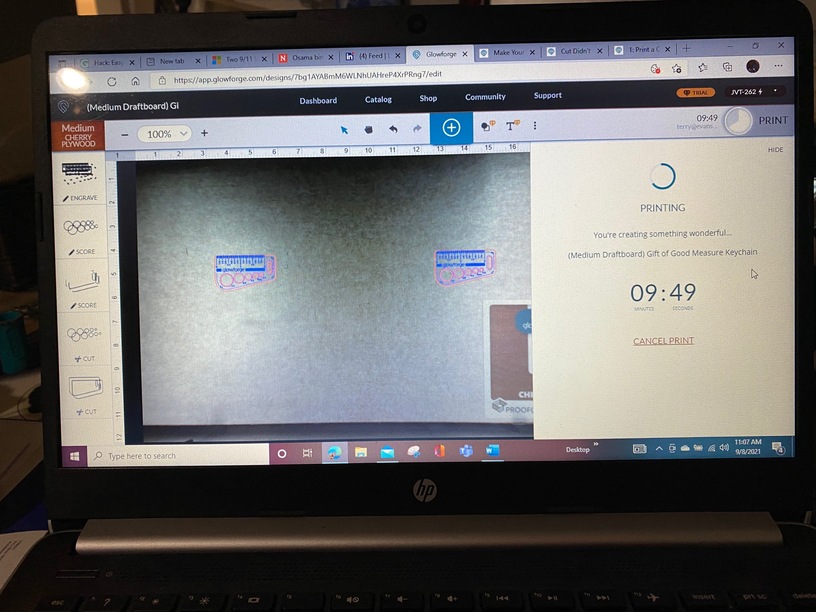
Print the Gift of Good Measure on Proofgrade material, using Proofgrade settings. Please place one design on the left side of the bed and copy and paste the same design on the right side of the bed.
When the print finishes, leave the lid closed and wait until the fans stop and the picture updates.
Check the completed print:
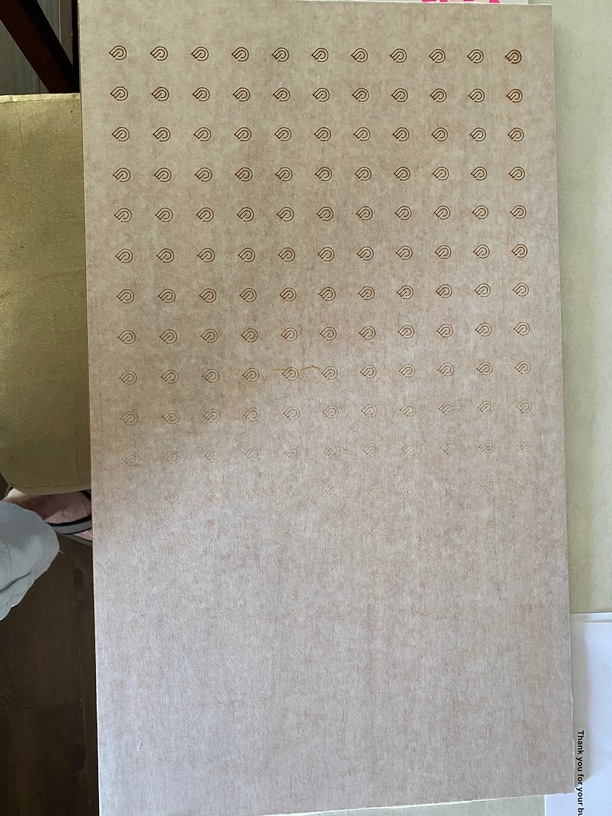
If the Gift of Good Measure fails to cut through, take a photo of the front and back of the print and attach these photos to your reply.
If the Gift of Good Measure cuts successfully, please try another print of the design you experienced the issue with, and let us know the results.
Once you reply back with those photos I will be more than happy to help with the next steps. Thank you!
I will Start first thing in the morning- thank you
Terry Evans
817-798-5509
Hey, @terry1 Thanks for letting me know. Take all the time you need for running the test. We’ll be happy to pick up from where we left off.
FYI, this forum is open to the public, so you probably want to remove your phone number or it can get scraped by scammers.
Break out your box and orange bits to ship it back.
Still would love to see pics of your attempt on a banana, before this thread is closed…
Hello, @terry1 I appreciate you taking the time to run those troubleshooting steps for me. I would like to check over just a few more things. Could you do the following for me?
Please send photos of all your cleaned optical components, with special attention to any damage you might find:
Both windows
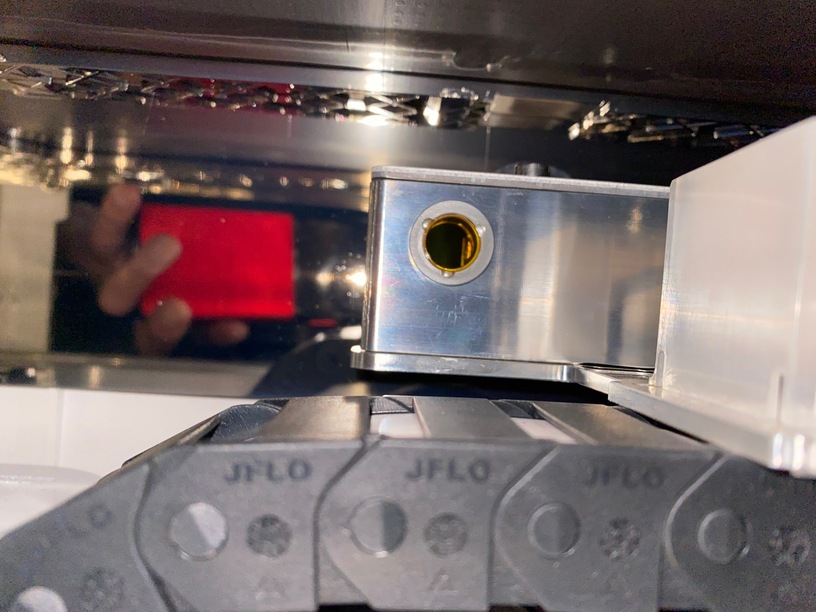
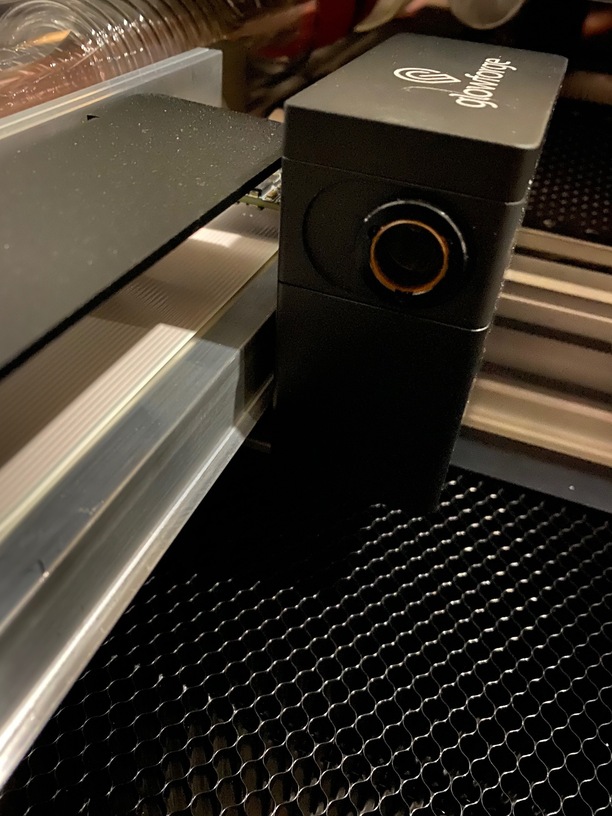
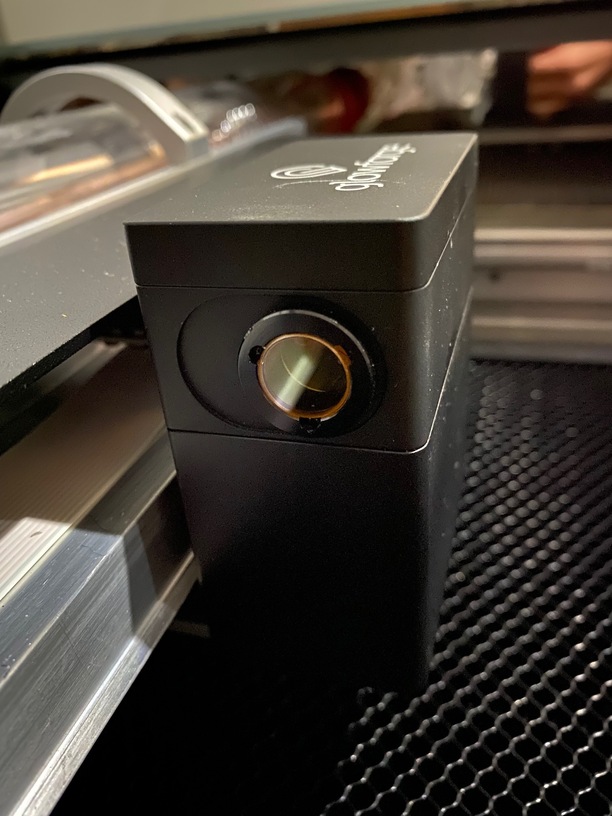
The printer head window, on the left hand side of the printer head

The laser window on the inside left of the Glowforge

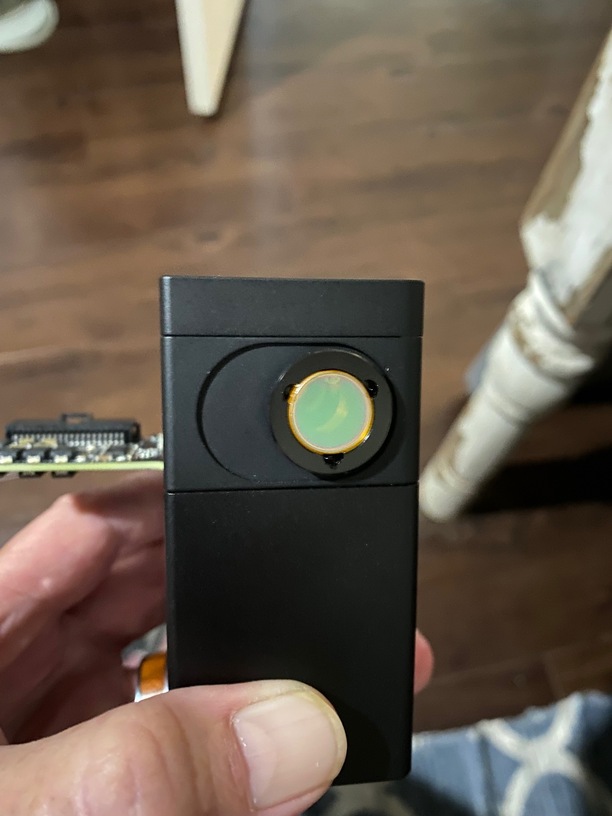
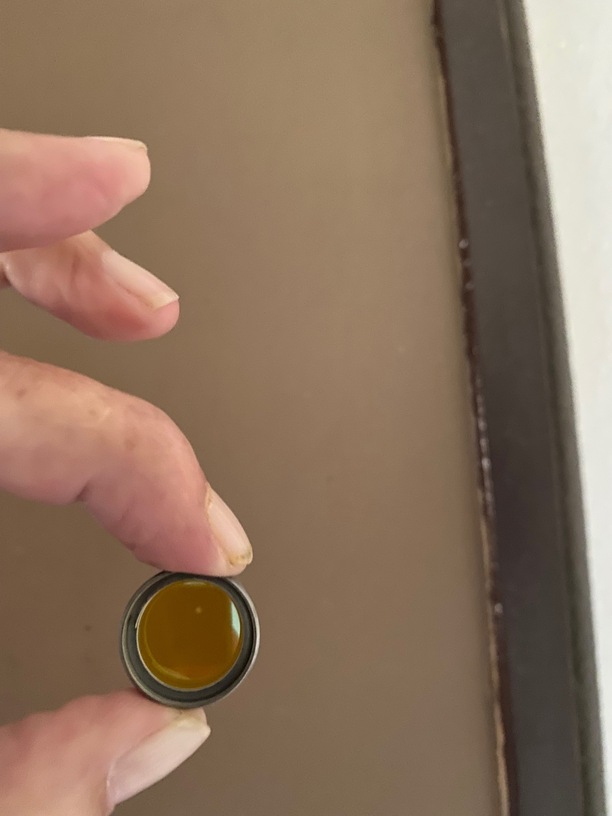
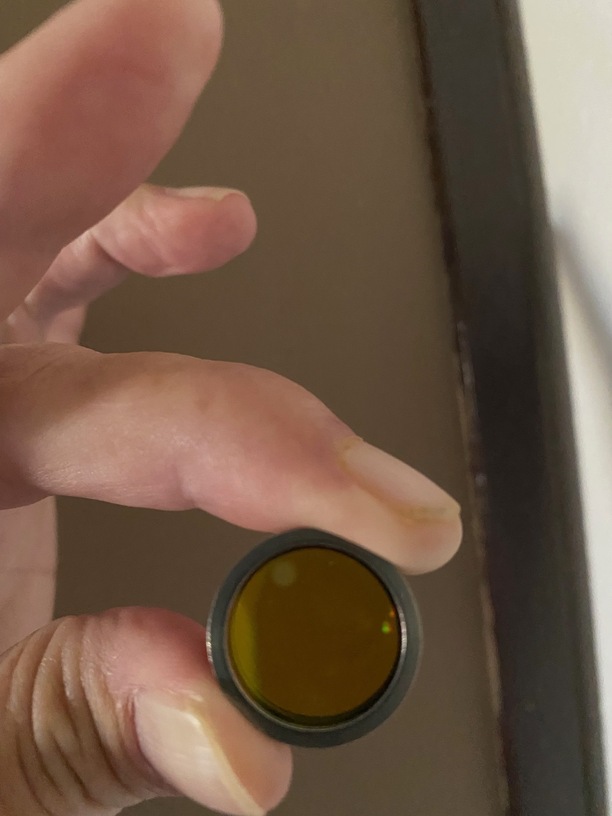
The printer head lens
Both sides of the lens, top and bottom

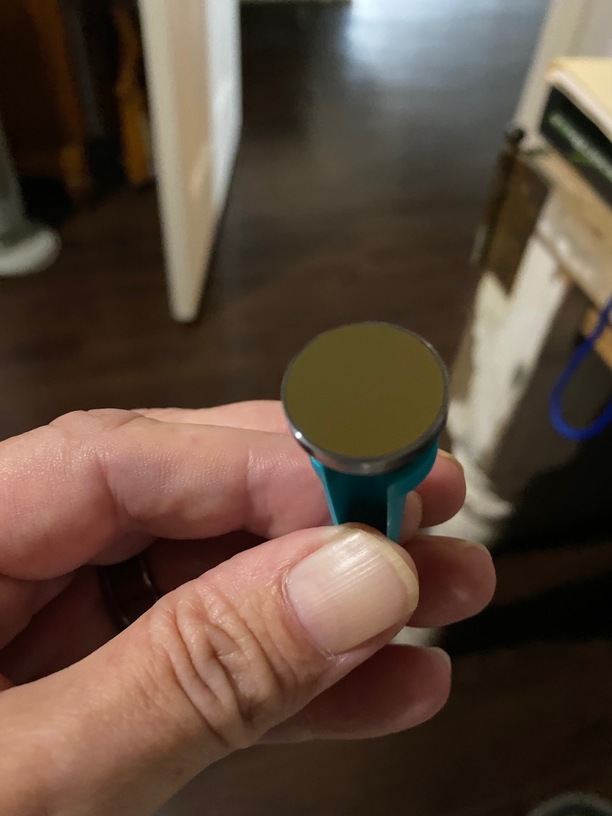
The mirror inside the printer head

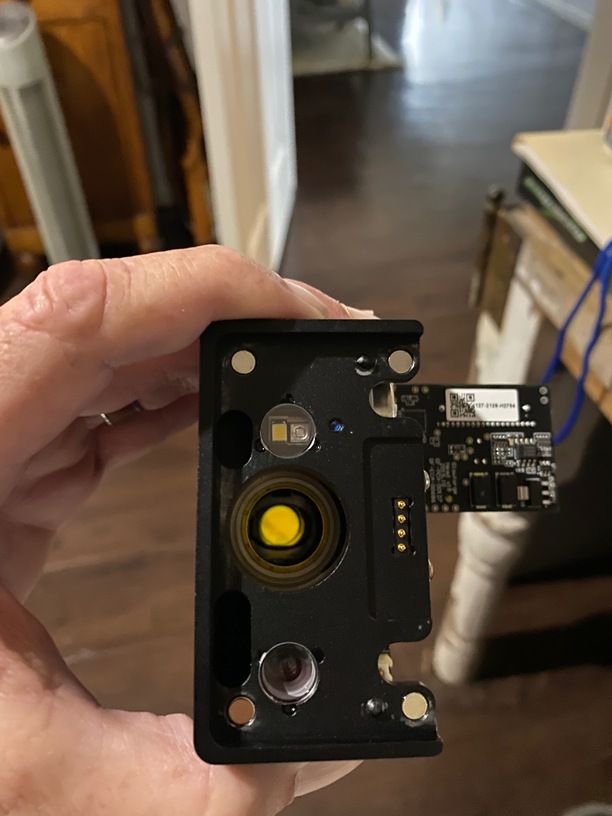
The bottom of the printer head

Once we have those pictures, we’ll follow up with the next steps.
Here you go – Thanks for the help
I recleaned everything and reran the “measure file” – had exact same results – when reinserting the lens in the print head do you just let it “click” or push it all the way to the bottom of the cylinder?

You let it click - the magnet is how it moves up and down through the 1/2" focal range.
Ray V.
I recleaned everything again – same result – can you pick up any diagnostics off my cloud images and data?
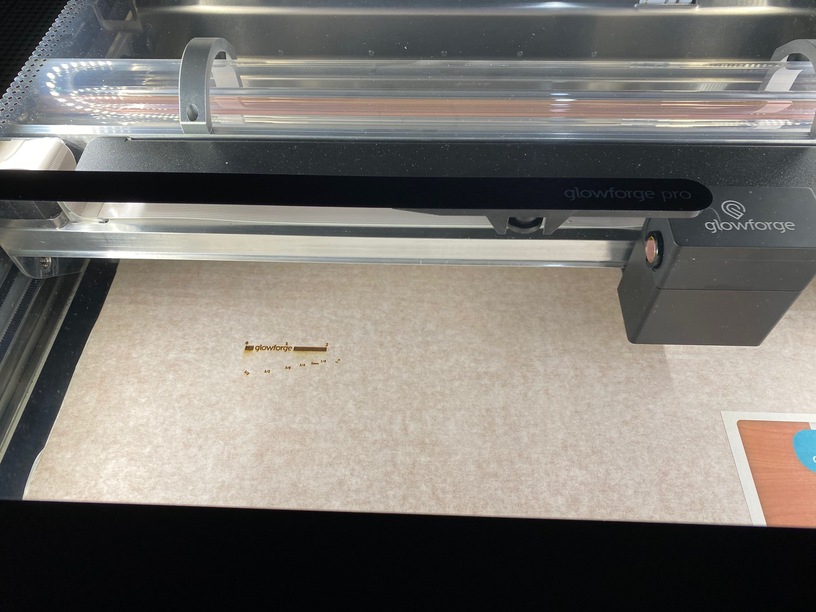
The bottom line is if I only use the farthest left two inches of the tray I could probably make it workable – by the time the print head get to the middle the degradation is obvious and the red laser beam is obviously fading – by the time it gets all the way to the right side of the tray it doesn’t even scratch the masking and the laser light is invisible.
The tube or mirrors in the laser arm have come out of alignment during shipping.
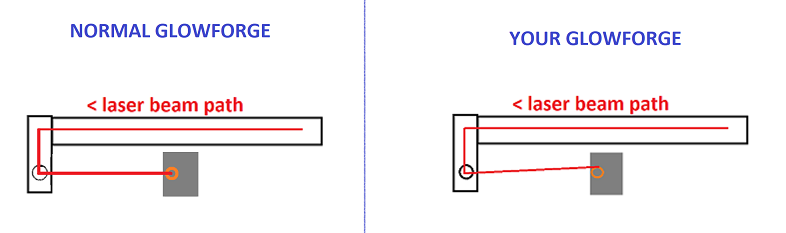
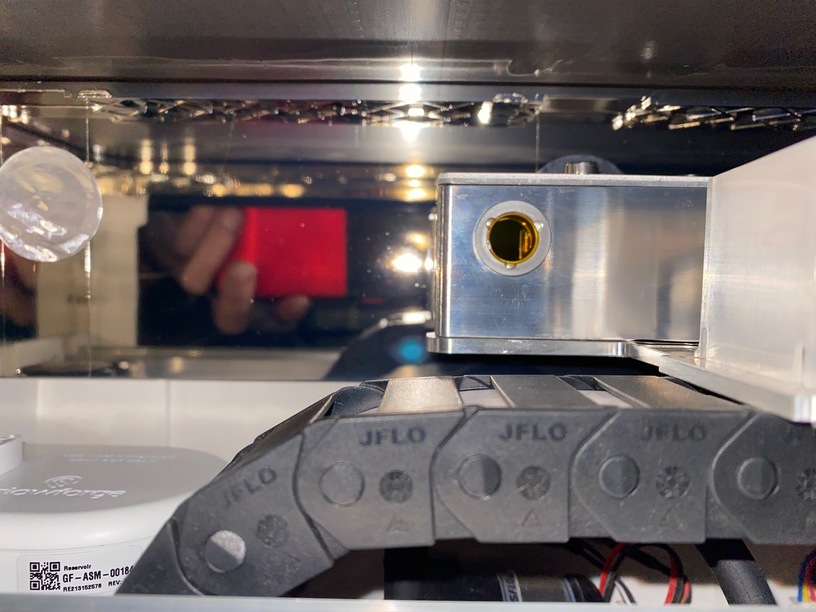
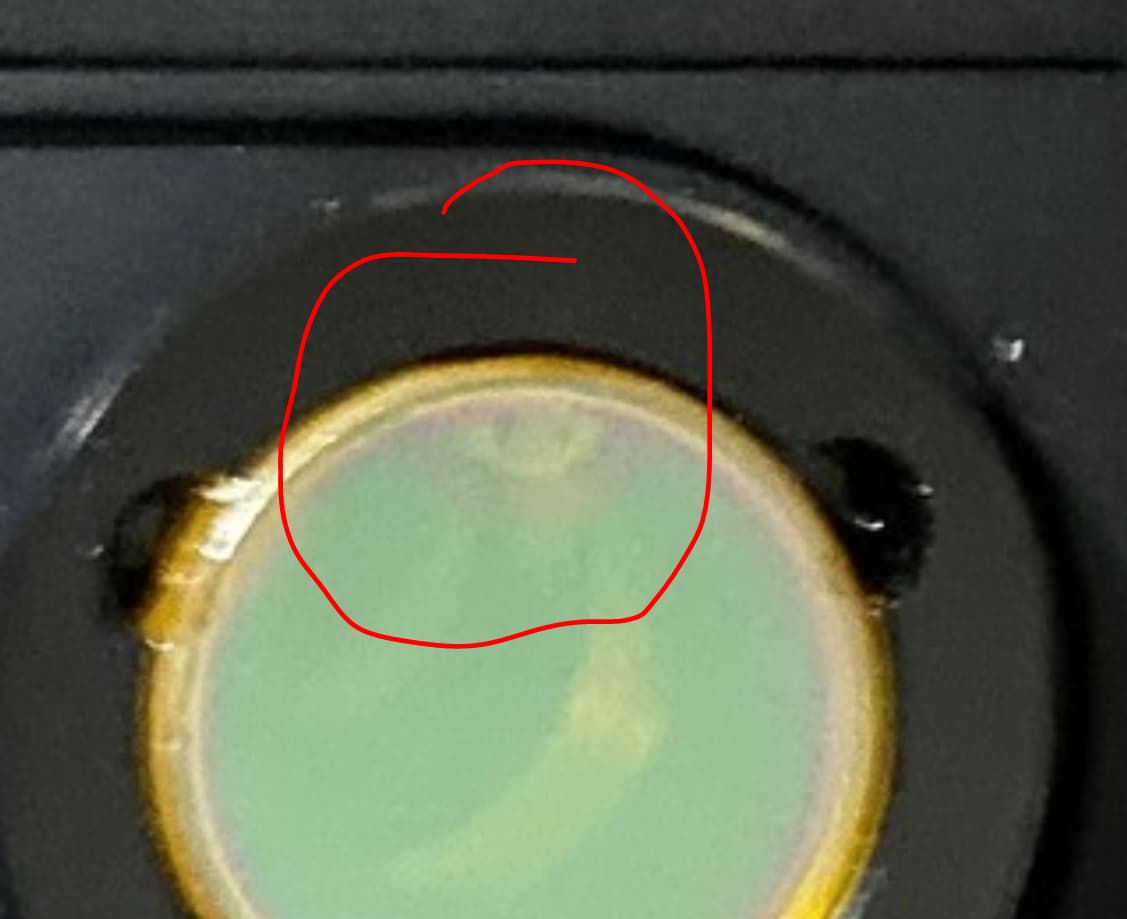
You can see where it’s starting to damage the top of the printer head window in your photo, when the laser beam would normally be entering that window dead center.
The further to the right the print head travels, the less of the laser beam makes it into that window, until it’s missing the window entirely at the far right.
This is going to have to be returned for replacement.
1 Like