Back in the wilderness years, anytime a Glowforge appeared in the wild was cause to celebrate. Still deserves some attention.
John is the the drum major for the CNC bandwagon. He’s got some great videos. One big ouch: “Uh, I guess I didn’t line that up perfectly.”
John does some great Fusion 360 tutorials.
12 Likes
Yeah. I saw that video also. When he made the vaporware I did a mental facepalm. It’s unfortunate but it true. It took a long time from ‘Here we have a thing, We want you to have one too!’ to actually having one. As for the score op, the entire time I was like, ‘He has a jig for that right?’ ‘He has to have a jig for that…’ When it is was misaligned it was no surprise. The visual alignment has a long way to go. Till then, Jig all the things. Saves time and material loss.
7 Likes
@karaelena I am just starting to get deeper into using my machine now that i have time to do so, and I am pretty sure I get the jist of what you mean by using a jig for alignment, but do you happen to have something you have made that you could picture or maybe share the .svg of that makes your life easier and may help others rooks like myself? Just looking for good ideas on what might make this easier for us all going forward. I apologize if this has been discussed ad nauseum on the forum, I am new to using the community as well and may have missed previous discussions.
1 Like
Cut a negative out of cardboard with magnets to hold its position. Remove the unwanted bits and place the thing that needs to be engraved in the void.
4 Likes
Oh, well that just makes too much sense. Thanks Karaelena!
2 Likes
Lots of ways to do them. Here are a couple.
To engrave my laptop, I just scored a rectangle the same dimensions as the laptop, and placed the laptop aligned with the score marks. (This image was made later which is why you can see the burn marks, where I bled the image off of the laptop edge). Everything was aligned in the file, so it didn’t matter where the camera or overlay said it was.
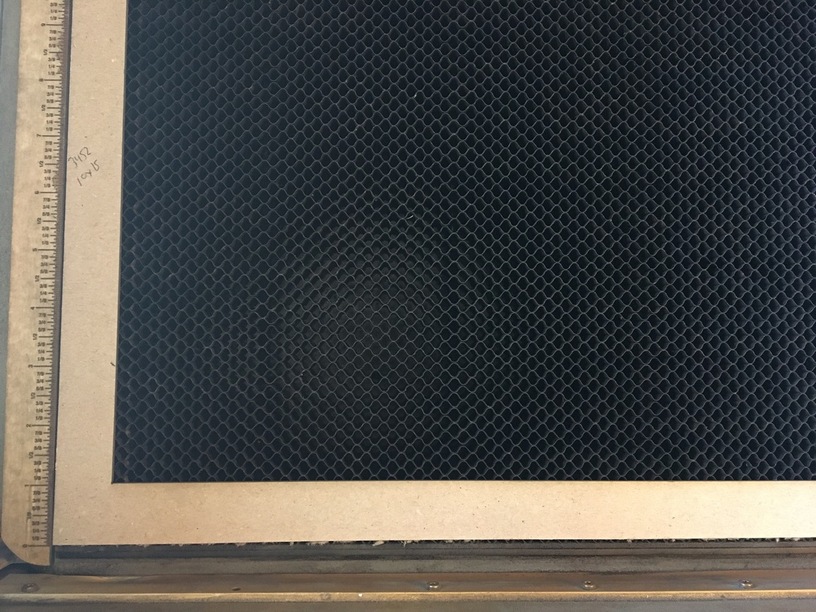
I use jigs like this every single day to make puzzles. It’s a 12x20” piece of chipboard. The bottom edge is aligned to the zero mark of a pair of crumbtray rulers I designed (available in the free files section). I cut the puzzle outline out of the chipboard, remove it, glue the puzzle image and place it back in the cutout. I can take the jig out and work on other projects while the glue sets up, etc and just have to reference it back to the zero mark where I had it before.
6 Likes
Thanks @jbmanning5, I have seen a lot of your work on your website and on these forums and always wondered how you managed those cuts so perfectly, thank you so much for taking the time to share. One of the first projects I printed were your crumb tray rulers, I am sure many have those on their machines. Keep up the amazing work man, all of you guys on here are great inspirations to continue to learn more and improve my laser cutting game.
4 Likes