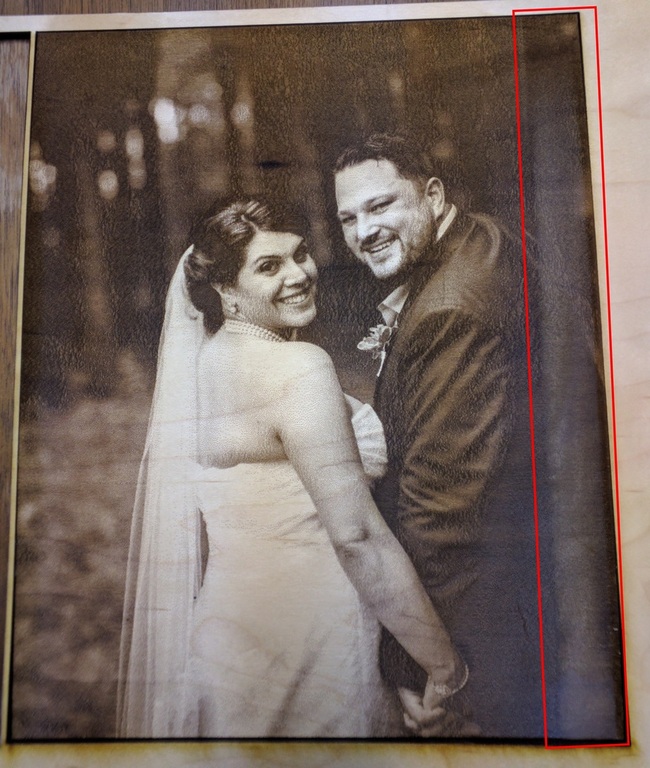
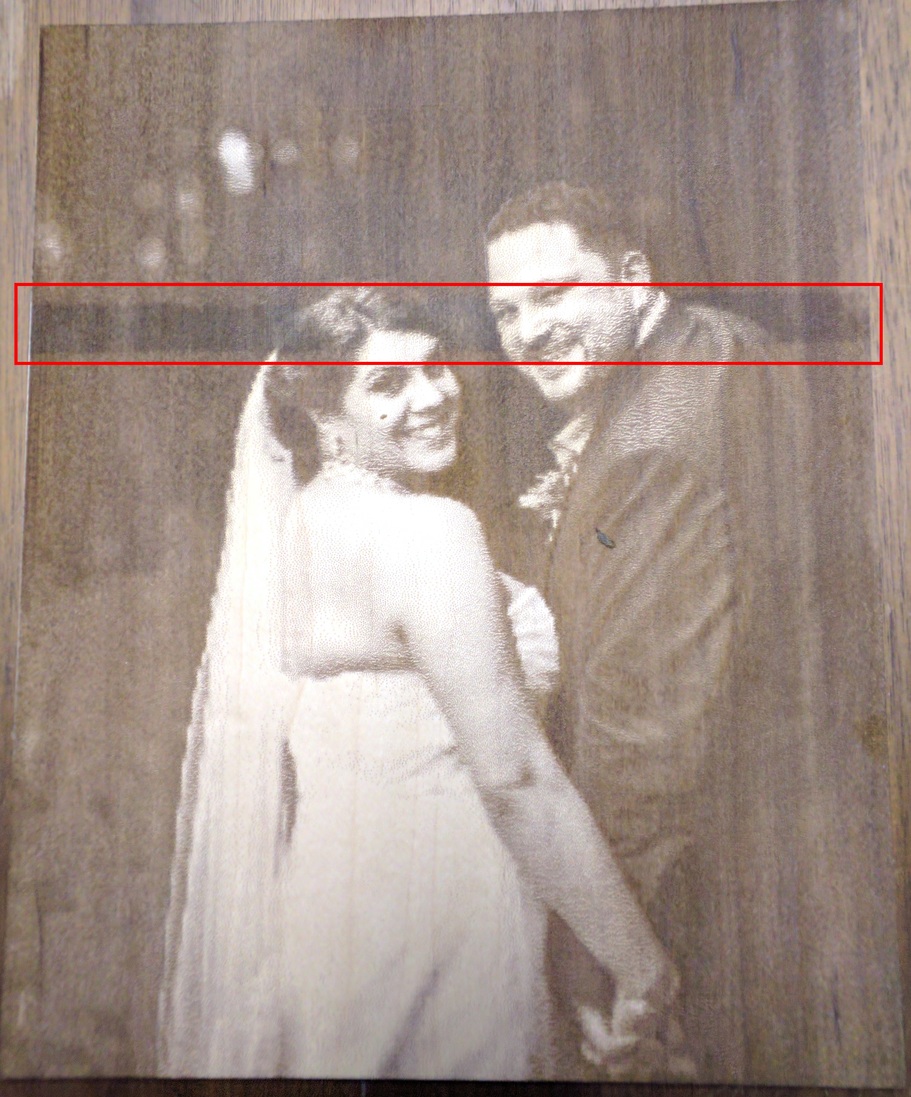
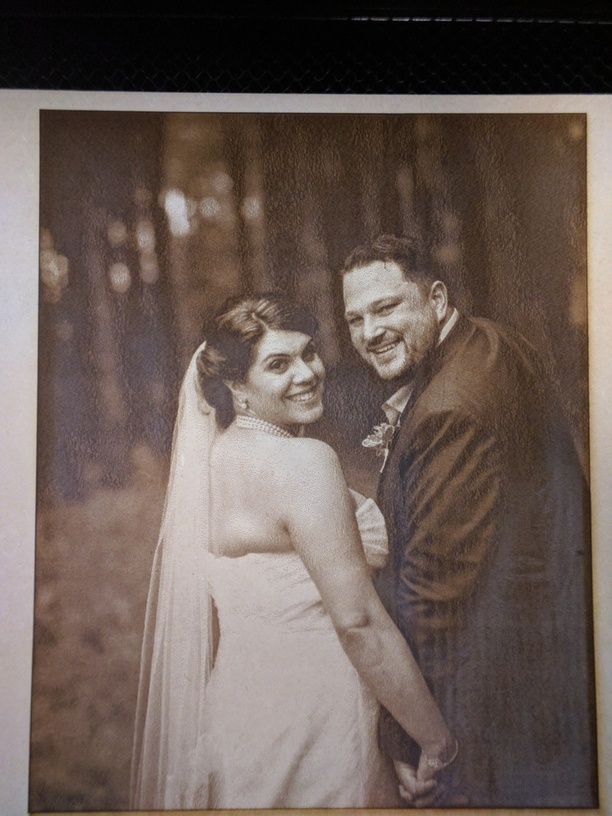
As mentioned in the title, I have random bands that are sometimes appearing in a custom piece I’m working on. I’ve been burning through a bit of maple plywood for this trying to get just the right look for an 8x10 of a wedding photo and saw this twice… once in an early test that I didn’t plan to use… and again last night when I went to do the “final” version. Images of the banding are shown below, along with prints not showing it. It’s quite irritating to think you’re running your last print to find that something not in the image randomly pops up. Beta… sigh.
Is this due to inconsistencies in the proofgrade material? If so, I’d like replacement of/credit for 2 pieces of medium maple plywood.
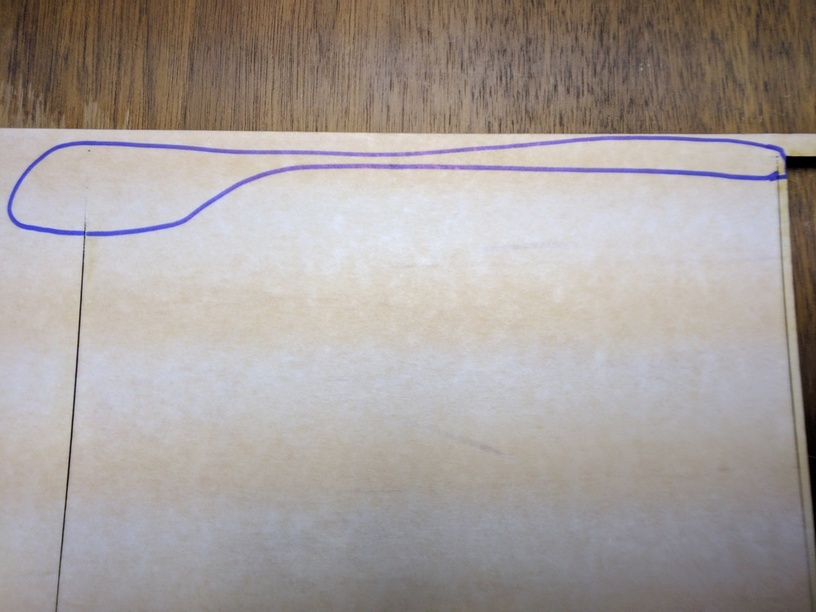
That same print from last night failed to cut through the entire outline of the 8x10… everything but the top cut and a bit of the sides at the top worked, but not that bit. Another photo is attached for that… again, is this because of inconsistencies in the material?
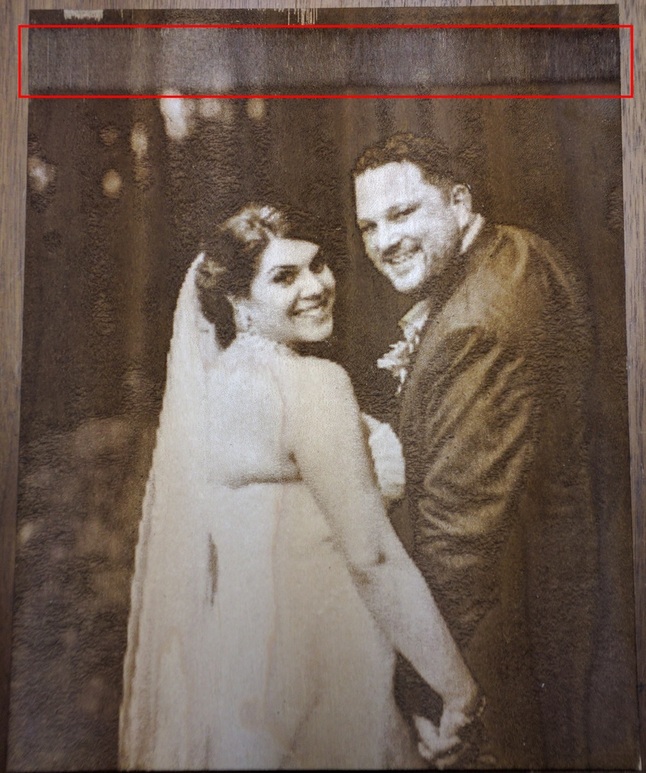
Non-banded - “last” test print - I almost could have used this one, but it was printed on the backside of a previous test… the forge lost calibration between prints and left an unprinted band at the top to boot
I was thinking perhaps tube temperature causing power variation but doesnt seem likely if that first image was printed in the portrait orientation. Also focus seemed possible (slope to the crumb tray, warp to the materials, etc.), but then I’d expect the missed cut and the band to be in similar places.
Good thought on the shadow-box frame… unfortunately, not what I promised
to the client, which is framing the 8x10 print with an 11x13 walnut frame
with lettering cut out and a maple backer on the whole thing. If it hadn’t
been for the calibration issue, I’d definitely use it. Not being positive
that my next print will be good makes things difficult… another $11 in
materials for another sheet of maple ply and 2 chances for the Forge to get
it right. I’d really like to know what’s causing these bands to appear
randomly.
Were these done with the halftone dots in the GUI or was it done with “varying” power?
I’ve experienced the same banding when I’ve converted a photoed into halftones in my graphics program. I didn’t notice it until I imported and engraved it, but when I got the banding and checked my file, sure enough I could see it when I zoomed out and got a different view of the image. I was able to get a good burn of my file when I did another halftone conversion of the original image and used different halftone settings. I brought it into the GUI and burned it using varying power. Sorry I don’t have a real solution for you. I’m just kinda throwing it out there as it’s possible the issue isn’t with the burning, it may be with the halftone conversion.
These were done with the same image using the GUI’s halftone dots. I tried
one varying power and I could try that again, but I need to figure out what
the minimum power should be because 0 made things looks weird with the
unburned maple.
Pure white is always going to be unburned. You can adjust the levels pretty easily though in Photoshop. Just adjust levels and change the output range from 0-255 to 0-254.
As for minimum power, I think it takes somewhere around 5-6 to get through the masking, though I haven’t messed around with it in a while.
I’m so sorry these prints didn’t turn out beautifully, @Jeff_Frank. I have taken a close look at your logs for these prints and it appears that the banding occurs at the same location in the bed on each print. Specifically, a vertical line toward the right-hand edge.
I want to see if a good cleaning will resolve your issue as there may be some dust or debris obstructing the lens in the print head.
Could you please do the following for me?
Turn off your Glowforge
Clean the things that need wiping, according to the instructions here
Turn your Glowforge back on
Try this print again, in the same location
Let us know the date and time of the print, and we’ll investigate
but is that still some banding on the extreme right or is the section of his suit coat doing something weird that makes it appear as banding? Used draftboard this time, burned up enough maple trying to get this right.
I ended up printing that photo on the left side of my bed and it was fine. I haven’t tried burning any other photos on the right side of the bed due to the lack of a specific project and materials costs. I’m happy to work with the GF team to further diagnose this, but it would be nice if my costs would be defrayed in doing so.
Thanks for your patience. It looks like your unit has a problem we can’t address remotely. I recommend we proceed with a warranty replacement and I’ll be in touch via email to sort out the details. I’m so sorry for the bad news.