My 1st guess would be thickness entered is slightly off. Did you check the material thickness with calipers and account for removing the tray properly?
Yes, I placed my new “platform and the object to engrave on a flat surface next to the tray, and measured the difference between the top of my object and the top of the platform’s grill. 1/8” or 0.125"
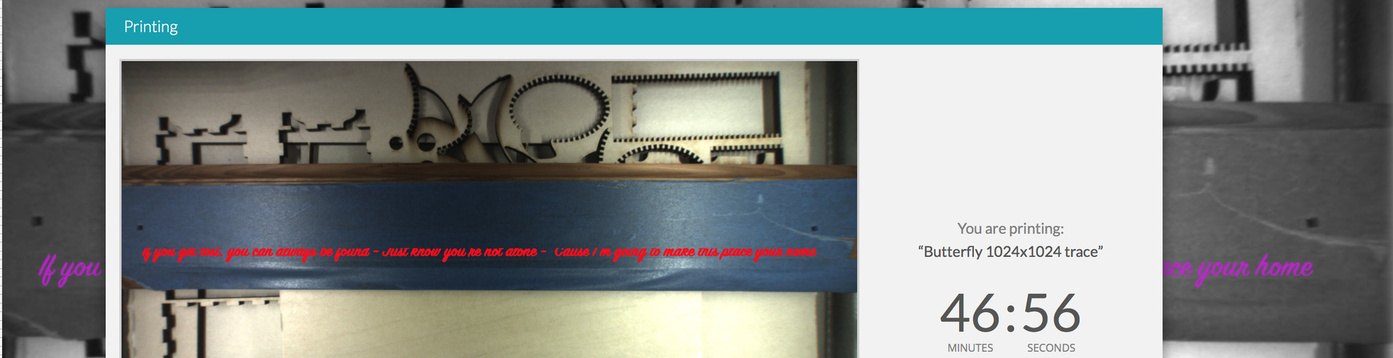
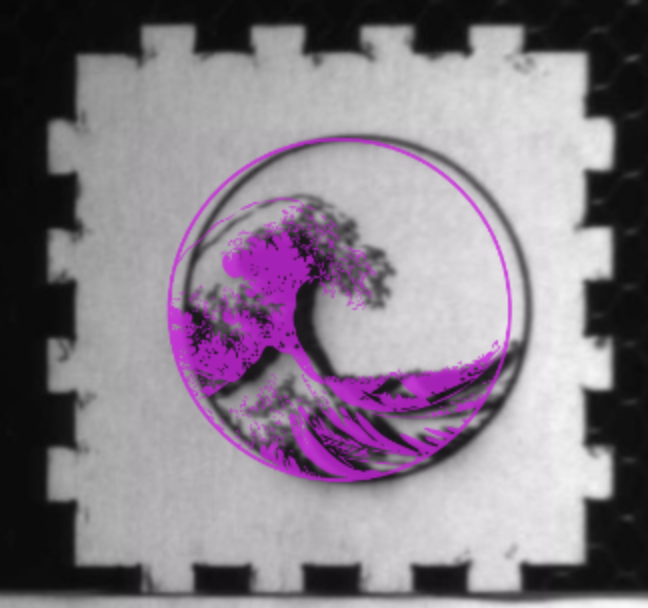
I’ve seen this with Proofgrade material too though. I take something that was cut previously, put it on the tray, center my image on the item, and then it ends up being off to the right a bit. I used to think that it was me not aligning properly, but it looks like it isn’t. Or I am doing something wrong.
My cuts and engraves are pretty much always way out of alignment, and I’ve mainly been working with proofgrade. I’ve tried giving the lid camera an extra clean, but now i’ve taken to running a score on the outer part of my design at full speed and about 2 power to just get an idea of where the outline will land just so I don’t completely mess up. this slightly singes the adhesive but doesn’t mark underneath…
Sorry. I wasn’t looking to address that. Alignment can be off up to .25" at this time. The thing that bothered me more is the stretching effect you’re getting. That’s what lead me to ask about material thickness. Because otherwise it’s a hardware issue I’d think.
Is there a known alignment issue? I’ve already ruined some objects. I need to know before I start engraving more valuable or irreplaceable items. Like a laptop.
Yes, there is. If you don’t understand how to create a jig for it, do not try to engrave your laptop yet. (It could be off by up to 1/4 inch using only visual alignment.)
Most of us prefer to do the alignment in our design software - it’s 100% accurate.
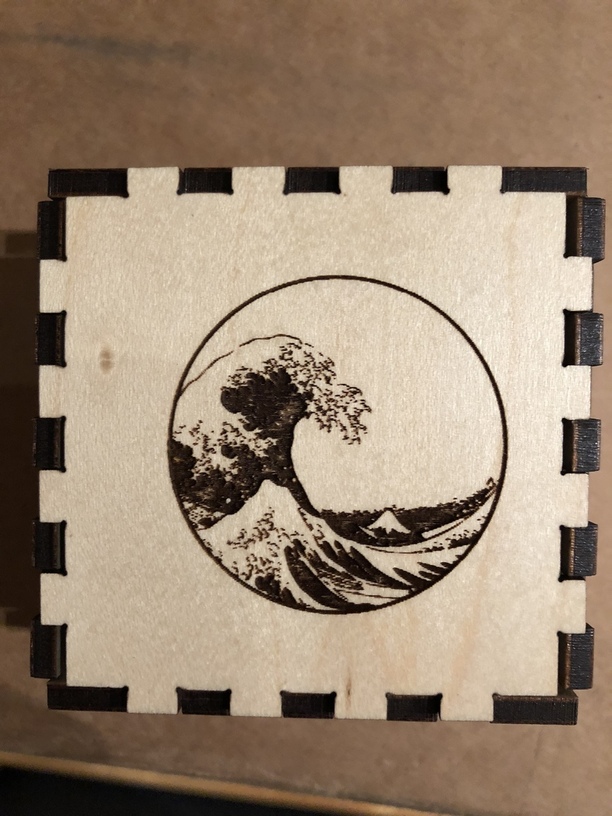
How does a jig help? The alignment issue doesn’t happen every time. I haven’t noticed a pattern. I have managed to line things up exactly perfectly when trying to repeat a pattern to darken it, and that worked, but as you see above, I’ve also had it shift things to the right from where I’ve lined things up.
I assume you have some idea when the alignment issue occurs or something in order to utilize a jig then.
By creating a jig in software like Illustrator or Inkscape you can create perfect alignment. The trick is to create a rectangle the size and shape of whatever item you are engraving, line up the engraving with that shape inside the same file, then save that information in an SVG. When you take the SVG into the Glowforge interface, you would tape your backing material down (cardboard or cheap ply), cut the rectangle out, then drop in your item to be engraved. When you run the engraving it will align perfectly relative to the rectangle that you cut out.
So you don’t have to use the visual alignment. There are several tutorials that tell how to do it in the Glowforge Tips and Tricks category.
The software on your Glowforge is responsible for ensuring that the print lands on the material in the same place as the preview. When you’re done with a print, let a new image load. If the print appears on screen far from where it was supposed to go, you may have an alignment problem.
Most alignment problems come from the material being closer or farther from the camera than expected. While the software is still improving, you can take these steps for the most accurate alignment results:
Use Proofgrade™ materials.
If you don’t use Proofgrade materials, use a precision set of calipers to measure your material, and enter the thickness in the “uncertified materials” dialog.
Use material that is not warped or tilted.
Place your design near the center of the bed.
Clean the area underneath your crumb tray, particularly the four indentations on the floor.
Reboot the machine. Alignment can drift over time, particularly if you bump the head of your Glowforge while removing material.
Should you finish all of these steps, and find that you have an alignment error of more than 1/4", please contact us so we can investigate.
I have been using Proofgrade, but sometimes the labels are gone so I manually select it
material doesn’t seem warped
things are clean
I do power down pretty often since I only use the GlowForge for an hour or so a night
It sounds like part of the problem has to do with the camera looking at the far edges, vs the camera looking straight down. So I would have a lower risk of alignment issues if the subject was centered on the tray, right?
Half the issue here is knowing when it will be off, so I can workaround it. So far, I believe I can reduce these alignment issues by:
cut and engrave in the same upload file, or with multiple uploads all aligned initially before the first print
align any new cuts and engravings based on the last outline that is still on the screen, and not based on the actual scanned view
center an item under the camera and then manually align my artwork
I can see how any slight lift or warp in the material can be amplified in the edges vs the center of the scan.
It’s been a little while since I’ve seen any replies on this thread so I’m going to close it. If you still need help with this please either start a new thread or email support@glowforge.com.