Got a replacement unit last week, and my initial tests seem better, but still somewhat similar to my last unit. I believe this is called overburn but correct me if I’m wrong.
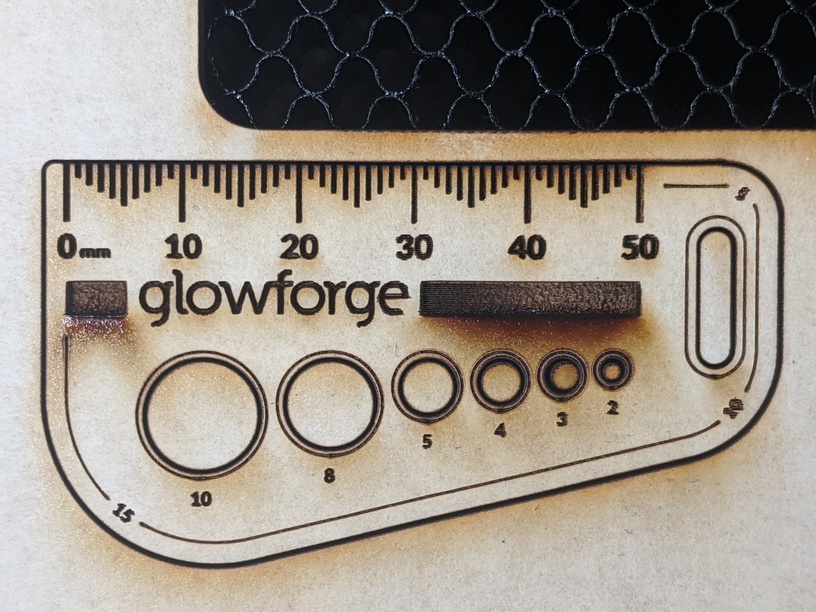
It’s most noticeable on the circle scoring, but you can see the cut has more oomph to it at the beginning too. This unit can’t seem to make a nice circle without plopping a big burn where it starts. I’m assuming this isn’t normal. (I’ve cleaned the lenses and inspected them a couple times just to be sure)
One is a cut and one is a score. It really shows on scores so I wanted to include that. It’s really obvious in the gift of good measure’s score circles.
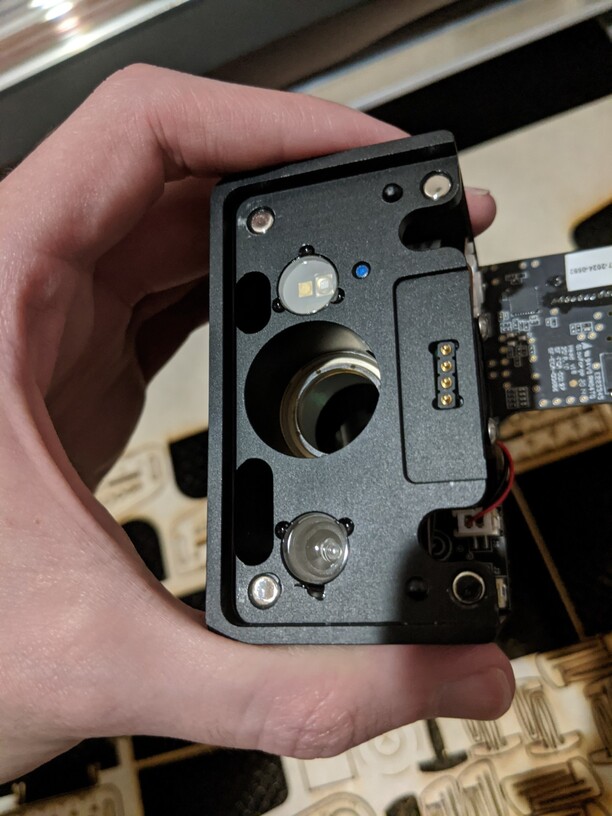
I’m sorry that you’ve run into trouble with your replacement unit. When you printed the Gift of Good Measure on proofgrade material, did it appear to cut all the way through the material reliably? Also, I’d like to take a look at your unit’s optics to check for anything unusual. Could you please share photos of the following?
Both windows
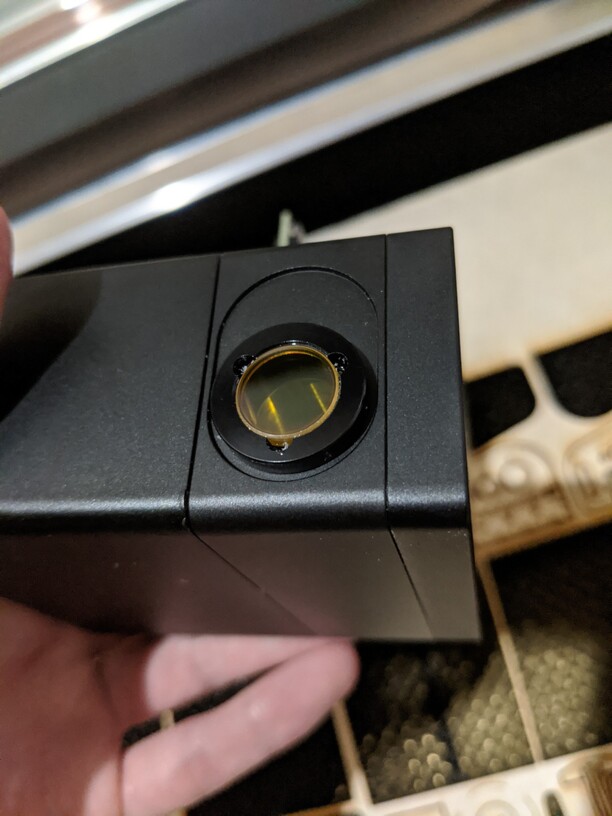
The printer head window, on the left hand side of the printer head
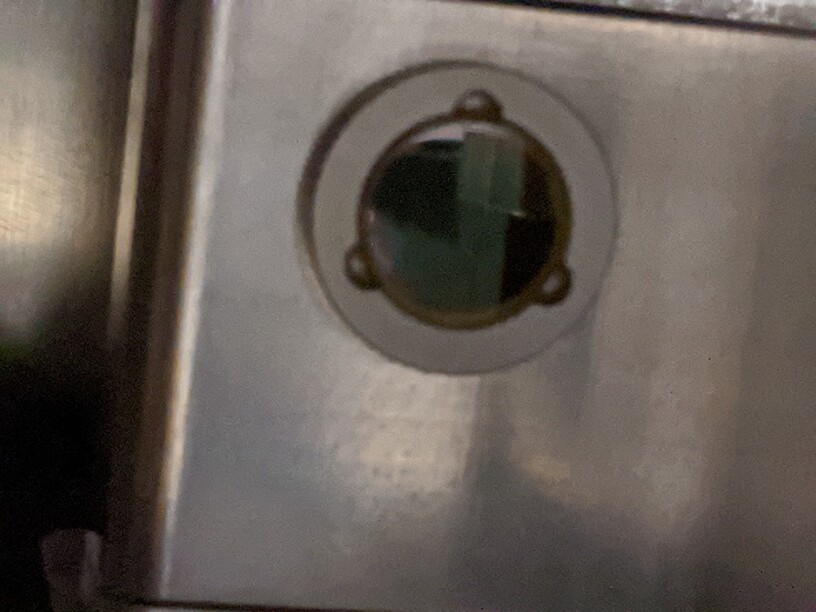
The laser window on the inside left of the Glowforge
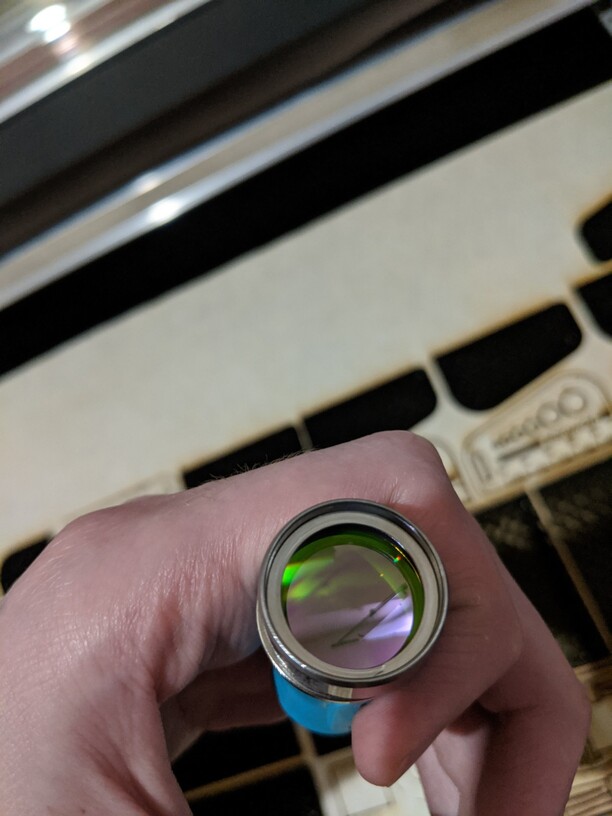
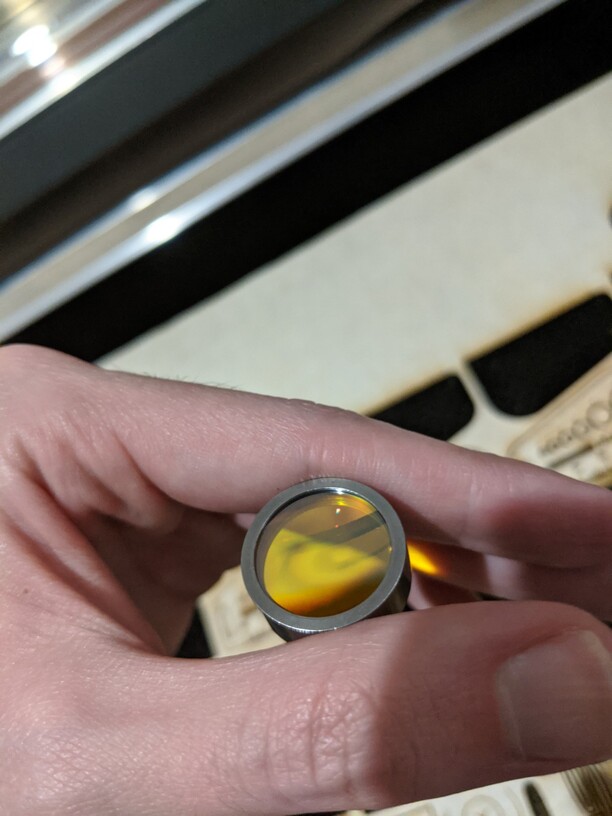
The printer head lens
Both sides of the lens, top and bottom
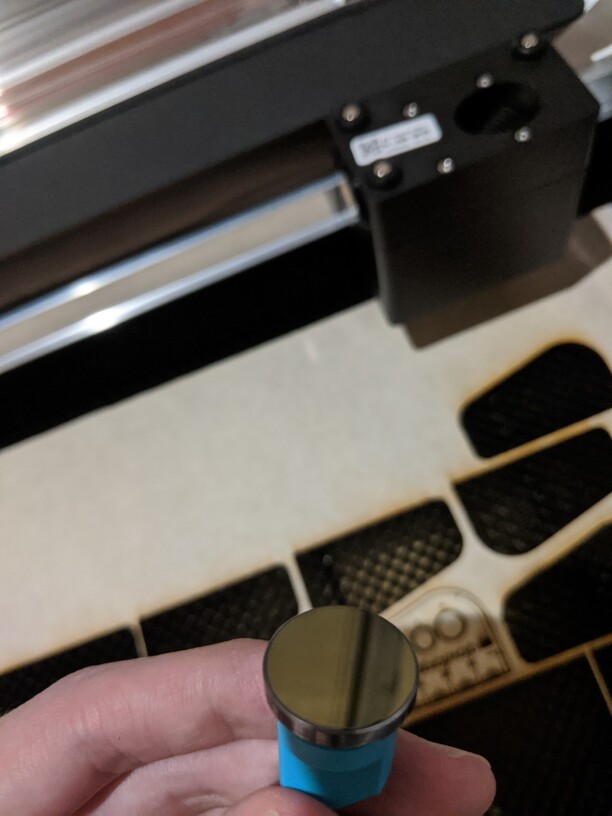
The mirror inside the printer head
The bottom of the printer head with the lens installed
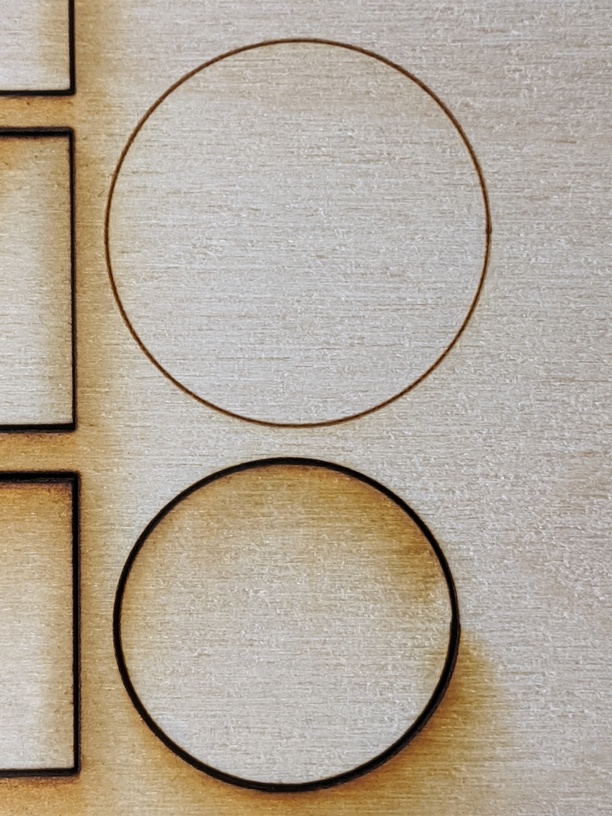
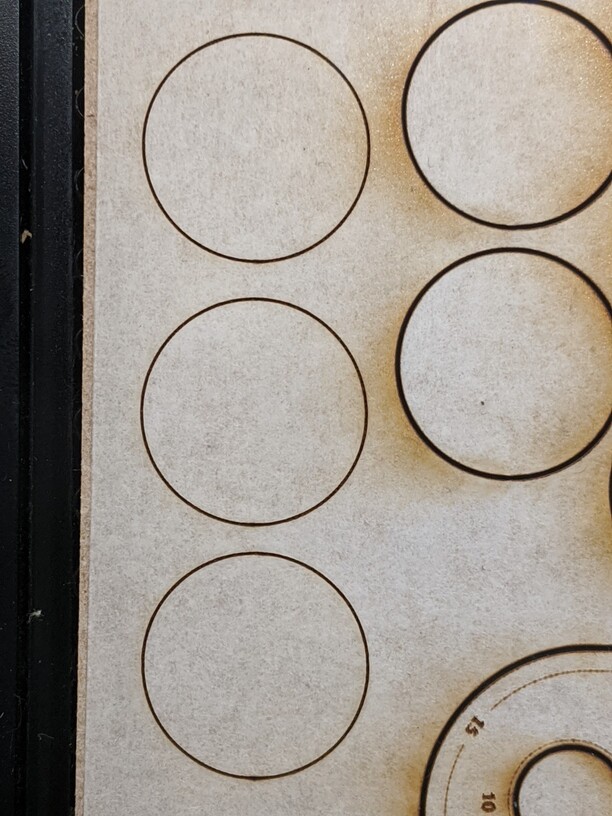
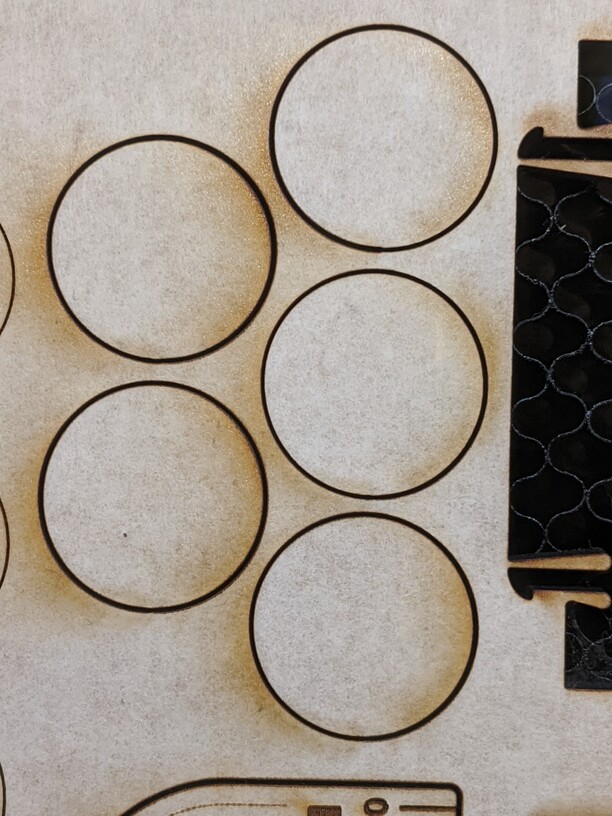
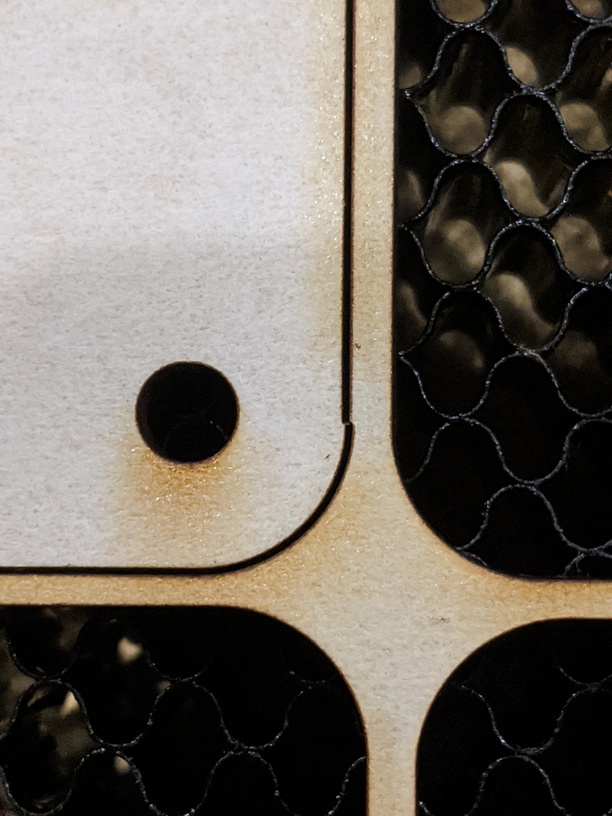
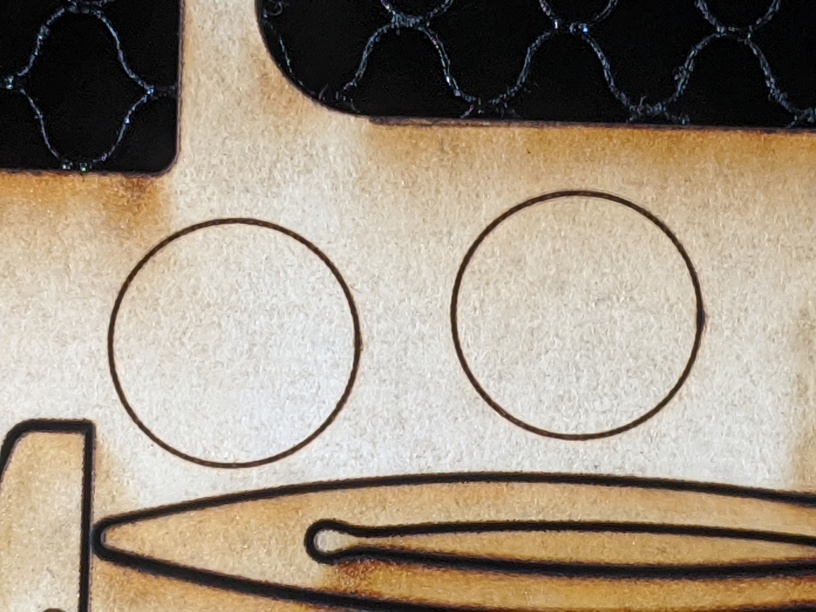
Also, just to show the issue a little more, I cut and scored some 20mm circles in proof grade mdf shortly after those lens pics were taken. I’ll add them below. Note the start and end of both the cuts and the scores at the bottom of the circles. It won’t do it so obviously every time with cuts, but I haven’t seen a score on this unit without that overburn yet.
Thank you for the detailed photos. It looks like all of your unit’s optical components are normal and in good condition. As a next step, will you please double-check the installation of your unit’s crumb tray, and specifically look to see if there might be anything underneath the tray in the bottom of the unit which would prevent it from lying flat or settling all the way into the 4 depressions in the bottom of the Glowforge?
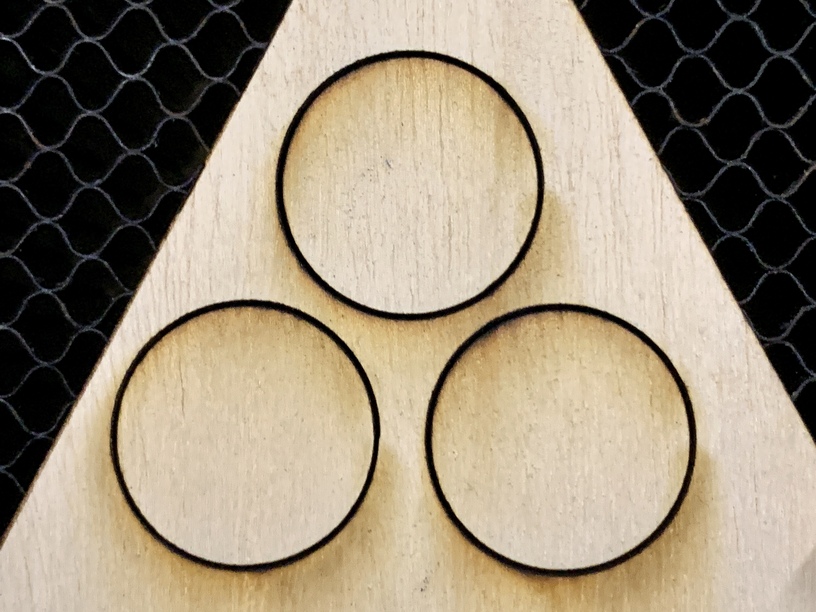
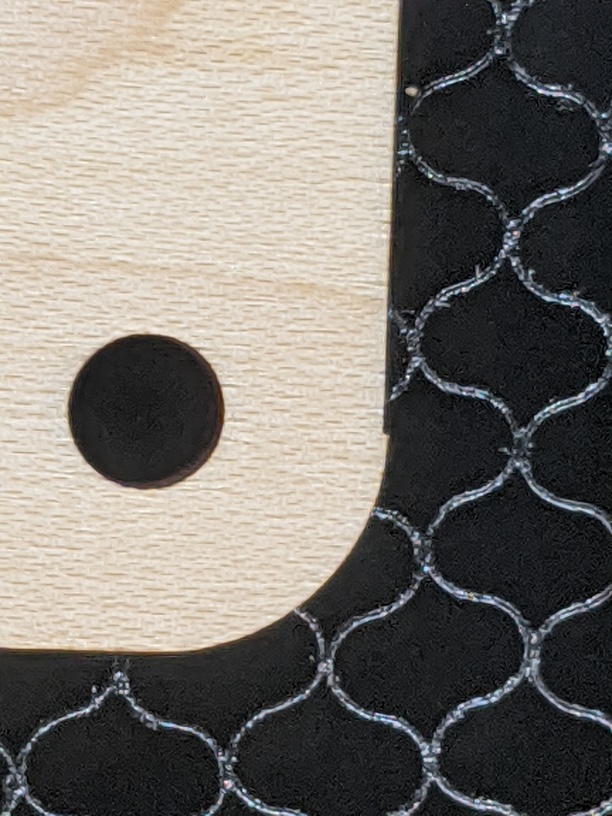
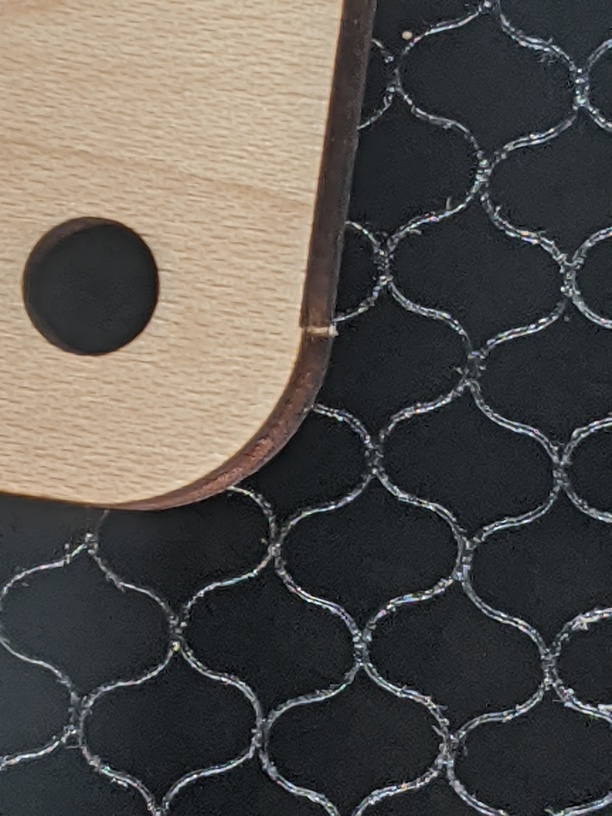
Yeah, pretty much all of them start at 3 o’clock position for me too (all these pics got rotated by my phone). However, in the last pic it started at the bottom (6 o’clock). They’re 7.5mm x 7.5mm.
The above cut are 2 separate items, they’re just really close together, but you can see where it started and ended on both items right in the middle there. It’s got a weird overburn groove to it.
edit:
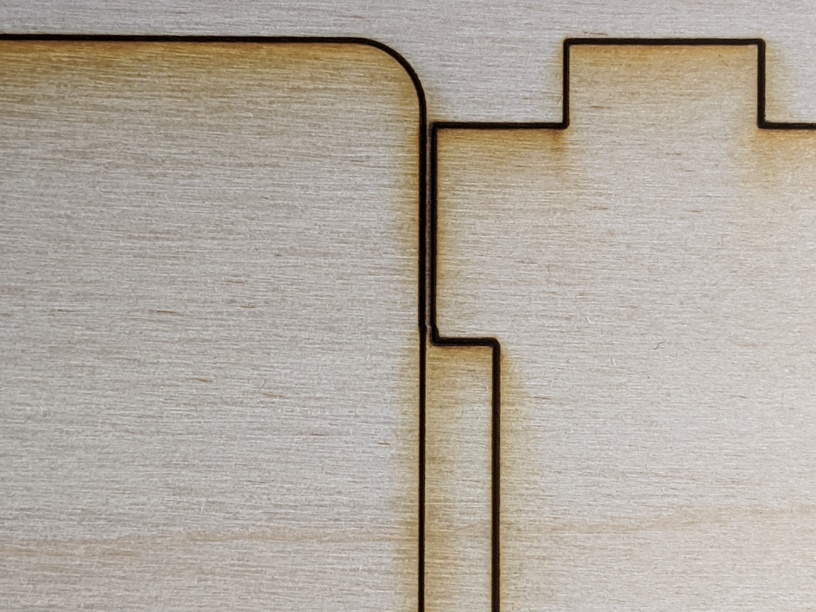
Trying out more cuts, and I get this here and there. The oddity is the start/end of the cut:
I found the print where you saw this, and I have one idea about what might be happening here, but I’d like to see if I can verify it in the logs for that print.
It wasn’t obvious from the photo here, which part of the design had the problem.
If we number the design like this, can you tell me which number is in that photo?
Examining the others, it looked like it happened notably in 4 others. I took a pic of the ones that have a similar “hump” to them that you can both visually see and feel:
I’m writing today with information about your Glowforge. We found your printer had a small tuning issue at the factory that has been affecting the power and speed settings. We will adjust this on September 1st and 2nd so your settings will operate properly.
If you’re using Proofgrade materials, you don’t have to do anything. If you are using manual settings, please re-test them after the change early next week to make sure they still work for you.
So I’ll try out a score test on the 3rd and see what happens. Until then, back to my old unit!
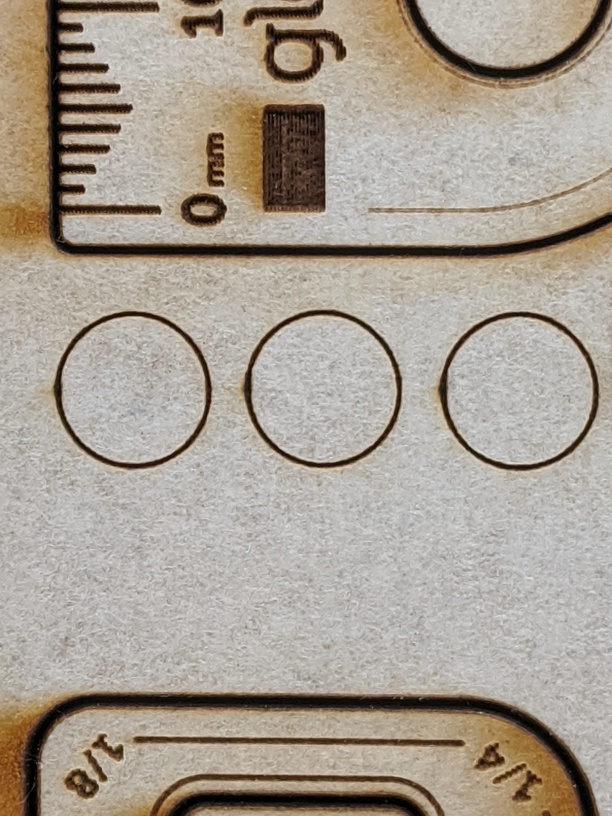
Alright, I think small circular score tests is the easiest way to see the issue, so I gave it 2 simple score tests to see if the overburn still existed and it’s still there.
It looks like the tuning issue may have resolved some of what you were seeing.
Some of what you’re seeing is also expected behavior, like the dots where the scores overlap. There are a couple of workaround available.
One option is to rasterize the circles and engrave them instead of scoring them. This is frequently a trade off with time.
I also think some of the print results problems you’ve seen are related to an issue with our software with the number of individual images or shapes in your files. I recommend the one of the following options:
Rasterize any engraves or scores
Break your print into segments and reducing the number of shapes or images you print at once
When you upload your file to the Glowforge app, each color and each bitmap will become a separate print step. Divide your design into more steps by changing some of the portions of the vector design to be different colors.
Click on a step and choose “Ignore.” Repeat this to ignore all the steps but one, and then press “Print.”
When the print finishes, leave your material in place.
Set the step you printed to “Ignore” and print another step.
Continue ignoring and printing until you’ve finished.
I’m sorry for the inconvenience.
Please let me know if you have any additional questions, or any other print results you’d like me to look at.
I also think some of the print results problems you’ve seen are related to an issue with our software with the number of individual images or shapes in your files.
I’ve gotta disagree with this one because my older unit has cut that same exact cut about 80 times and none of them came out with the wonky start/stop cut.
One option is to rasterize the circles and engrave them instead of scoring them. This is frequently a trade off with time.
I cut out a ton of gears that have numbers on them and I learned that if I engrave them, it’s a 3 hour job. I ended up creating scores for all the numbers to get it down to 28 minutes. So scoring is super important to me for stuff like this since the Glowforge is a bit slow with engraving.
Please let me know if you have any additional questions, or any other print results you’d like me to look at.
I’ll do some cuts over the weekend and see what kind of results I come up with. Stay tuned!