YES! Thanks for the fantastic documentation. Big Ups!!
Terrific work writing this up! We’re hard at work on the software to make this unnecessary, but in the mean time, it’s a great resource.
6 Likes
And I had completely forgotten that @johnse had already written this up…there’s just too much going on this week… but this is pretty much the method I used, so I’m certainly not going to write it up again. ![]()
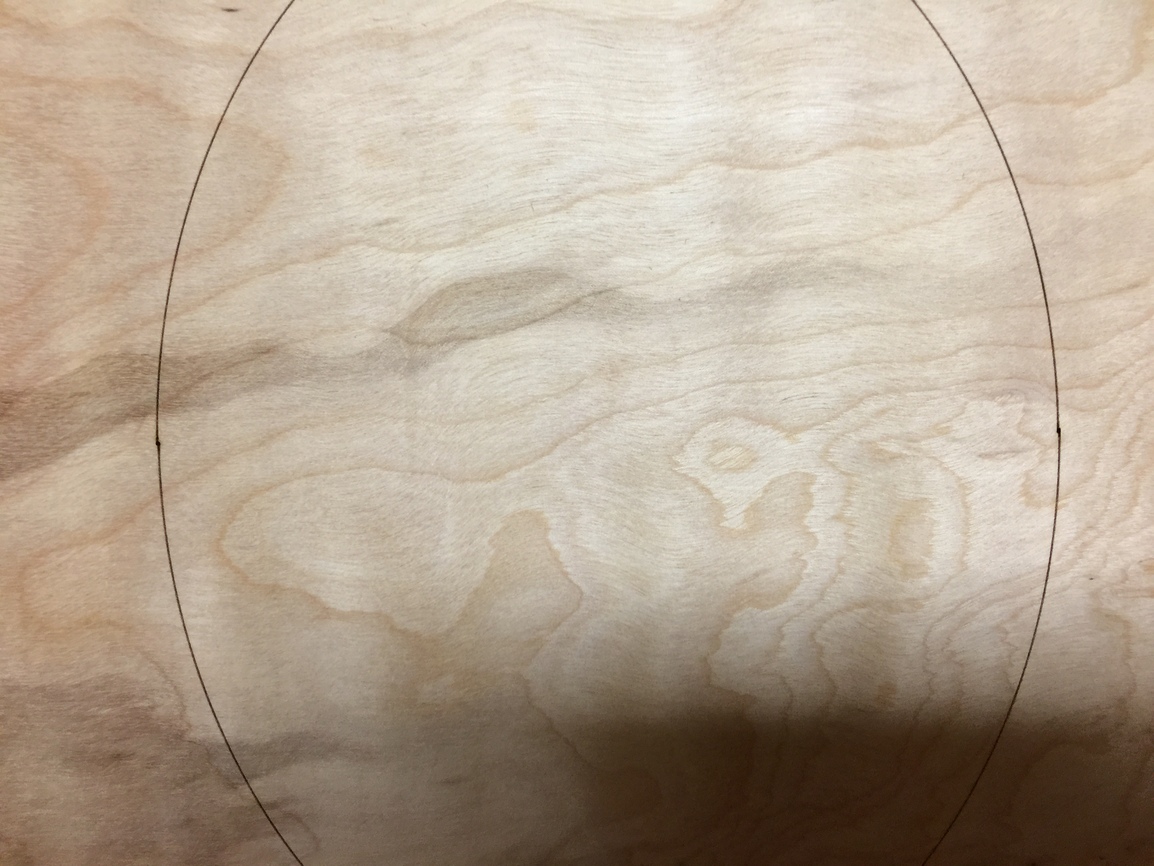
I got some really excellent results though that I’ll share, to show how well it works…it was beyond exciting to see results that good on cheap warped hardware store plywood with my first couple of attempts …
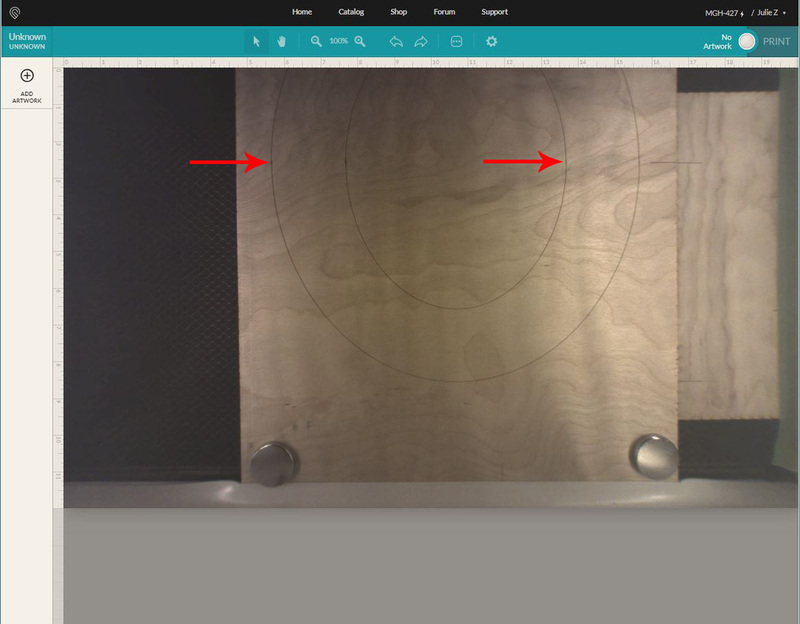
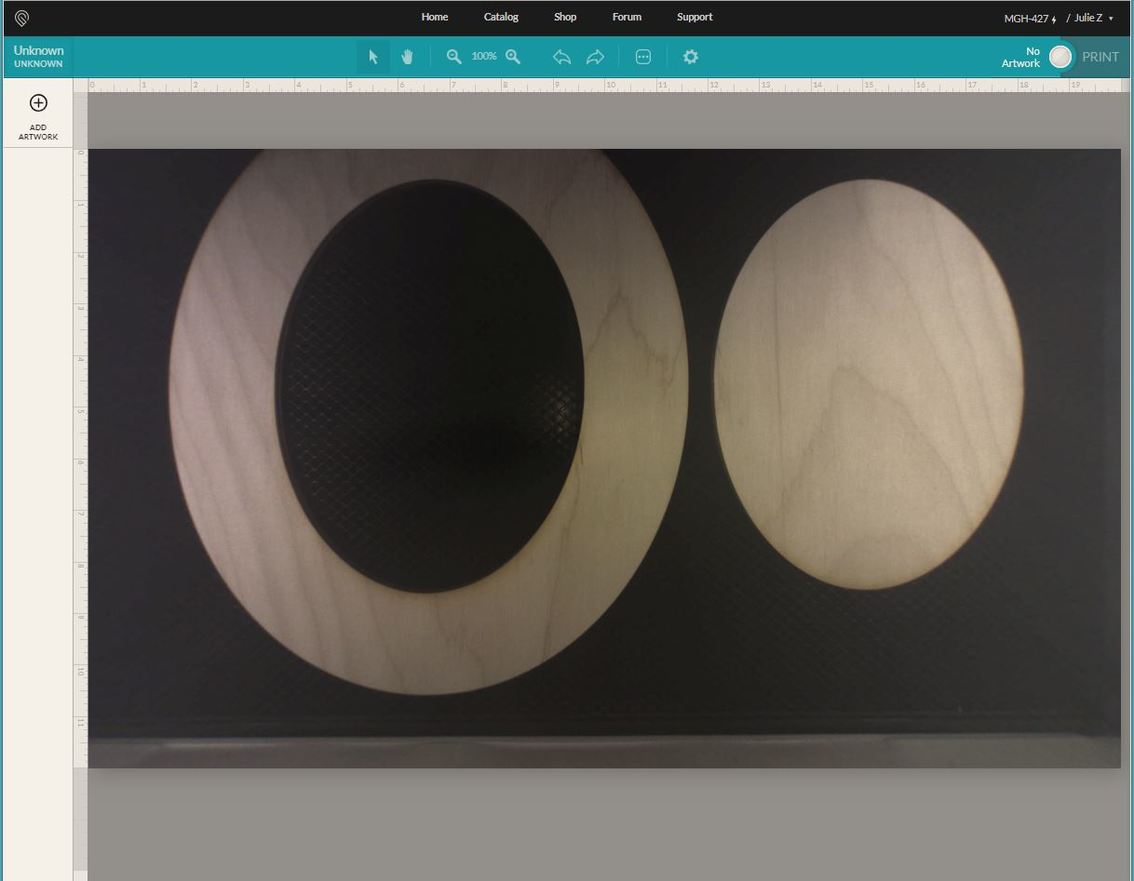
And because I was told that diagonal lines are the true test of alignment…a triangle.
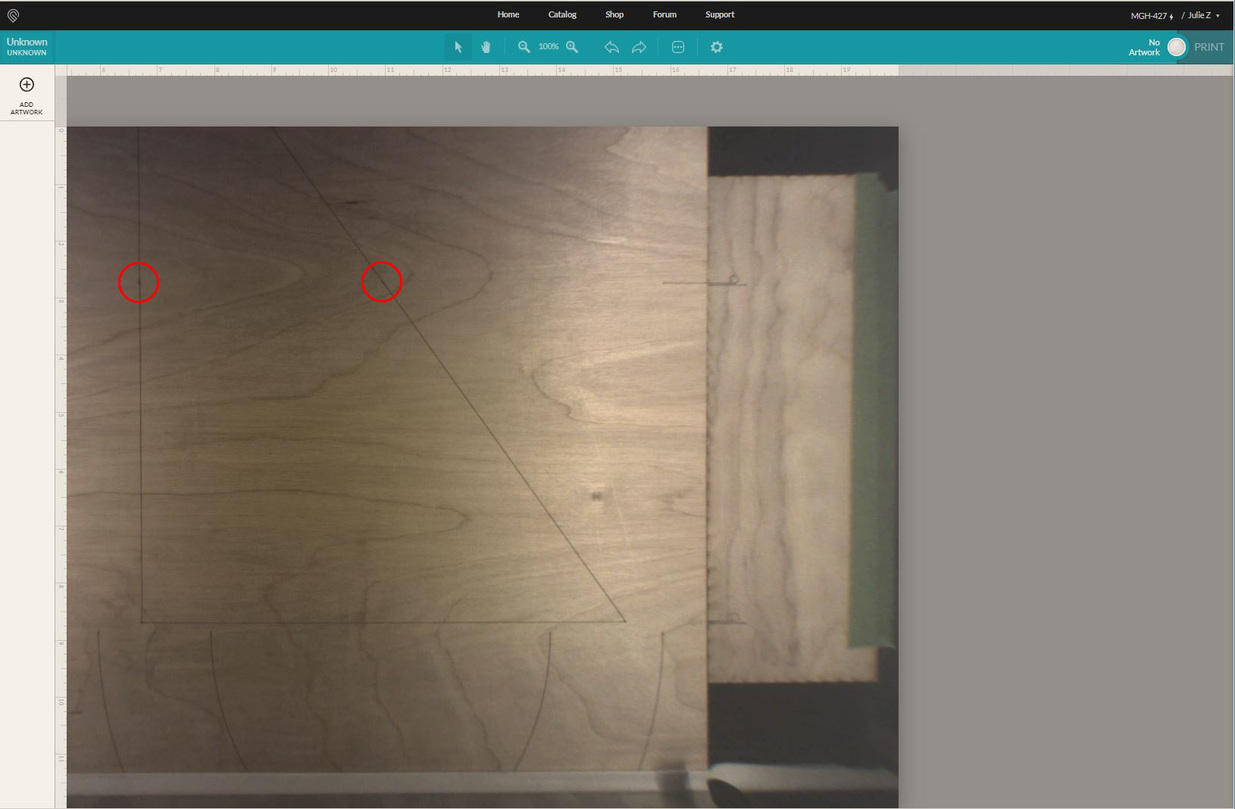
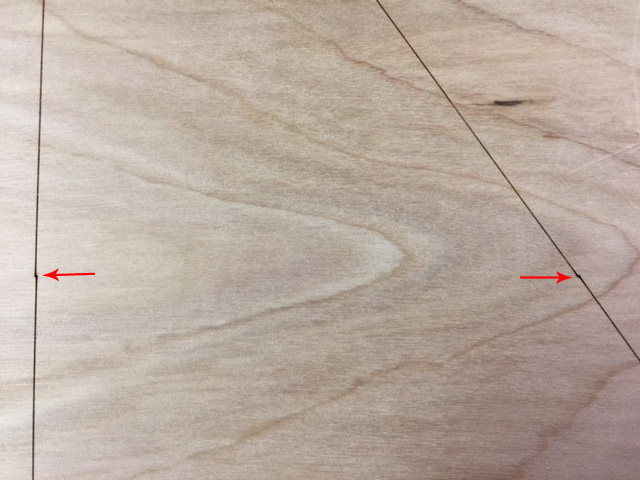
I really wasn’t expecting it to work that well.
(Totally thrilled with it.) ![]()
6 Likes
Is there an ETA yet when the software will be ready for using the pass-through slot?
2 Likes
Glowforge does not announce schedules.
2 Likes
I did a passthrough cut yesterday. One issue I noticed is the crumb tray will move about a bit, even if properly seated in the divots. It does not move much, but it’s enough to throw a cut off.
It is this that will propel me from happy user of a local maker space machine to an owner. Well, this and the ability to use the thing off-line…
1 Like
Thanks for the tutorial! All the content here will save me hours and yet I think I have much to learn still. Putting the finishing touches on a set of outfeed tables to assist with supporting the 8ft material I found for cheap. Note that the below jig does not actually touch the glowforge in anyway and the lid/garage door still operate all the way (No modifications!) I’m bridging the machine for a few reasons. 1. did not want to attach permenently to the workbench but that might be a better design. 2. if I can beef up the rear fence it should keep both tables and laser aligned. 3. if anything bumps the rear table, I’m also hoping this will prevent from losing registration. As a side benefit, I think this makes the crumb tray wiggle a non-issue as holding things tight against the back fence ends up meeting up perfectly with the second table back fence. I’ll have to return later tonight after testing a cut and maybe with more questions if I can’t figure it out ![]()
18 Likes
Nice build!
1 Like
Thanks! believe it or not, I did my first ever pass through cut last night and was totally impressed it worked! I had those sheilds on for the longest time before I could wrap my head around operating the designs in inkscape. Thanks so much to you all for those tutorials.
20 Likes
Oh, it turned out great! 
1 Like
Although this looks really good and I’m tempted to build this myself in the near future (Could I interest you in sharing your plans?) It would be really neat for Glowforge to get on that auto align software they sold me on in their plans.
7 Likes
Agreed. I’m excited for glowforge to update that also. Even so, I’ll be glad to have a way to support longer materials. The entire table can be done from a single sheet of plywood. My glowforge sits on 3/4" risers so I could share a slightly modified design assuming yours sits flat on a table or bench someplace.
1 Like
Sure as heck beats the little rusty Kobalt stand that I use. 
That might be more portable  I used a laser level, which came in handy locating the bottom lip of the passthru and raised all corners of the table until everything was just touching the laser line before securing into place.
1 Like
I would make something that I can attach to my glowforge cart.
1 Like
Wow! what a great solution! Now I just need more room
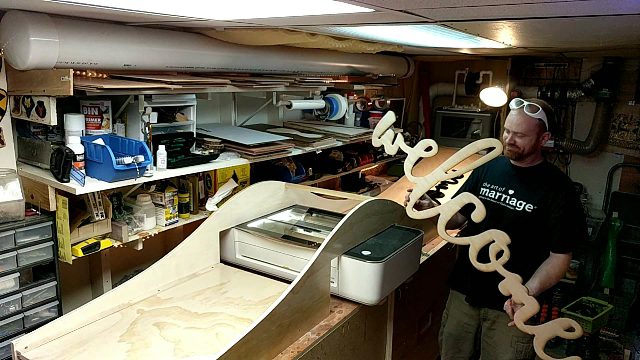
Thank you for the video! Did you overlap any part of the cut at all for that Welcome sign? Mind taking a close up of where one pass meets the next?
Sure thing. sorry the vids are so long. tried to take a close up at the end of the 3rd video around the 8 minute mark. didn’t have any matching cuts that overlap, however, you will see in a few spots where it wasn’t completely together. (underlap? maybe if that is the correct term)
11 Likes
Great write up. Thanks you for making the effort to try, test, and document this.