I followed the steps in the guide, cleaning the lens and all windows (head and sides), ensured crumb tray was seated and free from clutter, and the pg cuts are…better.
The draftboard good measure test succeeded, and a test cut in medium maple plywood did as well, but the next cut in a piece of pg medium cherry ply had a couple of spots that feathered and didn’t quite cut. That piece of cherry has been problematic for a while now.
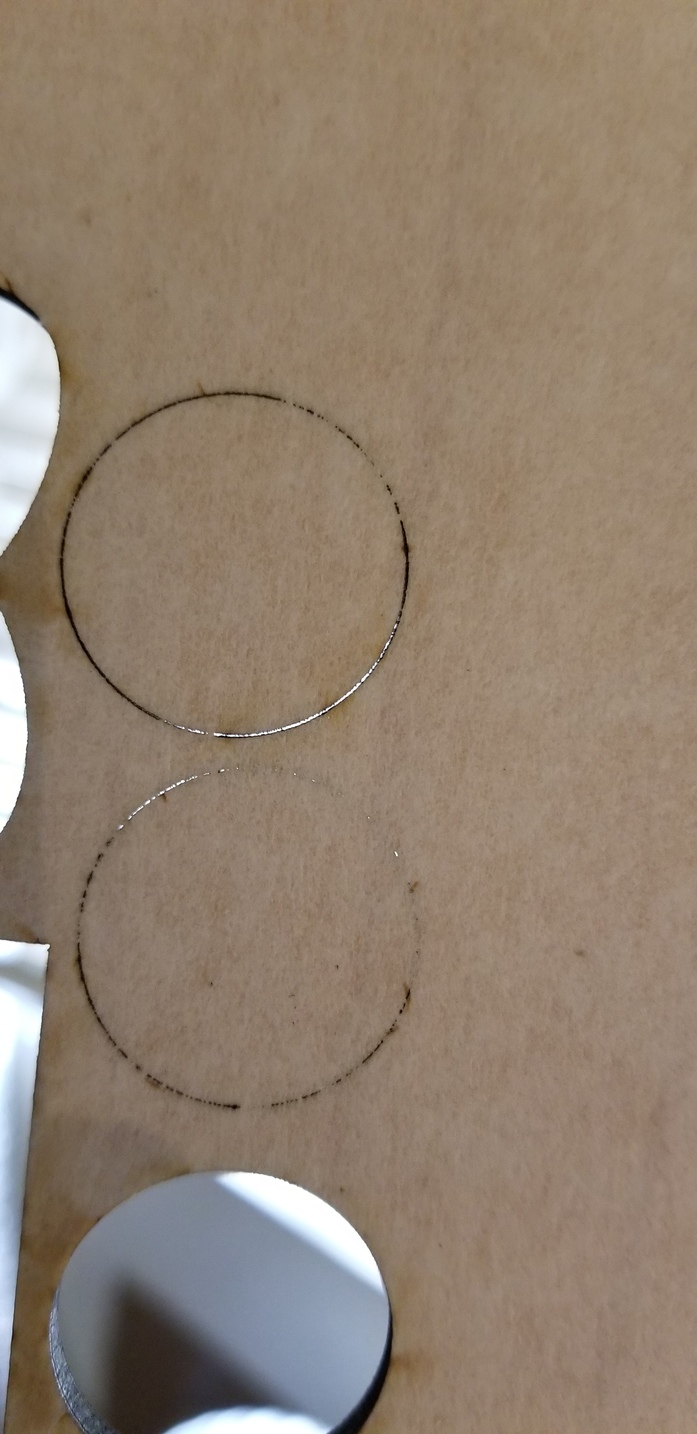
Maple cuts since the cleaning have mostly succeeded but again, I’m still not seeing the consistent clean cuts I did when the unit was new, where 100% of the cuts stayed behind on the tray when I lifted the board out.
It’s not very old yet, but is some loss of power expected with time?
Is there a page to explain how to increase the pg cuts’ power slightly?
The Glowforge tube is rated by the manufacturer for 2 years. Unfortunately, I’m not able to advise you on using other settings besides the default Proofgrade settings.
To help me look into this a bit further, would you mind doing the following:
Measure your material for the prints that didn’t cut through with a pair of precision calipers (or another precise measuring tool) if you have them, and send me the values you record. Be sure to remove the protective layer on both sides before measuring.
Send me photos of the front and back of the prints that didn’t cut through.
Just wondering… The GF unit is warranteed less than two years. If the tube fails or severely degrades after warranty but less than two years, does that mean anything to us?
I saw your instructions, but I’ve been busy with work and haven’t had time to do any more test cuts yet. I should be able to give it a go this weekend, but I didn’t want you to think I was ignoring this.
Sorry for the delay, it’s been a busy weekend, but I did get to play with the forge a bit.
I cleaned the lens and windows again, very thoroughly, after noticing that the wipe I used to clean the camera in the lid was covered with a thin layer of brown residue when I was done (smoke no doubt). When I cleaned the lens I had focused on getting the visible specks off, but I hadn’t rubbed enough to remove any sort of file film. I cleaned it again today and sure enough, there was some of that same brown residue on the lens.
It has been cutting better since, but I did a quick test cut in some proofgrade medium maple plywood today that failed.
I removed the tape after the photo was taken so I could put the calipers on it and that exact spot on the sheet measures 0.135 in thickness.
Oddly enough, the test cuts in I made in a sheet of proofgrade medium cherry plywood today completed successfully. And that was in a sheet of cherry that’s always produced inconsistent cuts.
After that failed test cut in the maple, I went on and tried a box top in another part of the same sheet that cut out just fine.
It’s definitely doing better overall after a thorough cleaning, and I’ll do that more often in the future, but it’s still not cutting proofgrade quite 100% of the time.
Not sure how many hours you have or the material you’ve been cutting mostly, but it may be worth checking the cleaning instructions to see the diagram for how to remove the mirror in the head (the top of the head comes off) and make sure that’s also clean. You’ll just want to make sure you put it back in how the instructions show.
I believe the cut through issues that remain are due to a variance in the Proofgrade material thickness.
I’ve passed along your feedback on the Proofgrade Maple Plywood thickness so we can continue to strive toward a consistent Proofgrade experience. If you find you’re continuing to have issues with other sheets of material, please let us know by opening a new topic or reaching out to support@glowforge.com.