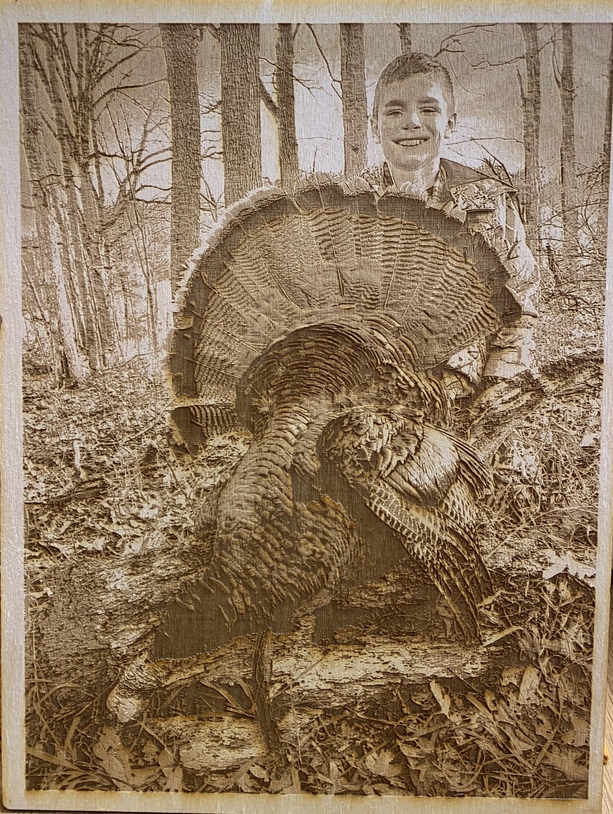
Here is my first photo engrave from editing the picture to producing on the GF.
The black still burned through, is that from the photo editing or do i need to reduce power?
Thanks!
Here is my first photo engrave from editing the picture to producing on the GF.
The black still burned through, is that from the photo editing or do i need to reduce power?
Thanks!
Looks as good as you could expect (i.e. really great!) to me.
Unfortunately we can’t post settings for non-Proofgrade materials here, would you like to delete them from the post so it doesn’t get moved to Beyond the Manual (feel free to start another thread there to discuss that further!)
sorry about that, i removed the settings, thanks for the community reminder 
You could try covert to dots instead of vary power.
Thanks, I will give that a try!
When you’re testing you don’t have to do the whole image, you could just do a section of it to judge your settings.
It would help us diagnose this part if we knew what material you are engraving on. ![]()
He said birch, but removed it with the settings to avoid being moved to BTM…
Yes ![]()
If you reduce power, it can prevent it from burning through in the black areas, but it will lighten everything else as well. (Which might work great depending on the pic.) It’s typically a better fix to lighten the darkest areas in your photo program. Without seeing the original photo I can’t say for sure, but your editing software should have a “lighten shadow” feature and that’s what I’d try first. And you did a great job with this and are way ahead of the learning curve if it’s your first one! Really well done.
thanks, I edited it on my iphone; I have been following Pied Piper’s work and studying threads on doing the pictures. Thanks for the tips!