Ok - so I put this in the “beyond the manual” category because it involves both the BETA ‘calibration’ process, and subsequently use without the crumb tray. If anything belongs in this category, I suppose it’s this.
So - Calibration successful. Amazing, actually, using ‘medium draft board’.
Now to pull out the crumb tray.
Wife tried earlier using math to do one of those (everyone got them, right?) JDS engravable notebooks for our nephew who is graduating HS this year…
My crumb tray measures, for all intents and purposes 34.7mm tall.
With a 25mm riser (tray made from boxes.py / outside measurements…) the stack is 45.05mm.
So -
[stack height]-[crumbtray]=material thickness.
Right?
So - She tried using “set focus” (material type ‘unknown’) and it was pretty borked… not at all in focus. imagine ‘defocused’ by half almost… looked pixelated almost.-
Tried a second time using math - 10.3 mm material height. Part of the engrave was almost dead on, but at the bottom it was at least 10mm ‘low’ from where it was on the screen (the pink outline we all love…)…
FYI- she’s tried these before, using our math, and not had an issue. It’s just not working to choose ‘set focus’ with unknown material, and, using the math it’s way off…
Is my math wrong? Do you have to choose a material for Set focus to work? I’m going to try something in a few using ceramic tile holding up a plywood scrap to get the same height. At cents vs 6$ it’s a better material to try on…
One problem that can happen with Set Focus is that the red dot can fall off the edge of your material, in which case the measured height won’t be right at all. So I try to always watch it to make sure I see the red dot hit the item.
This is more likely to be an issue with smaller items (or items with holes in them) located away from the center of the bed.
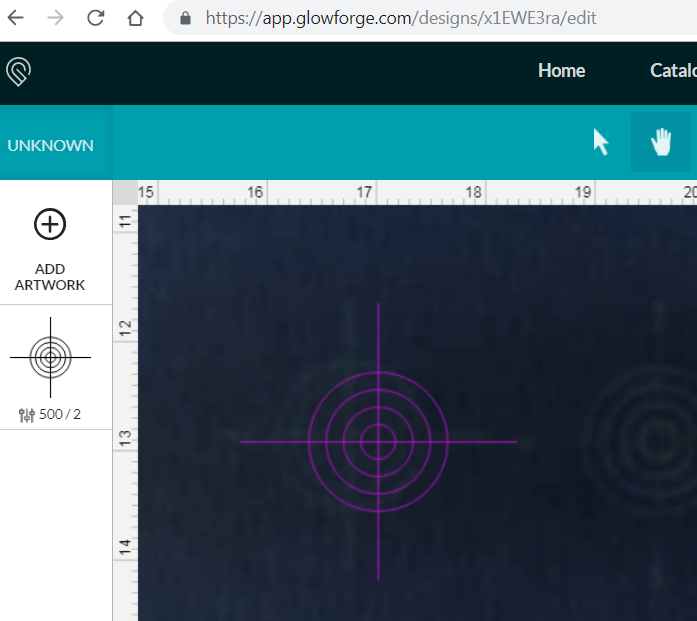
Clicked in the center of a 8x5 rectangle…
THE POINT is that it worked, using the math above, prior to the ‘calibration’. And, using set focus without choosing a material also worked…
I don’t make my math any harder than it needs to be.
I made a series of boxes that are known heights. I use inches, but it could be easily done with mm. I place a box (which I glowforged up) in I know it’s .5" lower than crumb tray. so now I just subtract.5" from my material height, so if it’s a .75" thick notebook, then the new height is 0.25". Piece of cake.
Likewise, I have a box that is 1" below crumb height, etc etc. Really easy to work with when you’re dealing with whole numbers.
I’m effectively creating alternate crumbtrays I suppose. It works well for the bulk of what I engrave.
Pretty well guarantee that the problem has nothing to do with the new calibration. I can throw out a half dozen possibilities for what could be the issue but it’s shooting in the dark. I’m doing a very similar engrave height without the crumb tray right now. Everything is spot on. It doesn’t take much to throw off the image unless calipers are used to measure everything precisely. As far as the Set Focus not working… Was the material dark? Is it irregular/not flat? Was the lid opened after using Set Focus and before printing? Did you use Set Focus to adjust the lid image and then move the design to the new image? Can’t see what you did so can’t really give good advice.
Actually the nothing was moved response could be an issue. When you use Set Focus it adjusts the lid image for the new material height. So unless you move the design to the new image it might be in the wrong spot.
Ok.
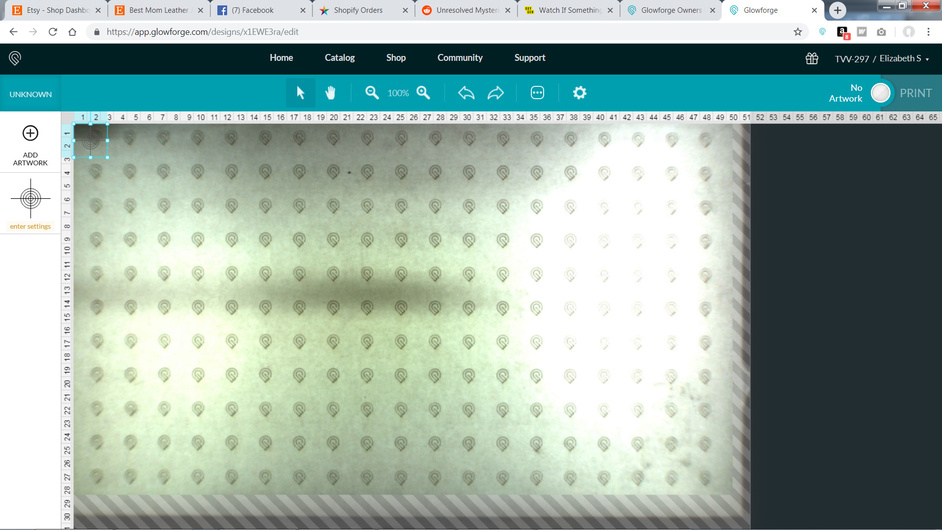
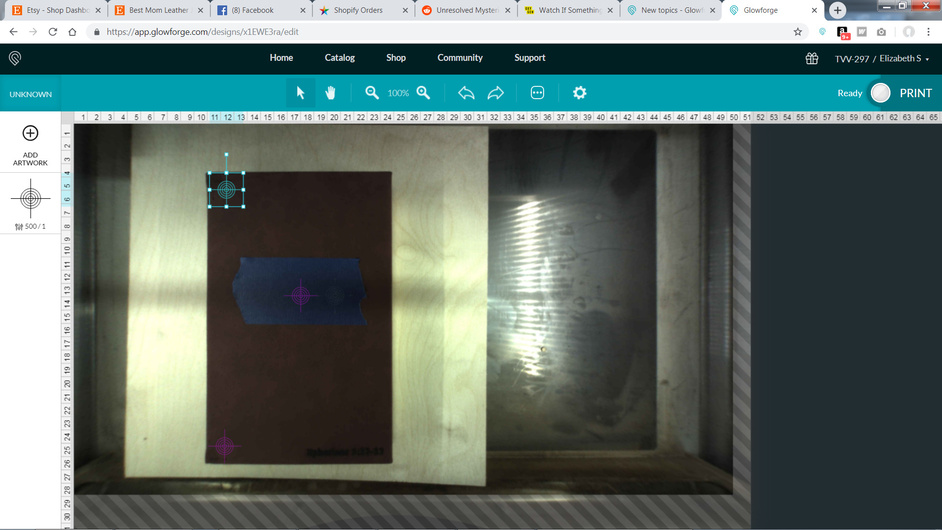
1: Ran the calibration. Everything was cool. Loaded in the TARGET, and it said “no artwork”. Selected Medium Draft board, and it required one arrow key right, one down, to get the no artwork error to disappear.
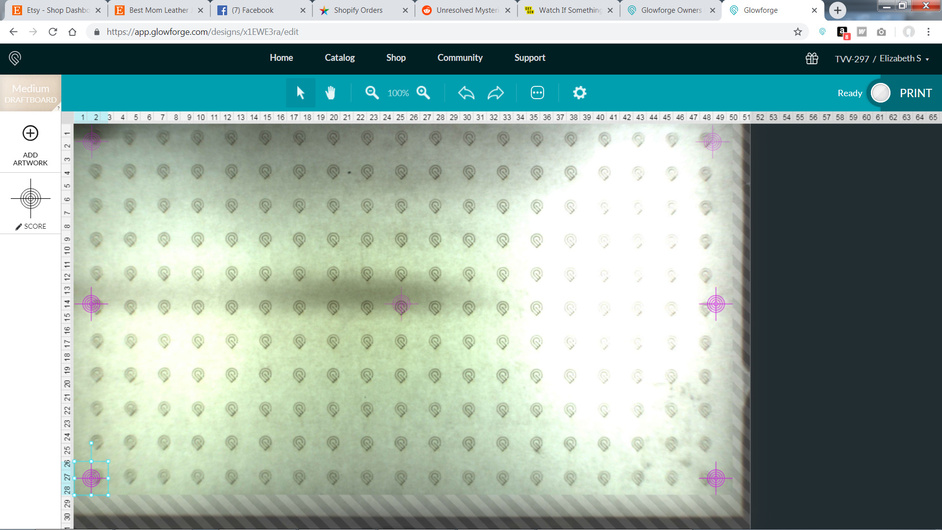
Then I set up my targets. I copied/pasted, then positioned one over the other, and arrow keyed them into position so they’re lined up. The center one was the hard one, but it’s as close to the center of the board as I could calculate…
Just a FYI: The unknown material type does not need to be set if you are using Set Focus. Set Focus sets that value internally for you. It doesn’t actually populate the field and once you open the lid the value is gone and the lid image will revert back. But for the one print and before opening the lid the image should be correct.
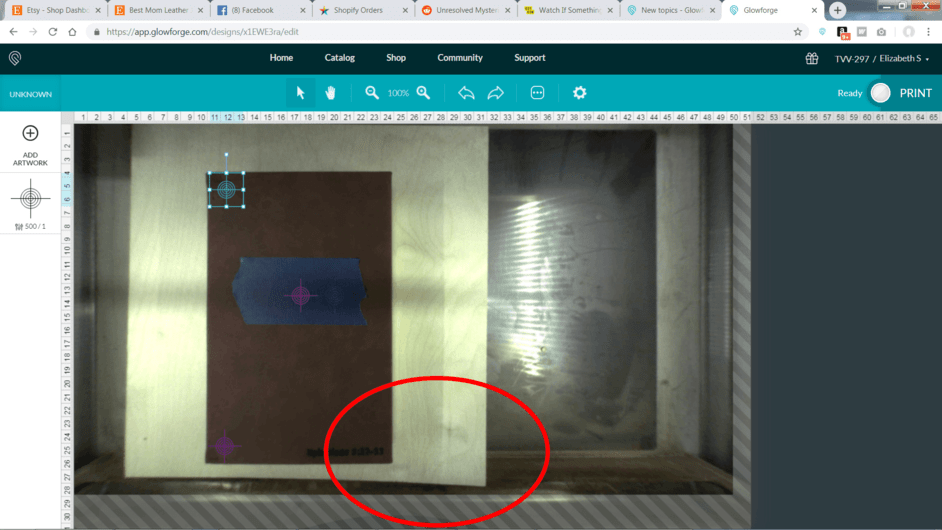
Not sure if this is part of your problem, but the way it appears warped here in the circled area, and across the bottom edge, tells me that the wood your item is sitting on it likely warped, which may mean your material is sitting at different heights due to that warp.
The wood is slightly askew, but the book was squared using a builders triangle against the front wall. That’s ‘fish eye’ there… I’ll take a picture through the (dirty) lid with my cell phone…
If everything is flat in your set up, the fish eye won’t occur. Well, maybe it would here because the book is higher. But, that still looks like the material is warped.
If it’s OOF and no warp, I’m guessing it didn’t read the correct height whenever you scanned. You should see the bed image shift.
Tableing this for tonight… need sleep.
But FYI the board was slightly warped (upward) on that corner. The other corners were all the same. Broke out the depth gauge of the calipers and did a little poking around, and I might have solved the problem, at least to where the “off” is 1mm or less in either of the 4 compass directions…
We’ll see in the morning when I can do some test burns.
Thanks for your attention gents! Appreciate it.
after sleep, and restarting the forge, everything seeems to be working as it should, and placement is quite accurate now. Thanks for the conversation gents - always happy to have y’all chime in when I’m doubting myself! Thanks.