Pre-Release | Mother's Day Part 1: Make a Card

Hey! It’s getting close to that time of year. Mom knows I have a Glowforge so I’m sure she is expecting great things this year. Both of us are rabid cardmakers (she’s 83 mind you, but she still has to have the latest card tool) so of course the card is my first focus.

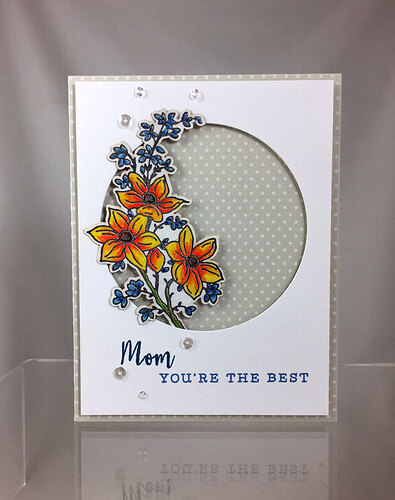
I saw a card done recently (it’s this one if you’re interested) that I wanted to reproduce, in style anyway. But not having that particular stamp set, I decided to start from scratch. First, the final result, then I’ll document the process because I think a lot of papercrafters out there might be interested. Here’s the card I made:

Now, it started with a piece of low resolution clip art I found in .png form:

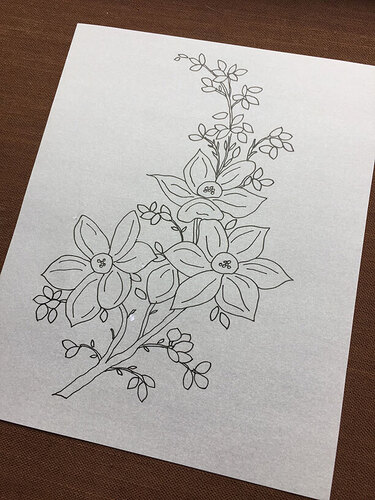
I resized it to about 8x10" and printed it, then hand traced over the top with tracing paper:

Scanned in the drawing to Illustrator and did some autotracing. I had to do quite a bit of work on the image in order to get the line thickness about right for stamp making (about 1.0-1.5 pt). I also did quite a bit of testing of engraving the stamp material to come up with optimum engraving conditions. My initial results indicated that if I went too deep with too thin a line thickness for the stamp, there would not be enough support for the imaging part of the stamp and it would result in squiggly lines when you tried to stamp it. As a result, I ended up making my stamp with thicker lines that I really cared for. If the GF had a Stamp mode where sloping support sides are automatically created, that would fix the problem. Or when 3D engraving is available. (Meantime, I discovered that making two engraving passes of shallower engraves gave me very good results, but that was after I made this stamp).

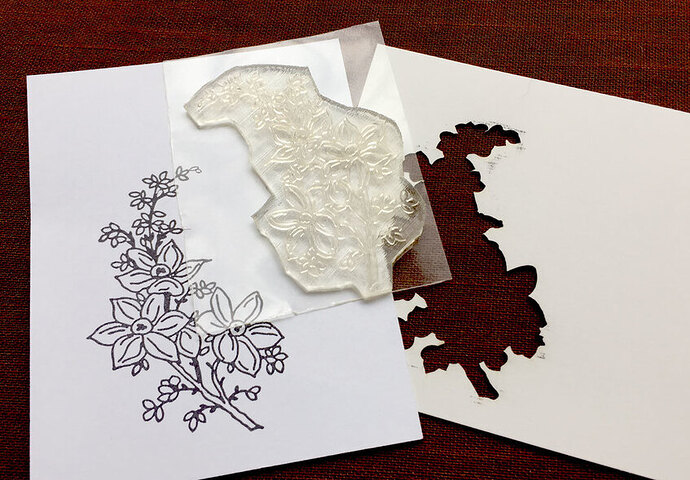
Anyway, I also created a 1mm border outline cutout, and cut that out on the laser from Bristol card stock. Here is the stamp, a stamped image from the stamp, and the border outline cutout:

Dummy me, I forgot to flip the stamp image before engraving it, so it faced the opposite direction. Still usable since there is no text.

Finally, I stamped the image on the cutout with black ink, then again with embossing ink and embossed the image with clear embossing powder. Colored in with Zig Clean Color markers, added Glossy Accents, Wink of Stella, and sequins, and popped the whole thing up on foam squares with the cutout inserted into the circle. The sentiment is stamped from other stamps I already had.

I think she will like it.
65 Likes

JUMPIN JESUS!! That’s unbelievable!!

3 Likes

That’s fantastic (glad you made the same reverse stamp error I made for @joe so now I feel better that a “pro” makes those too). Really cool and individualized.

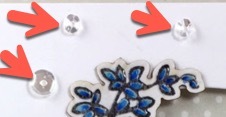
Can you explain what these are?

6 Likes

Those are the iridescent sequins without which no self respecting cardmaker of today would be.

22 Likes

Maybe a silly question, but I’m a total newb, so please bear with me…

Could you print it out on cardstock using a regular color printer, and then use the forge to cut out the spaces?

4 Likes

Beautiful!

2 Likes

I should put those on my colon simulator. Would add a touch of whimsy!

23 Likes

Am I the only one who likes to read only half of @henryhbk posts because I’m like a middle-schooler and giggle?!

I find it similar to altering the fortune in a fortune cookie by adding the phrase “in bed” to the end!

:smiley:

16 Likes

Yep, that’s a possible scenario as well. But it’s the coloring process in card making that can be the most fun, so printing is kinda cheating. :wink:

6 Likes

It needs PearlEx powder as well!

6 Likes

Or “…with no pants on.” :innocent:

8 Likes

Great work! I think there is little doubt that she will like that! My mom is only getting a hallmark - ho hum comparatively. @henryhbk - yep, those sequins could easily pass for sphincter, too! Maybe an ileal break!

2 Likes

One slight short cut, which I used in my silk screen stencil recently, of a line art print.

Printed out an enlarged, brightened image which just gave enough colour to identify the areas of interest, then went over the print with a technical pen, to mark the lines I wanted to keep, then scanned back into the software, again brightening it. This picked up just the black lines I’d drawn, but none of the original colour.

Took almost as long to describe as to do it !
Well, at least it cuts out the tracing step :wink:

7 Likes

Good idea!

2 Likes

Not sequins. Not fish. Snake. Yes definitely snake.

7 Likes

Must be Hasan’s work…

2 Likes

Or, one of our groups favorite, “…with sheep”

put them all together and…Oh…:open_mouth::scream:

1 Like

This is the most majestic thing I’ve ever read on here.

I don’t know what a colon simulator is, but I’m imagine it’s Once Upon a Time… Life, but now with sparkly sequins in the macrophage role. Because whimsy.

2 Likes

I think that’s magnificent, and of course she will too!
Mothers are like that…

I’m still trying to formulate something - Tick Tock…

1 Like

OK, that’s stunning!

4 Likes