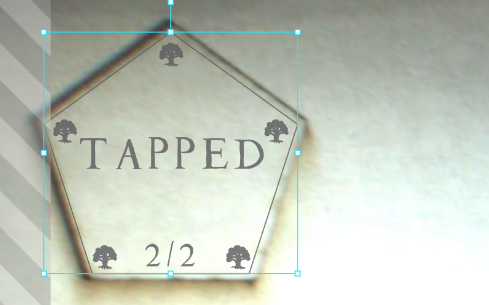
 I’ve noticed that on the last couple prints of mine that print area is changing after a print when I have a new, uncut sheet of PG drafboard in the bed. I’m printing out small tokens for magic the gathering and on this last print I did I started out at the very topmost left corner, then when I went to flip it over to print on the back, the initial area when I cut out my token in the material was not outside of the print area. I’ve included a picture that shows the left corner of my design showing outside the print area and I have not moved the material in the bed.
Do you have engraving on both the front and the back of the token?
The print area changes based on the engraving speed you have selected because the laser head needs space to slow down and speed up at the edges.
1 Like
This can also be the case if you have layers that you turn off and on. For cuts you get a larger area, engraves are smaller depending on the speed. Not to say that’s why you are having issues, but I will forget this and have my engrave layer off for cuts, then have a project slowed because I forgot the space shrinks after I turn the engrave back on.
Yes, the settings are the same for both the front and the back, minus the cut on the back
So the area changes before I even add any other art after the front is printed.
Here’s what happens… @MechanicalGoose and @raymondking32 are correct. The area that you can engrave on changes based on the speeds you are using to engrave. (And if an engrave is enclosed inside a shape, then that outside cut also has to fall outside of the gray bar area for all of the processing…they are treated as a group.)
So what you can do is create all of your engraves and cuts and align them inside of one single file. Then when you cut the part out, the engraves that are enclosed are already going to be accounted for from an engraveable bed area standpoint. (I know that sounds complex, but I have no idea what to call it.)
But there is a tutorial that explains how to do it:
See if that helps with the migrating edge problem. ![]()
2 Likes
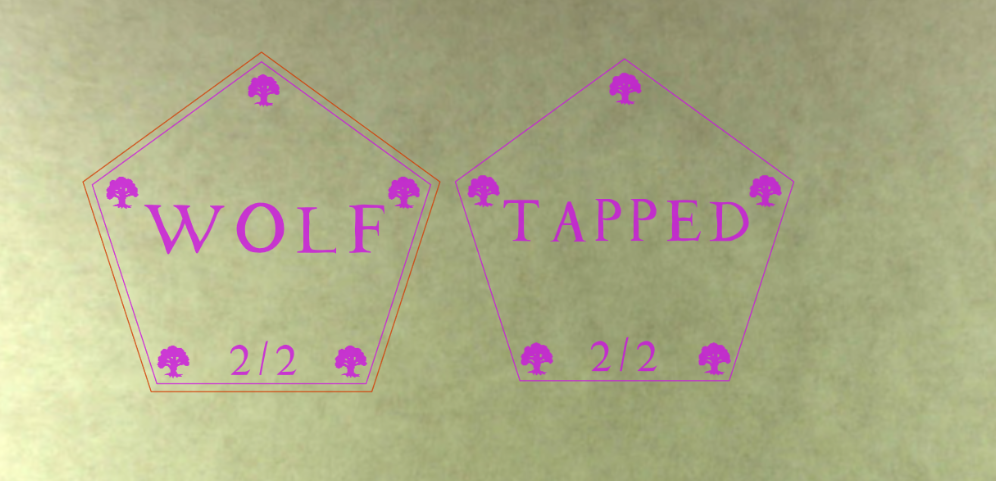
So the settings I’m using for the front and back are exactly the same minus the cut line. They’re taken from the same exact svg. except for the back I’ve removed the cut line so only the inner score line remains and the text changes. Is this saying that I need to keep them as one file?
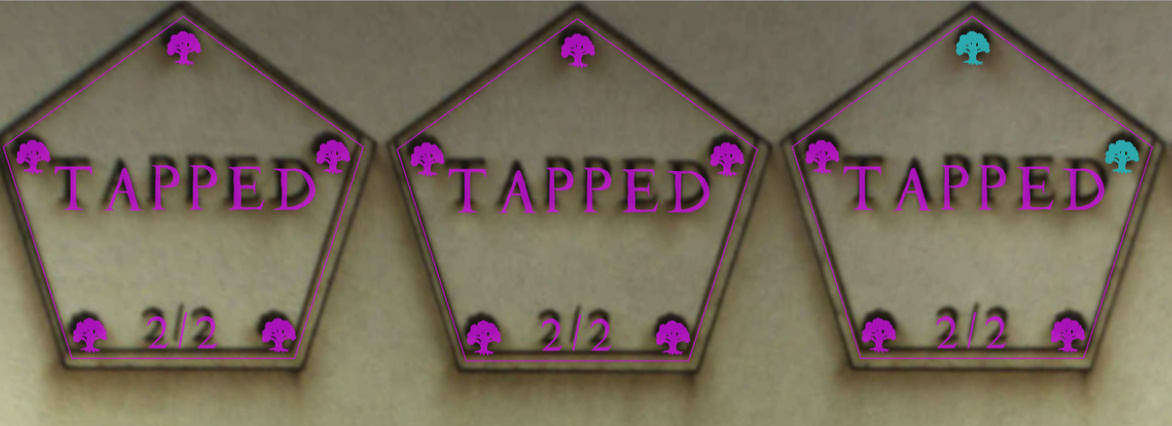
I’m also not sure if its related but I also noticed that my prints are not matching where my artwork is placed. on the picture below the engraving and score line is much higher than where I placed the design. This picture was taken right after it finished, before I opened the lid.
The reason that the image “appears” to shift has to do with the fisheye effect of the lid camera. For that reason, you pretty much HAVE to keep all of the information on engraving in the same file, because while it can be hit-or-miss by a bit as to where a file gets placed, the relationship between parts of a file are sacrosanct.
So if you set the backside engraving to be a different color, then align everything perfectly inside the design file, along with the cut line, everything works out perfectly. The cut will land somewhere close to where you dropped it, but the engraving is always going to land exactly right in relation to the cut. (Just like it says in the tutorial.)
Your two files are not exactly the same. The one that says Tapped does not contain a cut line, it’s just the score line. So that enclosed engrave is not going to land in the same place as the enclosed engrave that also has a cut line. (That introduces error when you are trying to place cuts right up against the edge of the printable area.)
Okay, so if you do what is in the tutorial, you will resolve one problem.
The other thing you likely need to do is run the Improved Calibration program first. It’s brand new, just came out, and it dramatically improves visual alignment for those who try to do things by eyeballing it on the screen. It’s still not going to be 100% perfect at the edges of the bed because of slight fisheye stretch, but you can also use Set Focus to get a really good picture anywhere on the bed. So if you are trying to do something out in the corners, use Set Focus to correct the view and you’ll get much better results at that spot. 
4 Likes