Now I have to go 50 full power to cut through.
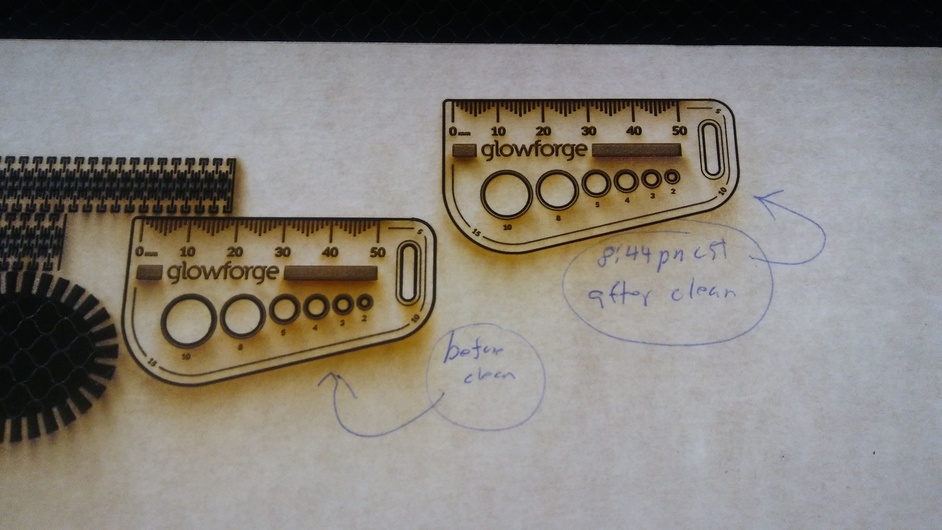
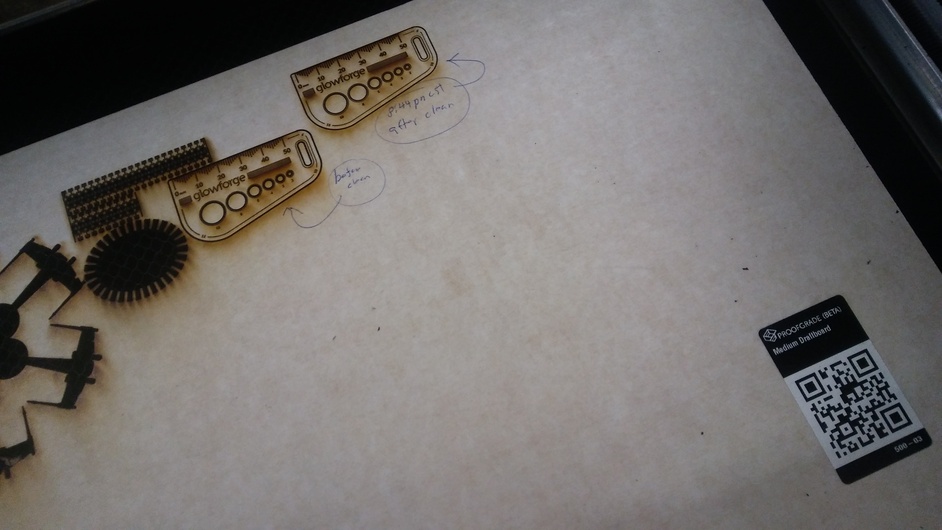
I got out the proofgrade draft board and loaded the gift of good measure. Before cleaning the lens it barely made a mark.
After cleaning the 3 lenses / mirrors I tried again. It still didn’t come close to cutting all the way through.
This is a pro on full power. It was a pretty smart idea having the proof grade available for troubleshooting.
This laser has not been used much, as I cannot believe I have worn out the laser.
I haven’t noticed anyone else posting results like this.
ps: I recently also tried cleaning the distance sensing red laser window, no change. (so that’s cleaning 4 different areas)
There have been a great many posts to the same or similar effect. There is nothing you can do that will make the Laser stronger than on its first cut, but every step away, such as dirt on any part of the three lenses and mirror or four fans will make it weaker, I have been quite shocked at how little dirt is involved in “very dirty”. Even in long cuts, I have seen the first cut be stronger than the last cut, especially when there was a lot of engraving.
Aside from that, as @geek2nurse notes, the depth of focus that produces the highest power is extremely narrow so if any part of the surface is a different height it will make a different cut. I have seen many times that heating alone will cause material to warp. Bed pins will hold what has not been cut but can’t help where the outside is cut before the inside. What usually happens is that the ultimate power is kicked up enough to cut everywhere so the least cut makes it all the way through but the strongest cut will usually have flashback.
I’ve reviewed the photos you sent over (thanks a lot for following up with me outside of this thread, by the way). Unfortunately, it looks like your unit is experiencing an issue that we can’t resolve remotely. I want you to have a reliable unit, so I’m recommending we replace this one. I’ll be in touch via email to sort out the details. I’m so sorry about the bad news.