Pro Only - Passthrough Alignment Jig Templates 🤔

So I got my Pro right before Thanksgiving. I won’t go into too much detail since there are still folks waiting, but…Wowzers!..Yes, it was totally worth the wait. :smile:

I had an unrelated computer issue that kept me from playing with it for a couple of days, but i got that squared away, did a little Christmas gift prep, and finally got around to trying the passthrough slot for a couple of small test runs.

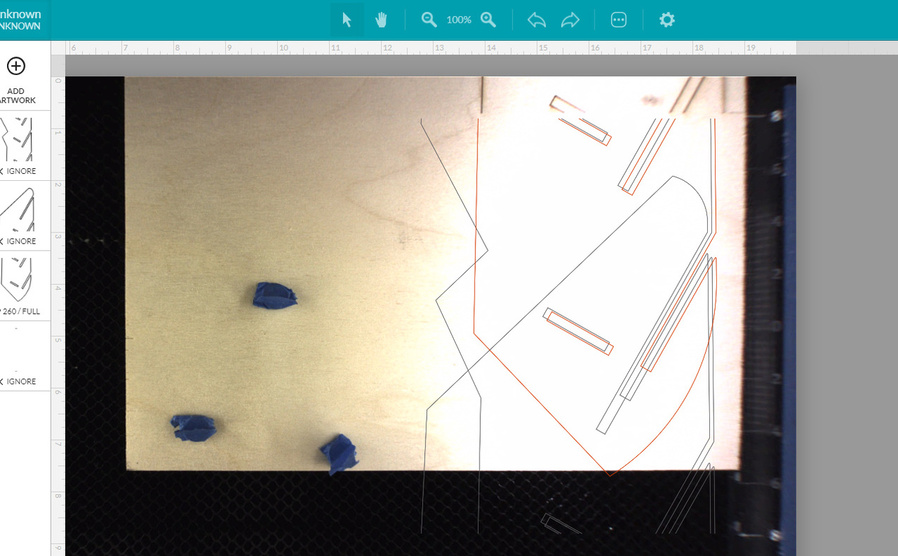
I essentially used the method laid out by @johnse here, Passthrough Alignment with Manual Indexing, and got absolutely excellent results, so I highly recommend it. It has the advantage of not relying on the lid camera for placement, so until the software gets finalized, we can still knock out what we need without waiting.

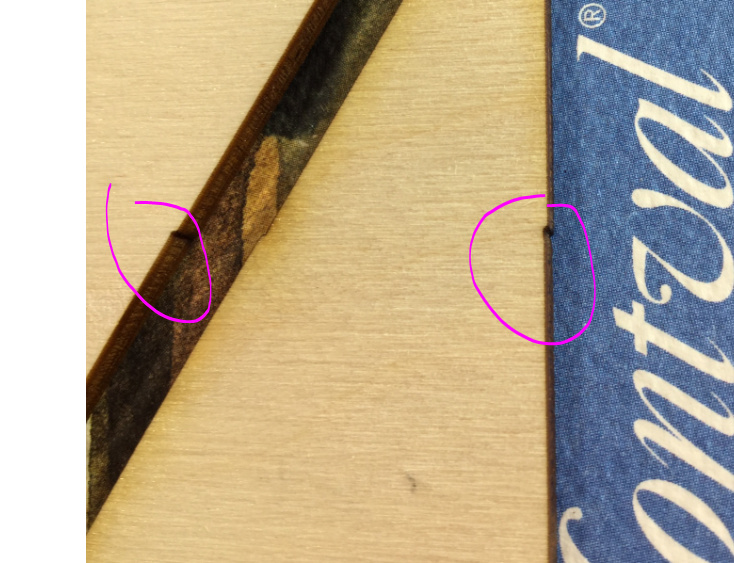
If you have a machine that has camera alignment that is still slightly off kilter, you can use the tutorial method with a sacrificial side scrap to actually run the indexing scores across both pieces of wood…that is going to be completely accurate no matter how badly the camera alignment is off, because you don’t use the camera at all. (Make sure you tape the scrap into place though, you don’t want that piece to move at all.)

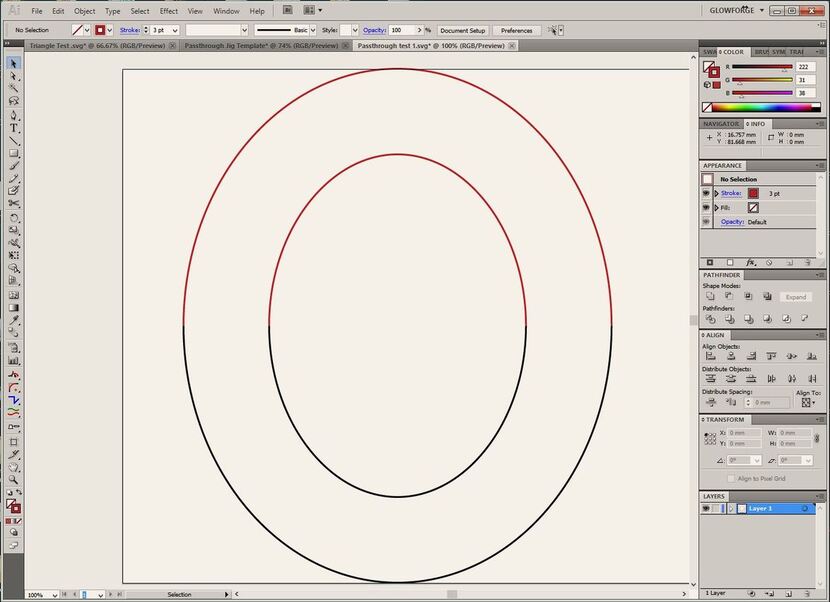
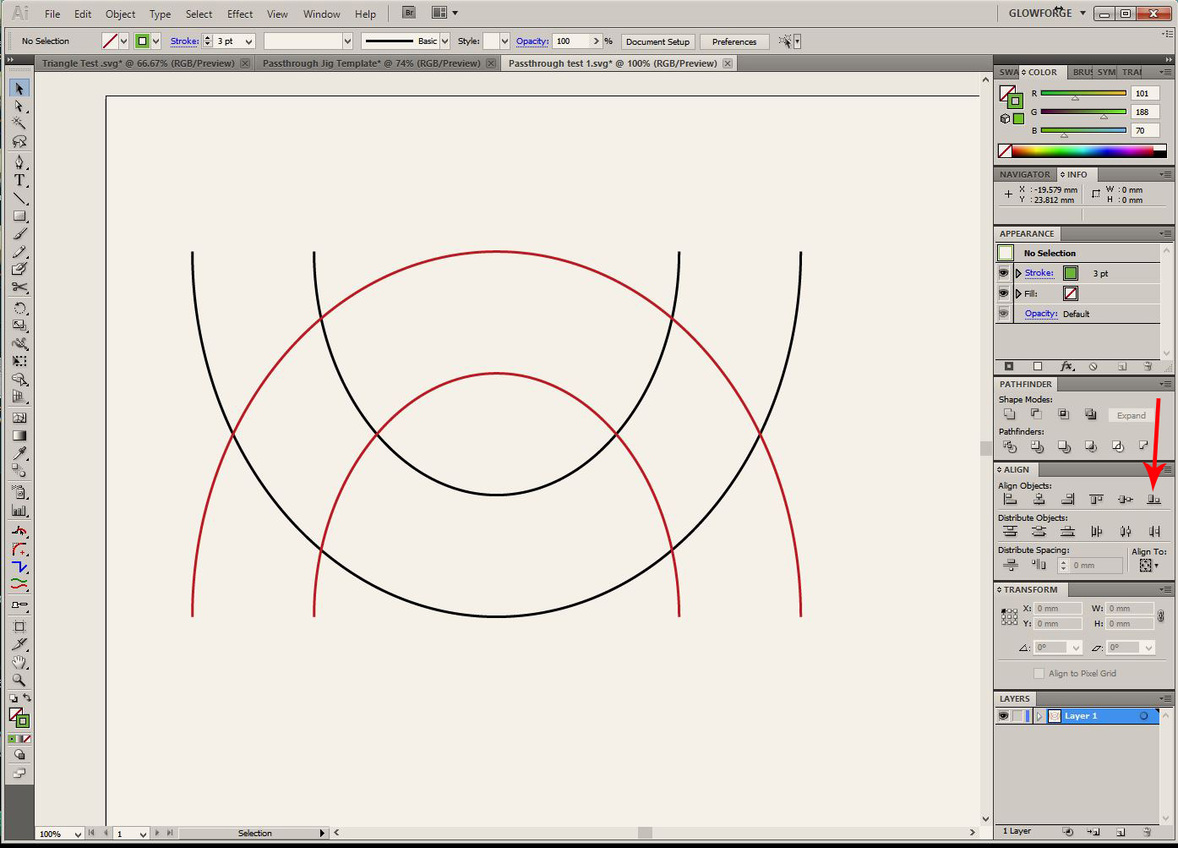
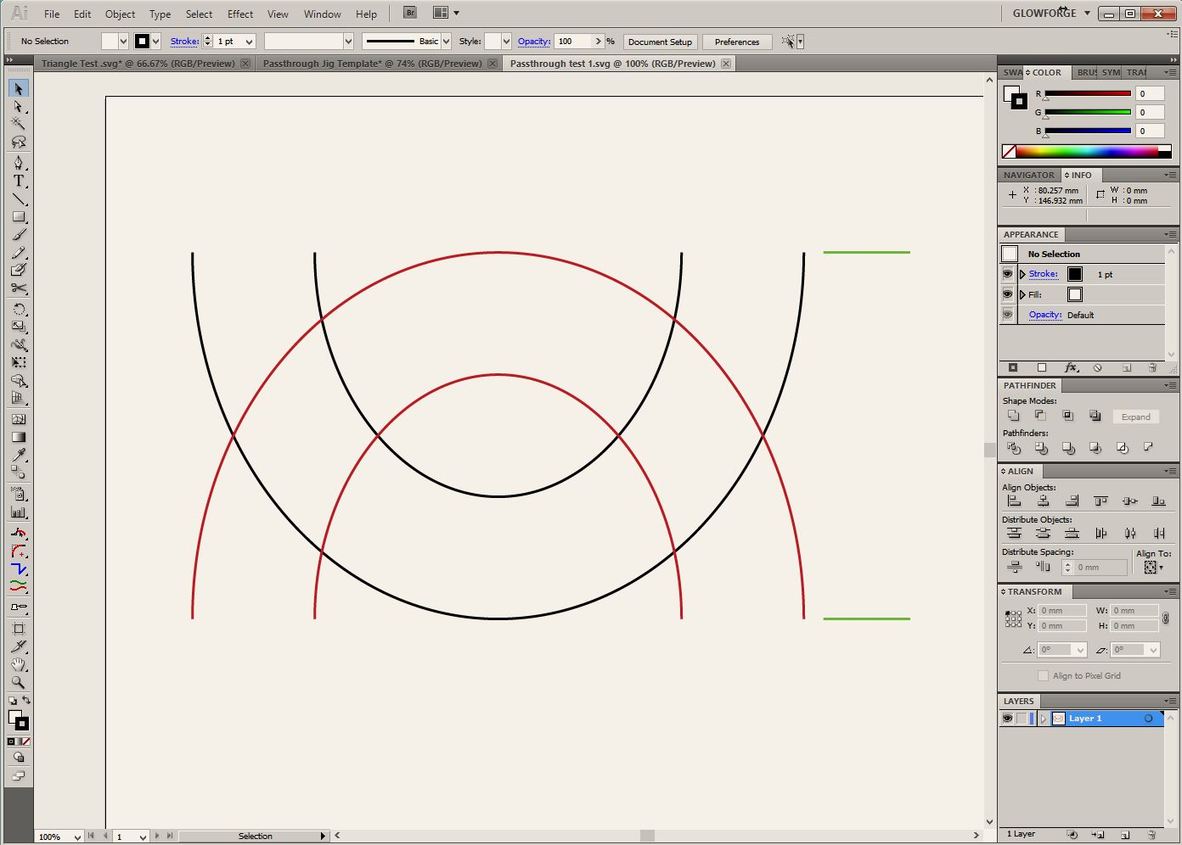
Once the machines have achieved final tuning, I thought that something like the file below might come in handy, for those who don’t want to keep a scrap of wood lying around. You can build your files on any index from zero to ten inches, and then use the guide taped into place to anchor your material against. I like to index off the right side, but there are left-side templates in the file as well… just delete the ones you don’t want to use. (And if you set your artboard correctly, you can place the lines in the design so they land right up next to the jig. Bonus! :smile:)

Since these will print accurately, and your files will be created with the same accuracy, they actually worked just as well for me as the score across the two pieces of wood. I wasn’t expecting that, but it turned out fine, so i thought I’d share them.

Passthrough Jig Templates2.zip (12.1 KB)

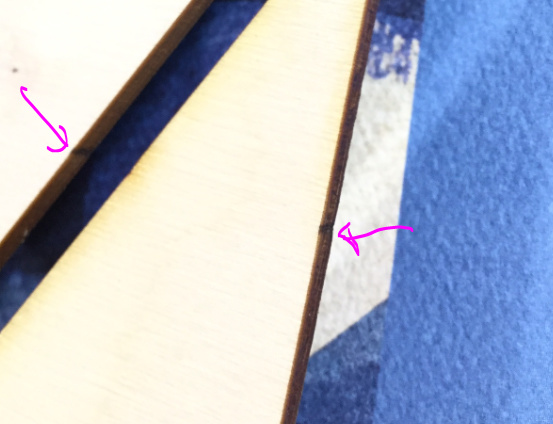
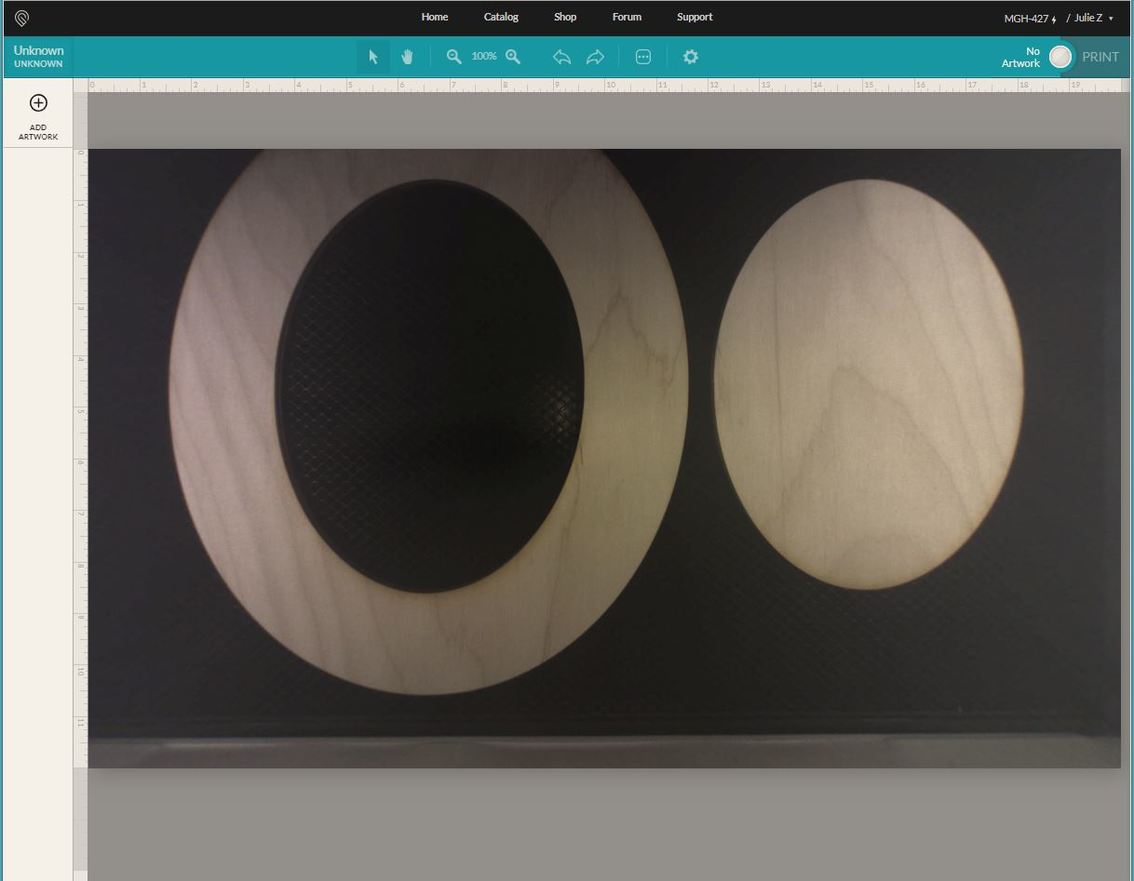
Cheap hardware store 1/8" ply…no sanding. Turned out pretty good. :grinning:

ovals


More detailed instructions here:

And here for Inkscape:

65 Likes

This is absolutely great but I am having the stupids pretty bad so could you take it down to bullet points for me on using these? I have the concept of indexing, it is the specifics of what you are doing that is getting me. Do you score these onto your work? Print and cut out? Hey, I said I was having the stupids. THANKS

2 Likes

Congrats on finally getting your pro!

5 Likes

Absolutely…I’ll be glad to show a few examples later tonight…it’s ridiculously simple to pull off with the files. (Hubs just got back after a week in Dallas again…got to feed him first…I’ll load it later tonight.) :grinning:

2 Likes

Awesome! I’m looking forward to trying it when I get my Pro. Definitely bookmarked, and thanks for the file!

1 Like

I have a major overhaul of my comic convention booth planned which necessitates the use of the pass-thru slots so this will be a major boon. Thank you!

3 Likes

Okay Bullet Points:

(going to demo in Illustrator again, but it should work the same in any drawing program):

Everything starts in the file…say I want to cut a 12 inch oval frame

  1. Draw a 12 inch high oval in Illustrator and use Offset Path to create a smaller center oval.

  2. Cut the ovals exactly in half, using the scissors tool on the side nodes. Make the top two halves one color, and the bottom two halves another color.

  1. Group the top two halves together, and the bottom two halves together.

  2. Use the Align to Bottom on both groups to align them at the base.

PT test d

  1. Draw a couple of indexing marks out to the side. (Use a different color.) Align one to the top with the other groups. Group that, and then align the other one to the bottom.

PT test e

  1. Save the SVG. When you open the file in the interface, you would just align the index marks on the file to the two 6 inch marks on the jig. They are exactly six inches apart.

Make sure you tape the jig to the tray, and have it sitting flush against the slightly raised lip at the edge of the tray. You’ll feed the material flat along that jig.

  1. The order of operations is:
  • Set cuts to ignore.
  • Score Index Marks. (Adjust the alignment against the jig)
  • Cut top half ovals. (red)

Pause, open the lid and shift or slide the material up so that the bottom index mark aligns with the the top 6 inch mark on the jig. Make sure the material is flush against the jig.

  • Cut bottom half ovals. (black)

And that’s about it. If you had it split into thirds, you’d need to score the Index marks again before cutting the bottom third ovals, and when you are creating the file you align the top third to the bottom, and the bottom third to the top. (Follow the geometry.). The method is extremely accurate. :slightly_smiling_face:

30 Likes

This is super useful, @Jules! Thank you so much!

4 Likes

I don’t have a pro, but I’ve been wanting to make some internal guides since I got the machine. This is super cool for those with pros!

Also, looks like your camera is needing a wipe down - I wipe mine down once a week or so and I’m always surprised by how much more clear it is when I do :rofl:

2 Likes

Wow, this is really cool! Thank you for sharing!

The pass-through slot was one of the big things for me. I really hope they add the functionality soon!

So, with indexing, and without a lot of extra work, we could do something with a single part size of about 20x19

1 Like

Thank you so much @Jules. I am trying to work this out in programs I use now.

1 Like

And for the truly precision-driven folk, create and engrave and use a Vernier Scale as well to make sure your alignment is spot on.

1 Like

That makes a lot of sense. Thanks @Jules! well done.

1 Like

Your knowledge is so helpful. Truly appreciate you. Thank you very much. :slightly_smiling_face:

1 Like

Congratulations!

Even without the Pro that technique is going to be useful for some people. We’ve got about 6" of physical space in back past where the working area ends.

2 Likes

Bookmarked! Thanks @jules!

2 Likes

Got it to work! It’s great :star_struck:

Trying to align THIS mess by eye would have been a disaster. This is right before I hit PRINT on the 3rd section:

Only had one little hiccup - on the 2nd cut even - turns out the crumb tray can sat in the grooves where it lives with quite a bit of wiggle room.

After i wiggled it a bit, it looked like this for the 3rd cut:

image

8 Likes

Awesome result! Thanks for posting it! :grinning:

1 Like

Thank you so much for your tutorial! Maybe it’s really late and my head’s not thinking properly, but what if I have a triangle that I’d like to cut and it’s measured at 19.45 tall? Where would I make the index marks?

Cut ten inches from the top of the design.