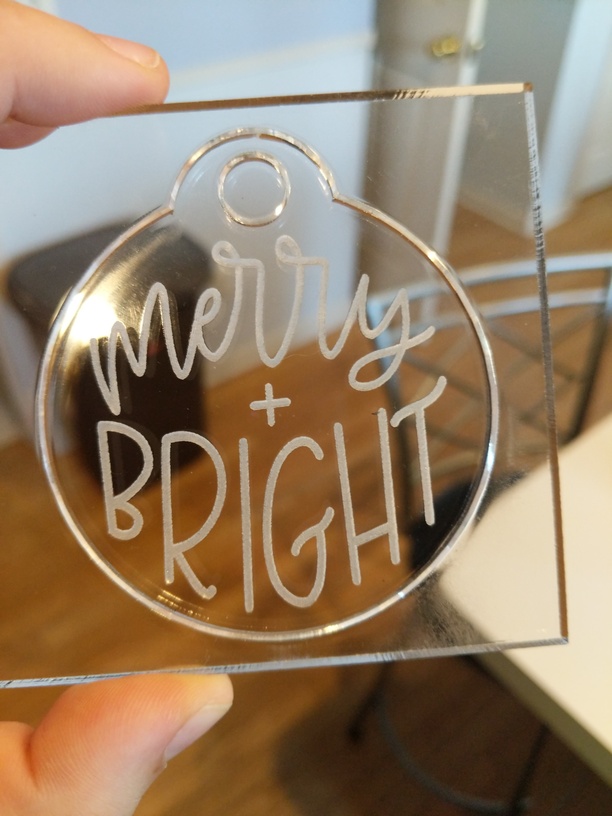
Hi! So I’m have trouble with proofgrade cut and burn marks. So when I use proof grade cut it doesn’t cut all the way through, so I slowed down the speed to 105 and it’s cutting through now but I’m getting a lot of flashback marks on my acrylic.
I’ve cleaned all the lenses and the mirror. I’ve also cleaned the fan properly with condensed air.
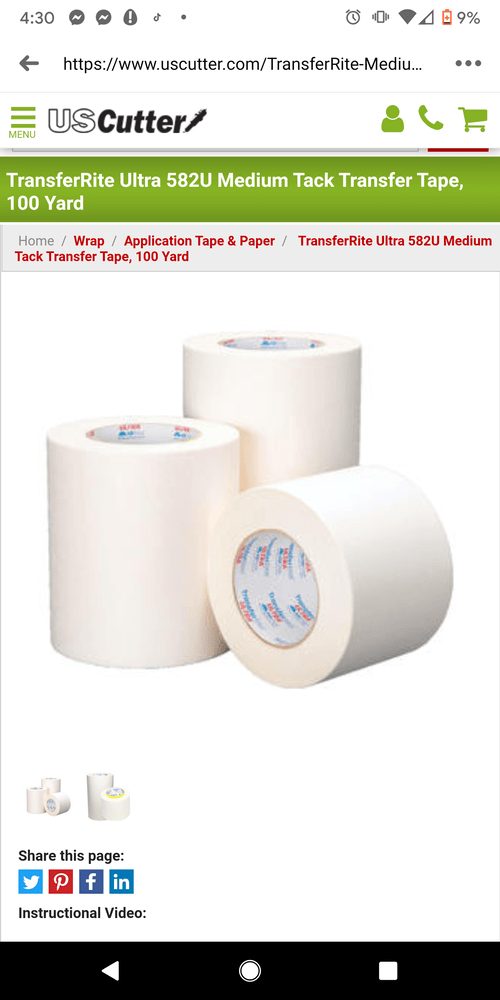
I’m at a loss… It could be the masking but I bought new masking maybe I’m putting it on improperly or something because I’m still getting flashback marks.
Thanks in advance!
Proofgrade medium acrylic is cut at 168, why would you slow to 105? Even thick acrylic is cut at 125. What acrylic is this you are trying to cut, and can you share a photo?
It’s 1/4 inch clear acrylic… When I clicked manual on cut it had the speed at 115.
And when I left it on proof grade it didn’t cut through
So, to be clear, you are not using Proofgrade acrylic and you are not using Proofgrade settings? I have a Pro, so my settings will be different than yours if you are using a Basic. Are you masking both sides? What kind of masking? Are you using the set focus and auto focus settings or inputting your actual material thickness? I can’t see the flashback from your photo, but maybe experiment with a little increase of speed.
1 Like
Unfortunately with glowforge being out of proofread acrylic I’ve had to use other sources for acrylic.
I wish I had a pearl but yes I’m using a basic.
I was only masking the top side
And I’m doing autofocus
And that one didn’t really have too much flashback because I accidentally didn’t have the power on full
Probably going to have to mask both sides like Proofgrade or put the masked side down as flashback occurs on the side next to the crumb tray.
I have placed cardstock on the bed instead of masking the back. I had trouble remembering in my excitement…
7 Likes
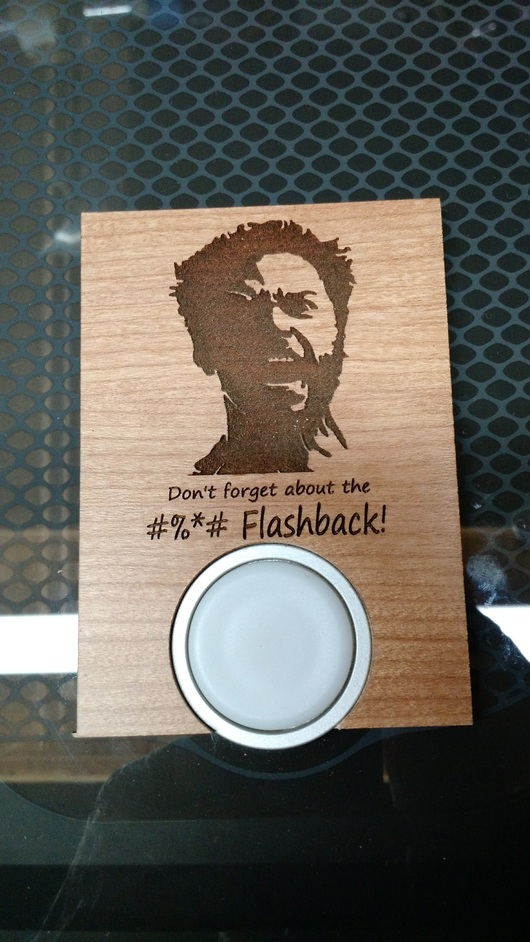
this is hilarious and totally how I feel about the flashback I have been getting as well. I would literally buy this from you LOL
1 Like
Hey I am having the same problems & I noticed my crumb tray is uneven. I measured the distance between the laser head and the crumb tray on the left side, right side, and middle, and noticed the right side is farther away from the laser head. I am waiting to hear back from support as well, but maybe check that out while you wait.
Have you pulled out the crumb tray and cleaned out the divots the little feet projections rest in? Also look at the bottom of the crumb tray and clean off any debris that may be stuck to those projections. Then put it back in and slide it back and forth a couple of times until you feel that it’s solidly in the divots.
2 Likes
Yes I have done that as well! I have followed all the instructions on the Glowforge support page that explains what to do if your cuts are not going completely though. The measurements I took as well proved that the crumb tray is uneven. I am also at a loss right now…seems like a lot of others are having the same issue with their new units 
All acrylic has a wide tolerance and even the same sheet can vary as much as 10% from one end to another, so something that cuts well without flashback at 115 on one end may need 110 on the other. (And you’re right, PG thick acrylic is 115/full.) The thicker acrylic has the added problem of the edges sometimes melting back together a little too. So the only thing to do is try and find a happy medium and give 110 a shot and see if it works. Just make sure and not move anything until you know for sure it’s cut through so you can run it again if need be. You can also just go with the slower setting and use a backer material like chipboard to help with flashback.
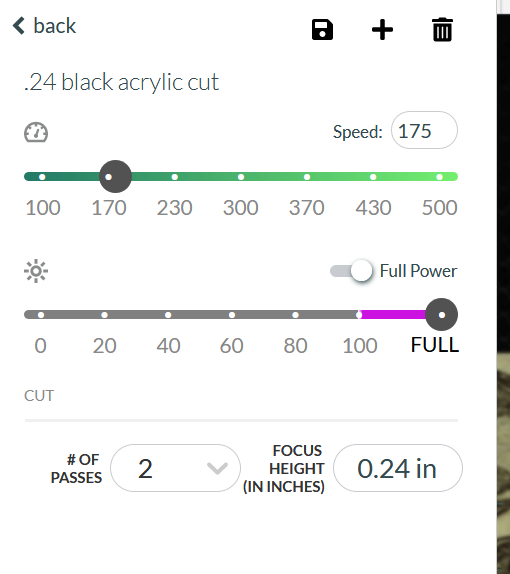
FWIW, this is the setting I have saved for the 1/4" acrylic I use. I like going faster with two cuts because I’d rather had a clean cut that a fast one. But if you’re doing a bunch of them, the extra time may be prohibitive.
3 Likes
There have been a couple of folks over the past few years who had twisted trays so they may replace it for you.
The difference between 115 and 105 is fairly significant; 115 is about 10 inches per minute and 105 is about 6 inches per minute.
175 is about 32.5 inches per minute so it should be faster than 115, with the two passes. Acrylic takes advantage of waveguiding (where the beam will bounce back and forth allowing for deeper cuts), so maybe you doing two passes at that faster speed works for that reason? Or maybe it’s not melting the product as much and sticking?
5 Likes
this part. cutting thicker acrylic with a lower wattage laser creates a lot of “slump” at highest power/slower speeds. i’ve cut a few 1/2" pieces of acrylic with multiple passes. it took some experimenting to find settings that minimized the melty slump that happens. it’s not as bad at 1/4", but it’s still potentially an issue.
4 Likes
I’ll try out your settings! Hopefully it’ll turn out better 
1 Like
Hello @lester.sophie11, it looks like you’ve been getting some great advice from the community members here. Have you had a chance to try their advice? Any improvements?
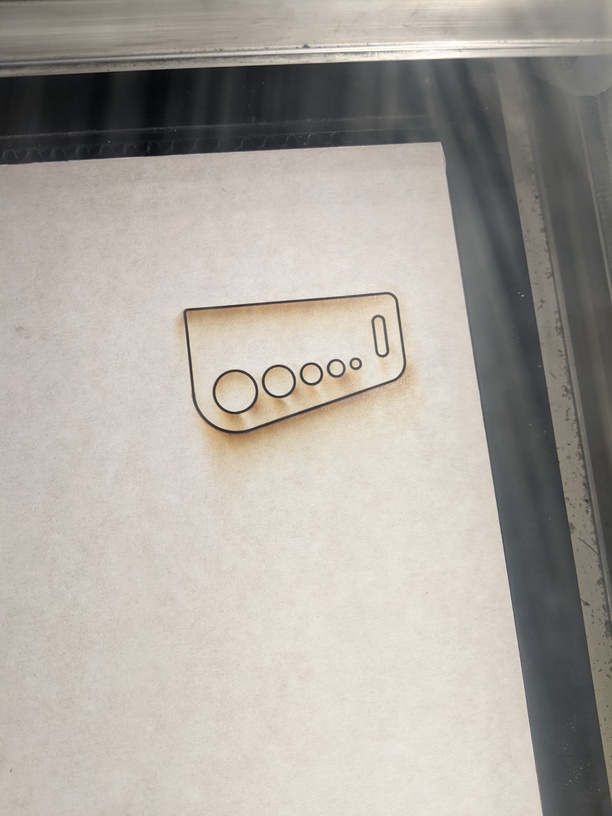
If the cut through trouble continues, I’d like to have you run the test print below. This will help us to establish how your Glowforge performs with a known design on Proofgrade material and using default settings.
- Turn off your Glowforge, then turn it back on
- Place Proofgrade Draftboard in the bed and load the Gift of Good Measure design.
- Set the score and engrave steps to ‘ignore.’ Print the Gift of Good measure using the default settings. Allow the print to finish.
- When the print finishes, leave the lid closed and wait until the fans stop and the picture of the bed updates.
- Check the completed print:
- If the Gift of Good Measure fails to cut, please let us know the date and time of the print
- If the Gift of Good Measure cuts successfully, please try another print of the design you saw the issue with, and let us know the results.
- If the issue still occurs, please let us know the date and time of the finished print.
Please let us know how it goes. Thank you!
Will do
Just did the gift of good measure on 11/27/2020 at around 1:30 pm EST
It did not cut all the way through
Hey @lester.sophie11,
Thank you for running that test print for me and posting the photos. I just took a look at the logs from that print and it looks like there was an issue with the autofocuser that occurred.
Could you please send me a photo of the bottom of the printer head?
I extracted the logs from your Glowforge to investigate, and it looks like the orange button is appearing because the Glowforge is having trouble communicating with the printer head. There are two key connections I’d like you to check for me.
Could you please do the following?
-
Turn off your Glowforge.
-
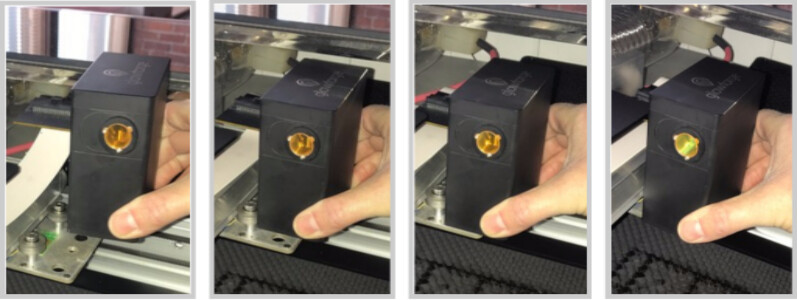
Holding only the finished black surfaces, grasp the printer head as shown. Pull gently up and back to disengage the magnets and remove the head.

-
There is a small tab in the center of the wire ribbon. Push down fully on the tab to release it, and gently pull the wire ribbon plug from the printer head.
-
Take a clear photo of the gold pins inside the printer head where you just unplugged the wire ribbon. It should look like this.
-
Take a photo of the bottom of the printer head like the example below.
-
Pick up the printer head and wire ribbon. Make sure the tab on the wire ribbon is facing up. Slide the ribbon back into the head until it clicks securely back in place.
-
As shown, lower the printer head over the metal plate so that it rests next to the two round posts. Then push it gently away from you – you’ll feel a “click” as magnets pull the printer head until it sits snugly atop the metal plate.
-
Pull the laser arm all the way forward.
-
Reach over the laser arm, and to the left of the inside of the unit and you’ll see this circuit board:
-
Take a photo of the circuit board, please use flash for this photo. If the cable I’ve indicated above with the red arrow appears to be loose, please reconnect it and try printing again. This cable should ‘click’ back into place.
-
Turn your Glowforge back on.
-
Send me the photos you took in steps 4, 5, and 9.


Thank you!