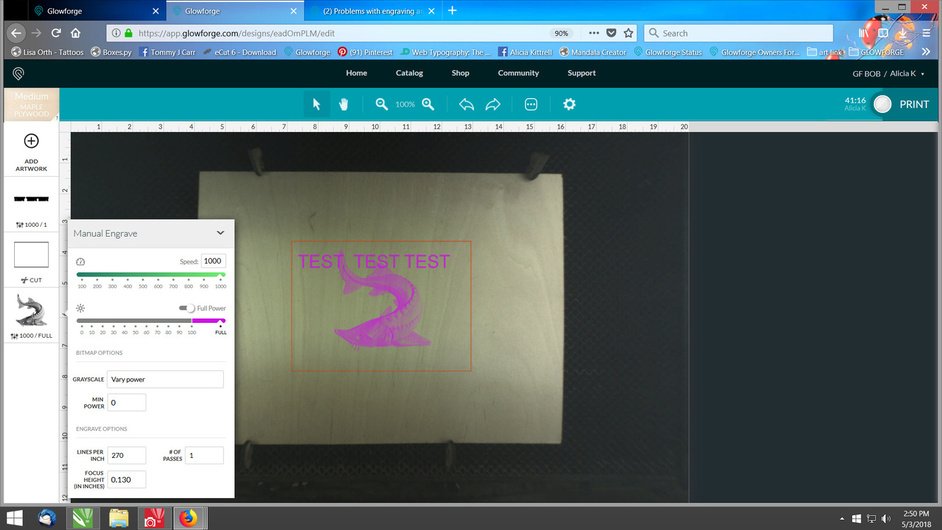
Damn auto correct. What happens if you load an svg with some text turned into objects(vector engrave), some cut lines, and two separate PNG rasters.
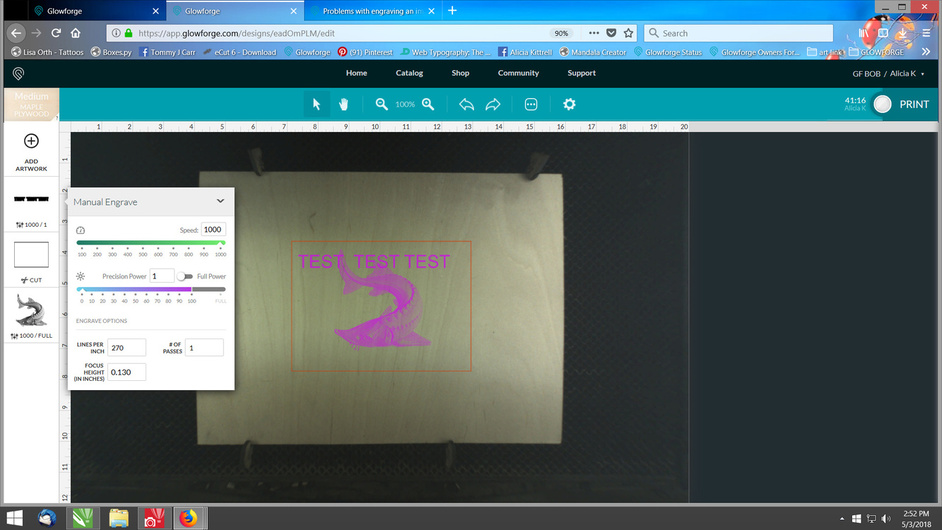
Alright, even with it set at 0 minimum power, it is outputting much more than zero minimum power
Are you sure your brightest points in your raster are full white? Pure white should be zero power on vary power engraves. If you aren’t sure, you should google “how to use curves to fix contrast”.
1 Like
The background isn’t pure white… I can see that just from the engraving that was posted.
I think you have something else going on besides the minimum power. Have you cleaned your machine? Did you put the lens back in properly? Even just the text is looking way different from before and after.
Text and cut lines will either be the same operation (if they have the same color/fill).
The pngs will be two operations that default to engrave.
1 Like
I agree. Might be worth looking at the file itself as I’d assume it’s an issue with contrast/brightness of the background.
I’ve been burning with this laser for a year, and another laser before that. I’m past the basics. The first image shows THE SAME FILE BEING CUT WITH THE SAME SETTINGS ON THE SAME MATERIAL. Only one was done a few weeks ago and the other a few months ago.
The settings haven’t changed. The scaling hasn’t changed.
The graphics setting ui has changed.
https://community.glowforge.com/t/two-questions/13904/67?u=sawa
Appearantly the grayscale to power was thoroughly discussed back in November, there is note that the proof grade settings were set to make the very light grey, the lightest non white, to be able to get past the masking on PG materials, confirming that minimum power, despite being zero is not actually zero.
Others discuss that PG settings are nice starting point for similar non PG materials. Im in that personal belief category also.
I’m pretty sure the only workable solution is that I will have to buy masking and apply it and lose out on the intrinsic flare that comes with the smoke from the cut lines, just to get a lighter gray to power raster engrave. Either way, Gray to power doesn’t engrave like it did when I first ran this project and I am not stupid or crazy, just frustrated and cheap.
The Proofgrade settings are also minimum 0 power. Those haven’t changed (though many people have requested it because the lightest shades often don’t make a mark past the masking).
Pure whites (255,255,255) will be untouched with any setting.
It probably shouldn’t say minimum power 0. I think that horse has been beat. Whether they have a math or other reasoning for displaying that - I don’t know.
But that setting has not changed at all.
I can think of several reasons you could see a difference but it seems that you are insistent that they’ve changed something on you so I don’t see a reason to list them out.
1 Like
was the last time you printed this before the november change? when was it that you printed the other ones that you were happier with?
1 Like
Precisely, the first one was done right after grayscale to power was introduced and before the Ui changes. It was around October.
Seems to me you’ll always be at the whim of GF software changes if you use PG settings. Learning your own custom settings would be more reliable and repeatable, yes?
I pretty much exclusively cut non-PG materials. PG settings are definitely optional. It’d definitely prevent this issue going forward.
2 Likes
IIRC (and i may be remembering wrong, i didn’t get my GF until later in november), the changes in november were more significant than just the PG settings changing. they completely revamped the engraving settings. there were changes to dithering, too.
1 Like
Yeah I think you’re right,but I’m not sure — I got mine late nov, too. I suppose if GF changed what the speeds and powers meant again we’d all be hosed in terms of settings.
1 Like
Our team’s been studying this for you and we think we figured out what’s going on. There was a period where greyscale was being incorrectly interpreted - darks were actually being engraved lightly; the power curve wasn’t properly interpreted. We fixed that bug in greyscale mapping, which now gives you a truer rendering of your source image. However, if you had darkened your image to compensate, it would now be too dark.
Adjusting the curves of the image in Gimp or Photoshop should get you back to something you like - and I apologize for the churn caused by that improvement.
Wow, thank you for the review. The one thing I didnt do was change the source image… Only modified settings. I went and ordered some 12 inch masking paper which was referred to on the forum here, feels similar, if not identical to the masking material on proof grade. It was not enough to absorb and balance it out.
When you say you identified and resolved, was that resolution updated yet? Or is that waiting for next patch day?
The change happened after your original print - so you’ll need to lighten the darks in your image to get the original behavior, I believe. Printing without paper will indeed darken your image, but I believe that’s only a secondary effect, and you should be able to compensate without any paper.