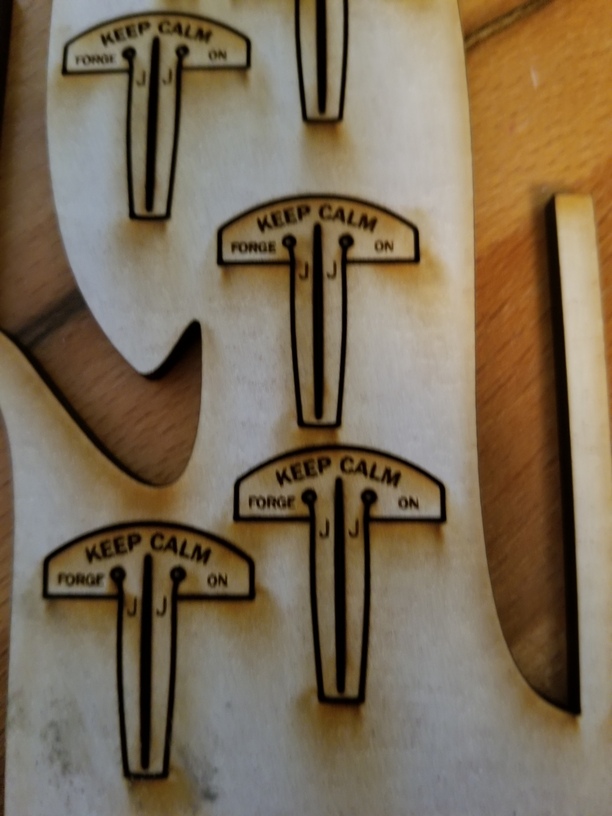
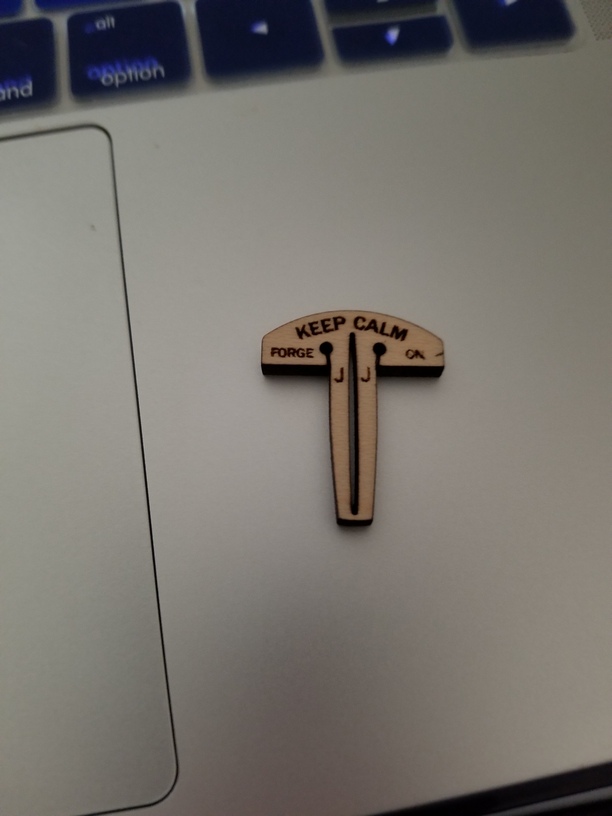
I am having a problem with my proof grade boards. They are not cutting all the way through on both the draft board medium and the maple medium ply. I can’t tell you how many boards I’ve wasted/trashed! Has anyone else had this issue with proof grade settings? Attached you’ll see hold down clips I was trying to make from the scrap of a successful board of cuts.

1 Like
Two things come to mind first…is your material flat/held down evenly? And the second thought is to double check the settings. Sometimes, one of the settings (sorry, can’t remember which one) has reset itself to 0 (zero). I’ve had both happen to me. I’m sure members more knowledgeable than I will chime in, as well. Best of luck to you.
2 Likes
There are a few factors involved in cutting through successfully.
Have you followed the cleaning instructions and cleaned everything in the beam path that needs cleaning (2 laser windows, a mirror, and the lens)?
Material also needs to be flat, especially with Proofgrade settings, that are designed to give you a nice cut, rather than just blowing through material at all costs.
One thing to add - on a design like this where you are trying to fit pieces into small scrap areas, you’ll want to make sure the autofocus beam isn’t falling off the edge of the material. It’s supposed to ignore the autofocus value/depth measurement if that happens, but I’m sure there are probably edge cases. (I mention this because your cuts looked kind of hot but that could totally be just the picture and the close-up).
4 Likes
Checked settings- nothing set to zero. Next I’m going out to find more lens cleaners. I cleaned everything last week and used my last couple, maybe I need to do a cleaning round again. Thanks guys! As far as flat, the board does not seem to be warped, and I was trying to make some cool little clips to secure with …so…
1 Like
And one last thing that you need to be aware of… (which you might already be aware of, given what you are printing there). 
Any time you cut up a sheet of material, the remaining material tends to twist and warp a little given environmental factors like humidity, heat exposure and whatnot. Those pins, when you get them cut out, will work great to stabilize future cuts.
If you test your cuts without moving the background material (folded up tape to lift the cut out) you can send just the Cut part again and it will finish the cuts in the same place. (Don’t redo the engraving, set that part to Ignore in the thumbnail column),
3 Likes
Even though the GF has identified the material and selected the print settings for you, you can still go in an adjust them. My GF is in need of a cleaning. I lased some medium red acrylic yesterday and it did not cut all the way through on the Proofgrade settings (speed 150, power Full). Once I realized this, I went in to the settings that GF had chosen and made an adjustment. I slowed it from 150 to 135 and tried my parts again and this time it cut through clean (with maybe a little “back scatter” roughness to some of the cut edges, suggesting I might have slowed it down too much…
2 Likes
I routinely slow the speed on proof grade setting “just in case” because I can’t afford to waste material. You risk more burn marks, but in general it works for me.
Don’t forget to make sure that your crumb tray is seated down in the divots. In the bottom of the Glowforge. 
1 Like
Thanks to the community for all the helpful responses!
I would like to check over just a few more things, if possible. Could you do the following for me?
Please send photos of all your cleaned optical components, with special attention to any damage you might find:
- Both windows
- The printer head window, on the left hand side of the printer head
- The laser window on the inside left of the Glowforge
- The printer head lens (front and back)
- The 45 degree mirror inside the printer head
- The bottom of the printer head
Okay Glow Peeps! I have overcome this issue. I read all of your ideas and checked each one- then cleaned everything. But then after I cleaned the lens, I went back and reread the lens instructions - and I found my issue. I was missing a lens! All clean now and cutting successful (and fantastic) little clips! Thanks you guys for helping a newbie out.
4 Likes
Which one were you missing?
I’m glad to hear you resolved it! Thanks for letting us know. I’m going to close this thread. If you run into any other trouble, please start a new topic, or email us at support@glowforge.com. We’re here to help!