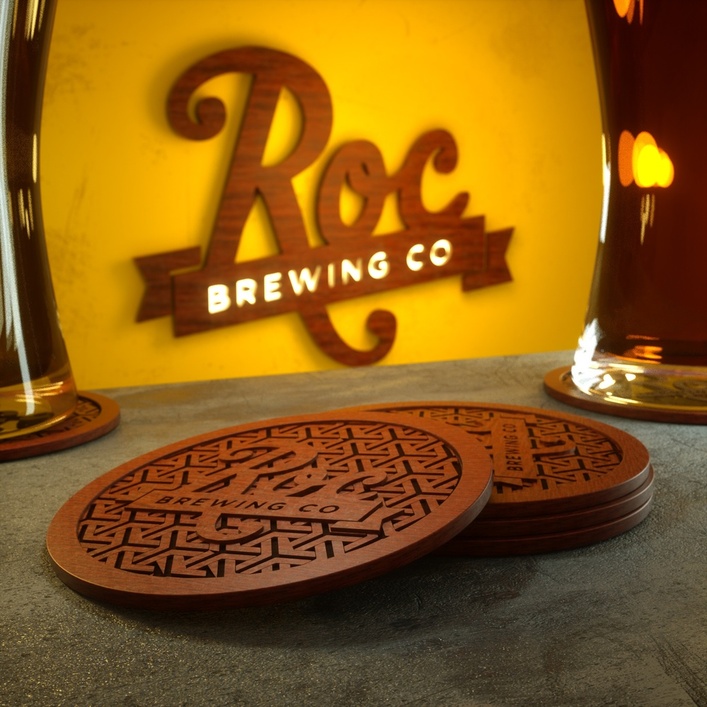
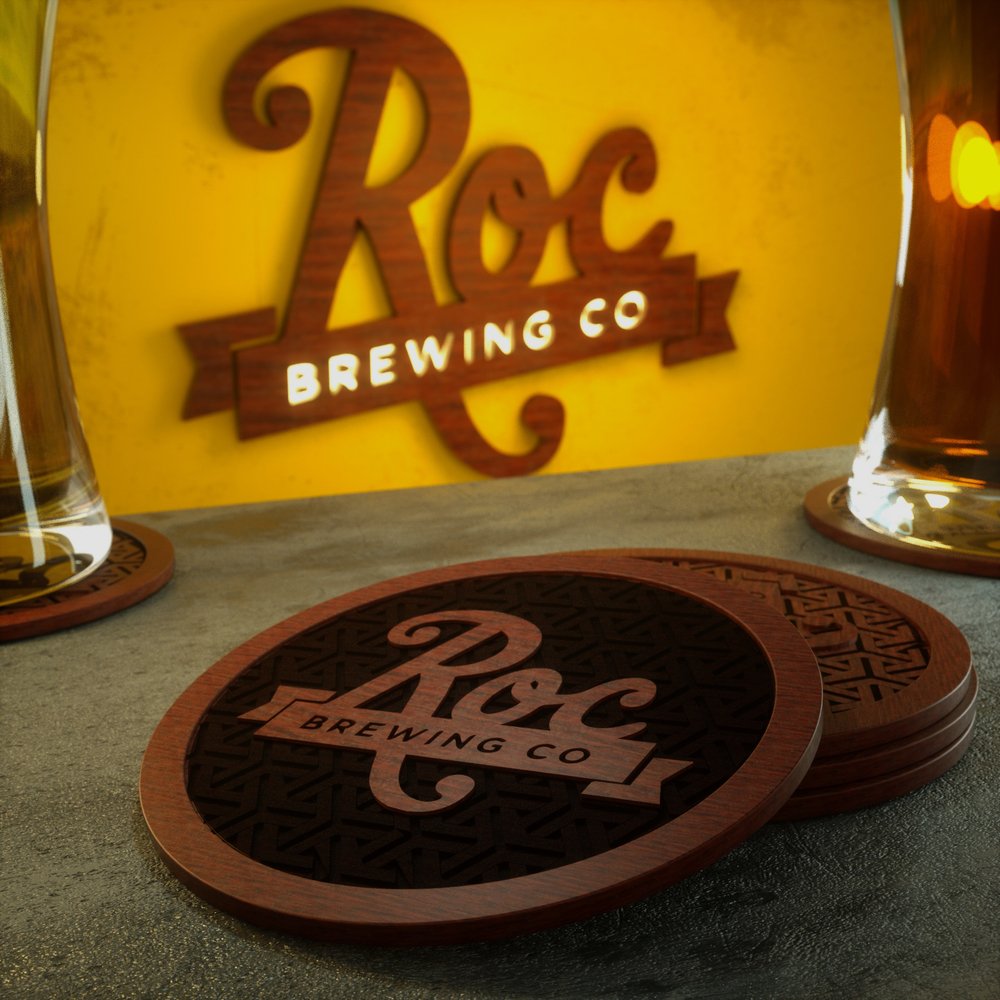
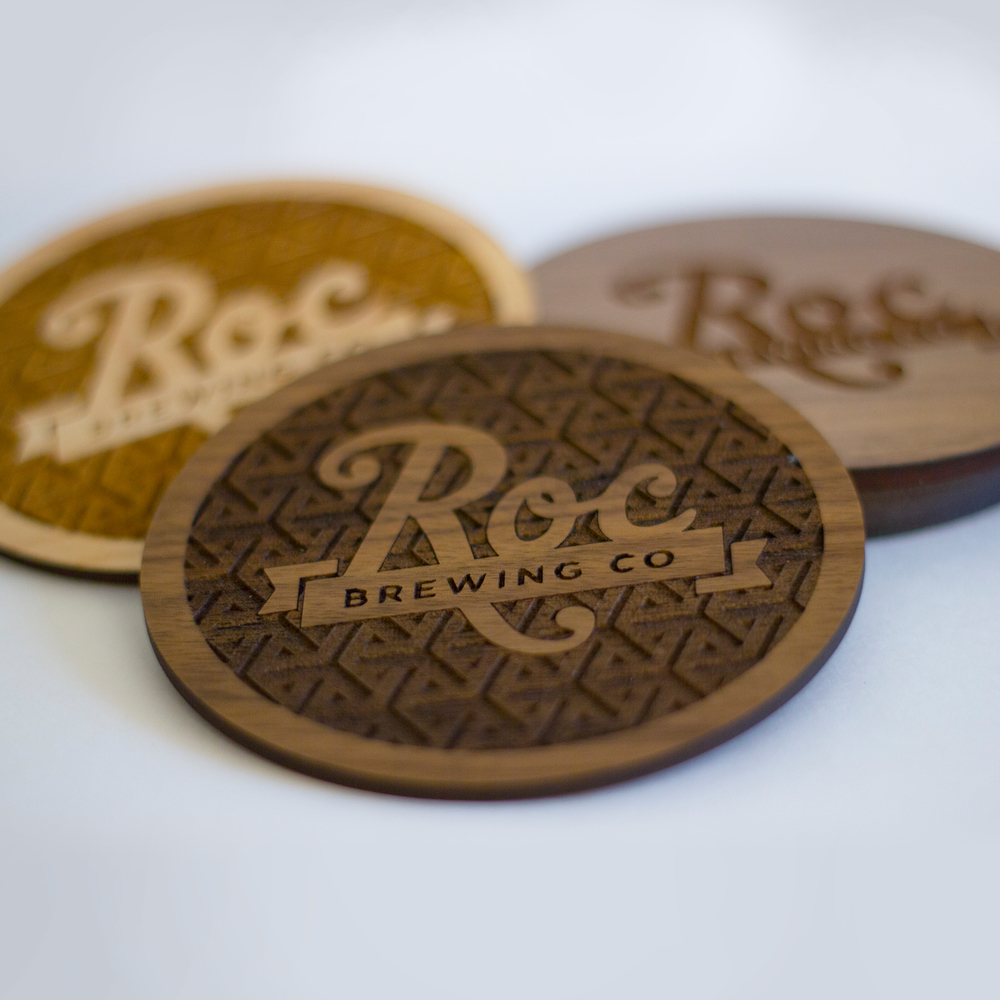
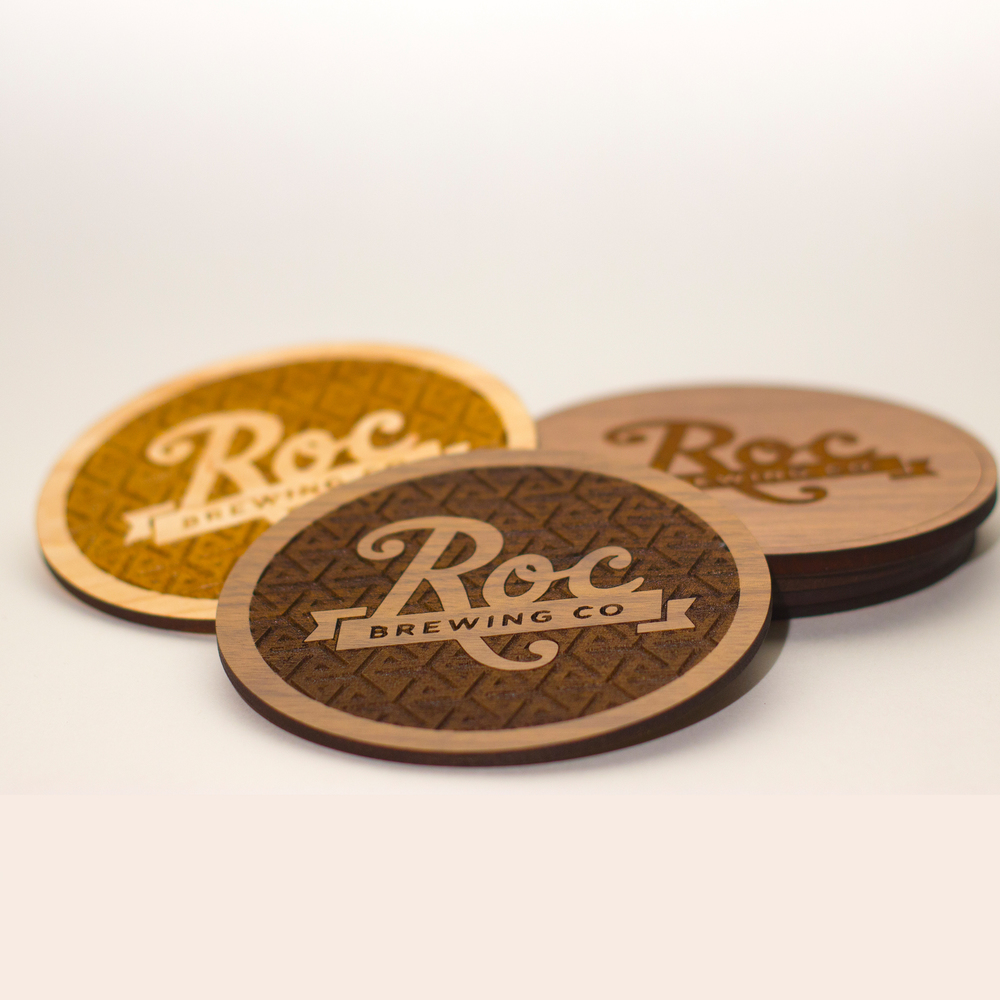
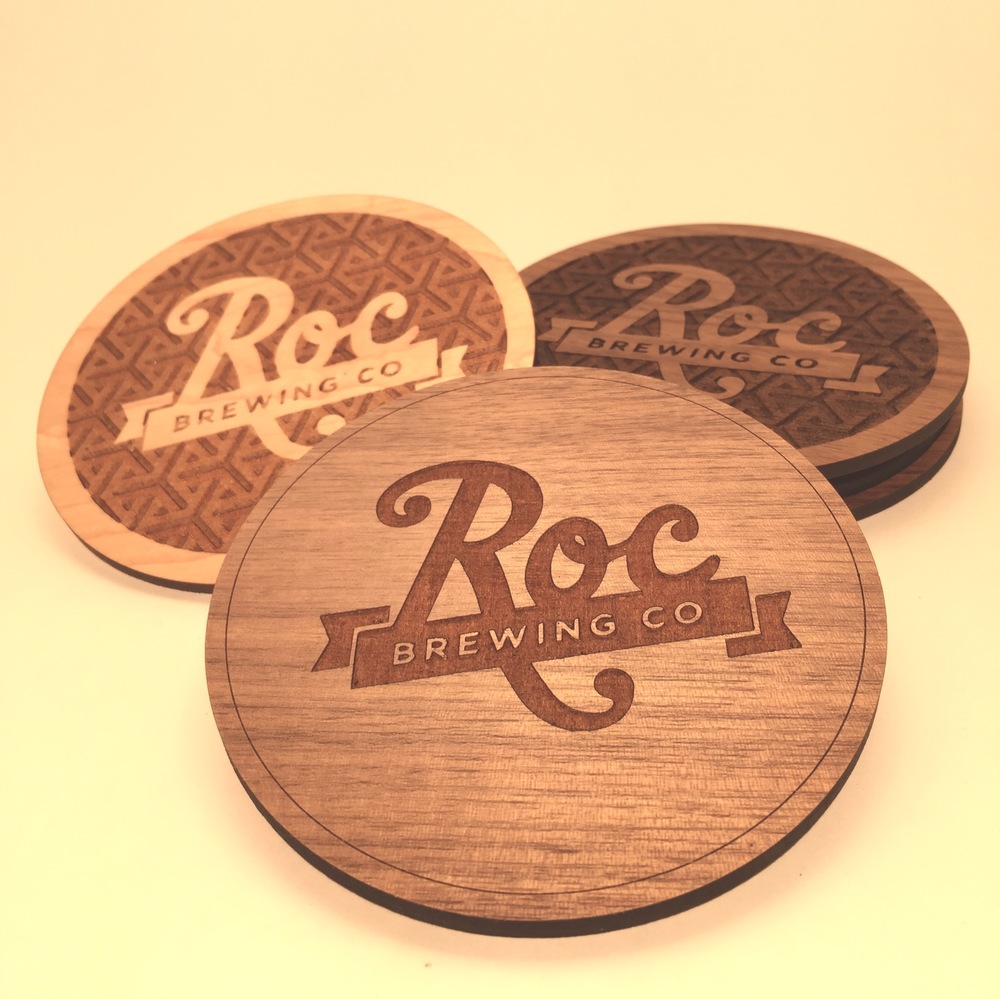
So a little over a week ago I asked the community if anyone would help me prototype a design I have, since I am way ti impatient to wait for my GF to arrive. To which I got a bunch of responses and I want to thank everyone who gave me tips and offered to help! The endlessly cool @markevans36301was the first to inquire so obviously I sent him my files as soon as possible. After some test cuts and some file adjustment we got as close as I could possibly hope to get to my original design and I couldn’t be happier. Here are my original 3D designs again and below are the final prototypes I got from Mark. Man How pretty are those? @markevans36301 had the great idea that I do a tutorial on how I made my design so that’s exactly what I’m working on now. Stay tuned for that. And if you have any questions feel free to ask
I’m so glad I managed to be the first to offer as I learned so much working with Ben on this.
I learned where my intuitions were right and where they were wrong on tweaking the file.
I’m very much looking forward to seeing that tutorial.
This looks great! My only question is if there’s any instability when the glasses get placed on those that have lettering on top of the tesselation? Or is the height difference negligible/exaggerated by the zoomed image? Is it possible to blend the shapes with the words to leave it all flush or is that a lot of work in illustrator? Asking for my own education here.
That was a concern of mine too. But Mark didn’t set the engrave depth too deep, compared to how I made it in my 3D render. The highest surface of the engraved pattern is almost flush with the surface of the logo and outer rim. And I’m glad he did it that way. it probably wouldn’t have added much to the final product and probably would have taken a lot longer to cut. Not sure if that’s true but I’d be interested to find out.
Yeah man, you seemed to be right on when it came to telling me how I needed to fix the design file. Taught me a ton about creating proper files for cutting. Which is a big head start while I wait for my unit.
Those look awesome @benmoriconi. I love your work.
I’m also from the Rochester area so I’ve seen your stuff around. I totally remember the robot from DNO. I’m good friends with Joe Guy so i’m been to quite a few of those shows.
Let me know if you want to run anymore tests. I have my GF already and I would be happy to help you out.