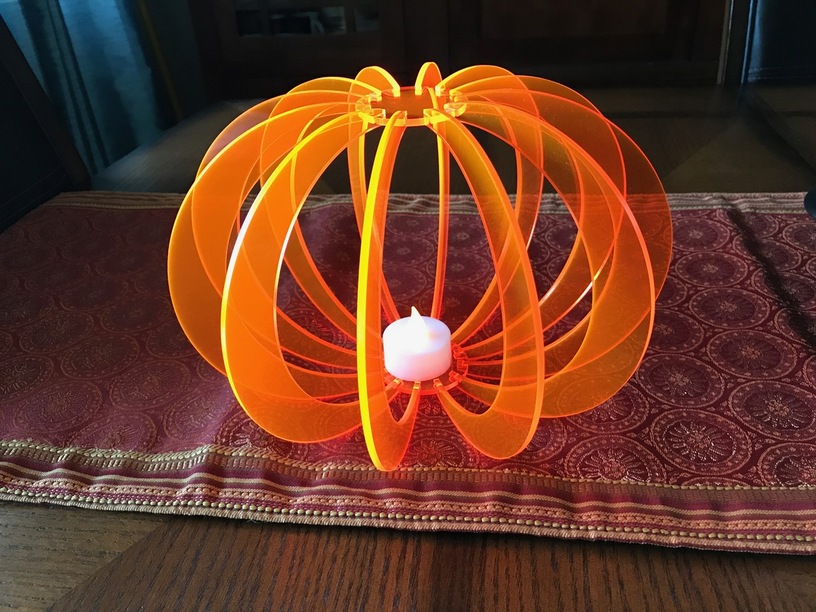
Inspired by Jack-O-Lantern by Zebethyal - Thingiverse, I decided to try drawing my own. It was a good opportunity to hone some more Fusion 360 techniques and try out the F360->DXF->AI->SVG->GF workflow (boy I can’t wait for this to involve less toil).
This is the first draft, I like the fluorescent orange acrylic I picked up from Canal Plastics (BTW if you’re going to be in NYC for Maker Faire, you may want to take a side trip to Chinatown).
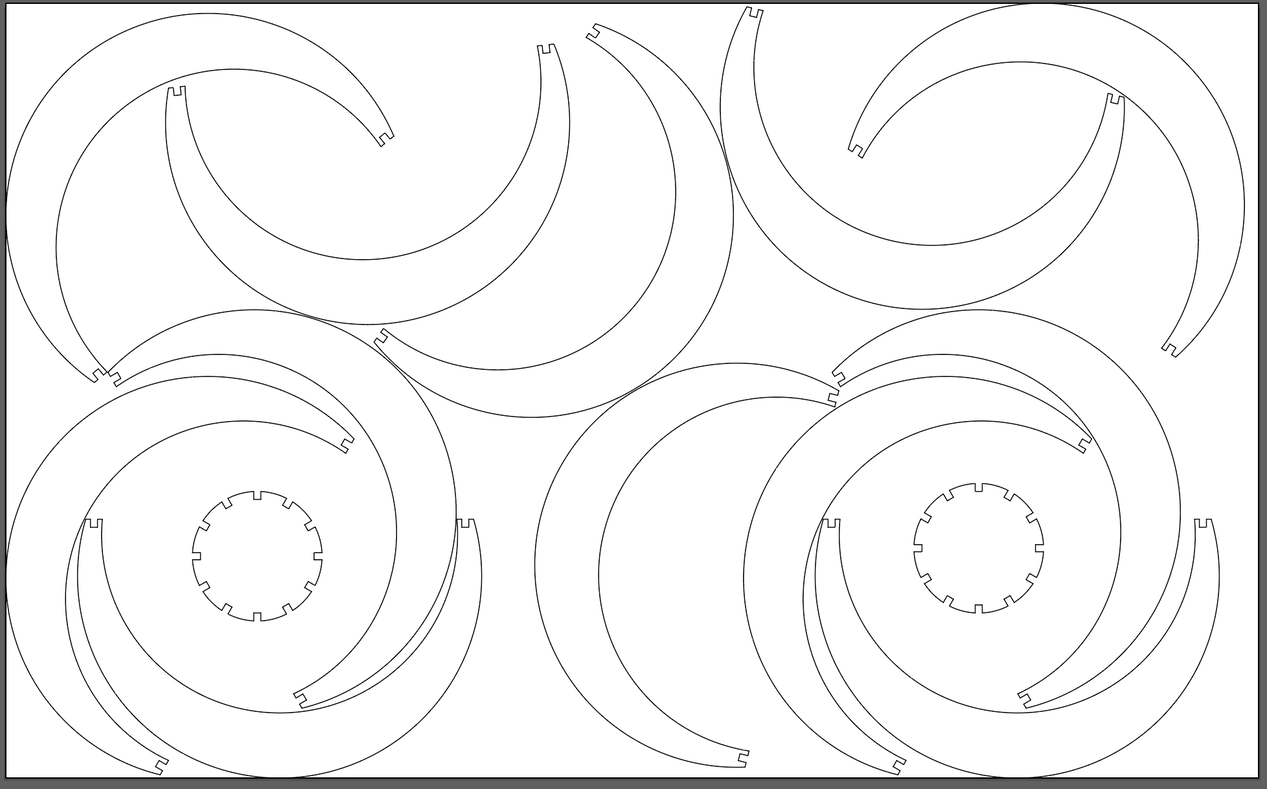
The most frustrating part so far has been trying to fit all the pieces on one sheet without a lot of waste. I didn’t draw these things to nest, and they really don’t. I spent hours, first finding a way to fit them on a 19.5" x 12" artboard… which, if you’re paying attention, you’ve already realized should have been 19.5" x 11". There’s no way I could do it with an inch less vertical space, so then I thought I’d be clever and do it in two passes, skipping all of the things that didn’t fit on the top, turning it around, and then cutting them out of the scrap. It was a great plan. Until I realized “+/- 1/8” means the 12" pieces I bought are most definitely no more than 11 7/8". And I went right up to the edge, with no square to spare. So I had to burn two $13 12" x 24" sheets to make one pumpkin. You live, you learn.
I know that in industry, they have to solve the problem of fitting as many cuts as possible on a given piece of stock. I don’t know what that is called or whether there’s software available to mere mortals for doing it. If there is, I definitely want it… this is going to be a recurring need.
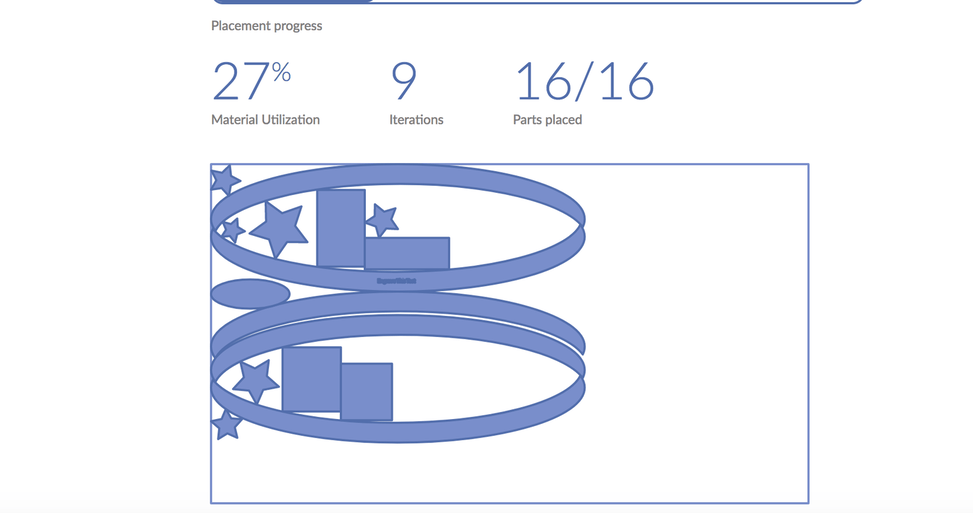
I haven’t played with it in a while, but http://svgnest.com/ is a nesting algorithm that can take parts of an svg and pack them into one of the shapes. (The demo on their page shows how it works.) This is a nice open source project for it though. Edit to say: I don’t know that svgnest will respect engraving though. I.E. all the parts will get moved around, and I’m not sure if you had say an engraved label on a part it would stay on that part. (But again I haven’t played with it in a while, so maybe it does these days)
To use it, you’ll want to create a “bin” inside of your working document. This should probably be the cutting area of the Glowforge.
For engraves, it seems that the program respects grouped components. For example, in the below screen show, you’ll see that I had some text “engrave this test” and I grouped it with one of the crescent moon shapes. It respected the fact that it was grouped and left the text on top of the moon shape when nesting.
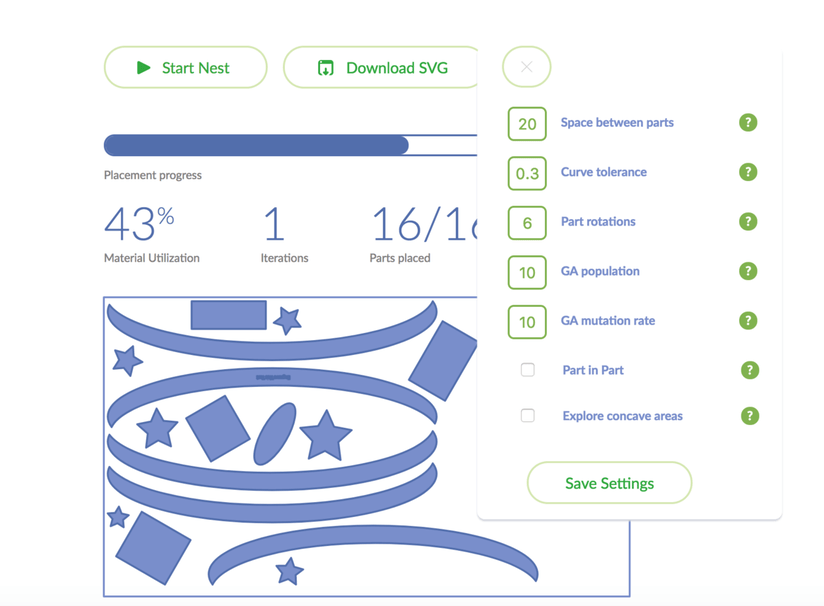
Don’t forget about the options menu before you get going. You can set the spacing between items etc. Some of the options, I don’t know what they do… I’m sure Google has an answer, but the question marks aren’t working for me.
Thanks for the link! I’m sure I’ll get a lot of use out of that for simpler projects… this one seems to be melting its brain. Good to know I can beat a computer at something…
I had a specific size I planned to make, and I really didn’t want to go through the tedious round-trip process required to regenerate all the files. It’s certainly an option, and I’m planning to make smaller ones while I continue to work on the design.
In F360 you need to investigate the drawing module. You can create your drawing and then go to PDF and straight to GF. Works great if only cuts involved
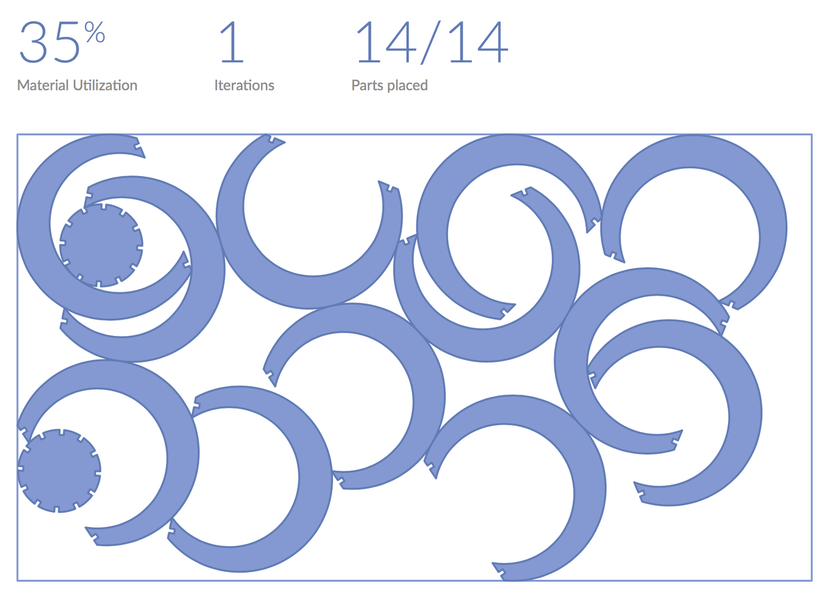
More iterations might have gotten there too. It uses genetic algorithms to ‘mutate’ the layouts. Granted the various settings change how it works, etc. And sometimes it takes a while to get to a super compact form. (The convex curves are something I know increases that time.)
Yeah, if you spin the 2nd one from the left clockwise and move it to the right, then you could take the one to its right and above slide it to the left and rotate it counterclockwise so it tucks into the first one we moved. Then take the 4th on the bottom (3rd in that group on the bottom that are all by themselves) and rotate it clockwise and move it to the left so it tucks up into the other side of the 2nd one we moved (the 3rd one from the edge). That would than allow the nested pair on the right side to move down & to the left or to move the one in the upper right corner down to the bottom row and tuck it into the existing right side pair.
Thanks a lot!
Which programm did you use to group the parts and create the svg-file?
I use vectorworks and autocad to draw shapes so im curious if that‘ll work