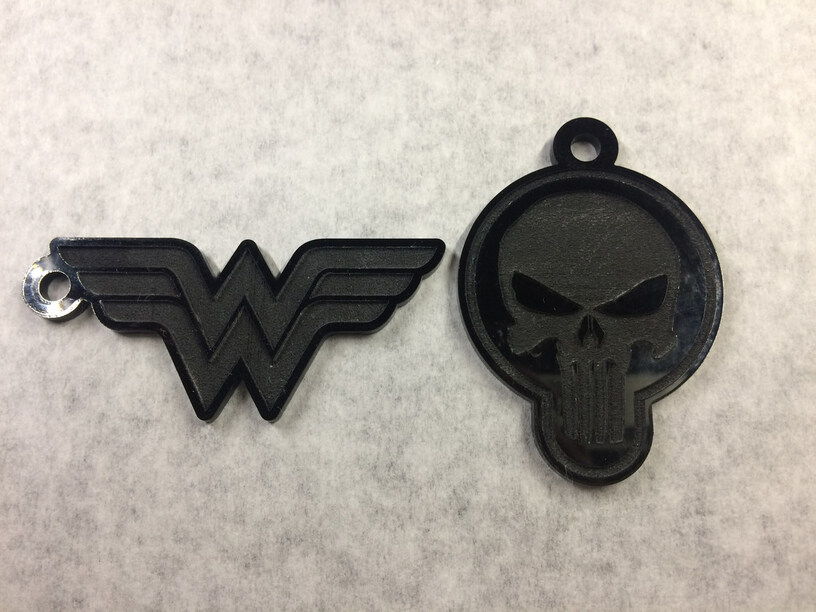
If anyone was wondering how black acrylic turns out when it’s engraved, here ya go!
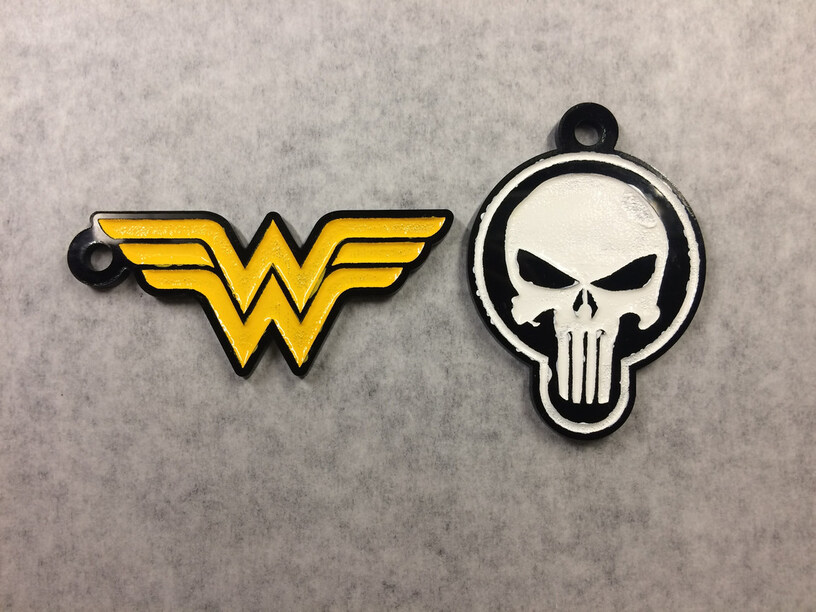
Since the engraving is so deep, I decided to try laying some paint into it. Surprisingly easy given the size of these pieces. I was using Testors acrylic model paint and the cruddy brush that comes with them. Load the brush up nice and wet, and the acrylic literally pulls the paint off it and flows it out nicely. I needed to use a toothpick to coax the paint on the Punisher keychain. I haven’t cleaned the paint off the top surface yet, waiting or it to dry then I can hit those little areas a bit easier without sticking my thumb into the skull (again) LOL. Yeah, I’m leaving that thumbprint in there… I’m lazy… and it gives him character.
Edit: And Yes, next time I will leave the masking on until after painting. I got all excited! hahaha!
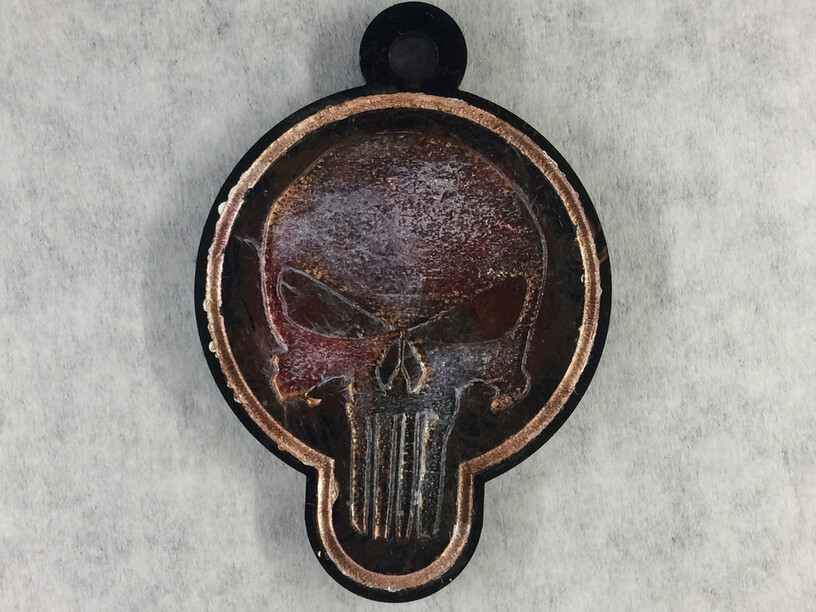
Put some black (or brown) paint on your brush, then rub it all off onto a paper towel. Then scrub the finished Punisher with the dry brush. It’ll add a “busted” dimensionality to it that really sells it.
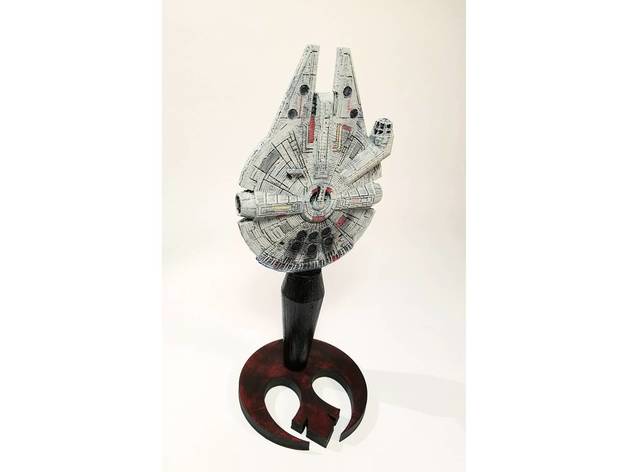
One thing I did with a recent piece I made for a buddy was print with red PLA, then dry brush multiple layers on it, so the red barely showed. It almost looks like rust. It’s the base for the tap handle below.
From what I’be been told, ABS is not OK because it melts instead of engraving / cutting. I would imagine the same holds true for PLA, since it melts at a lower temp. I had thought about trying it, but I don’t want goop on my GF. I also don’t have one yet, won’t til near Christmas.
Thank You! Thank you for the idea to weather/distress it!
the photo actually shows more detail than I can see with the naked eye, the texture in the engraving itself actually looks like some real rough rusted steel!
First off…I’m way behind on reading posts…lol…but I’m super glad I finally got to see this… They look awesome!! Same colorfill technique as my acrylic earrings.
In my experience, doing it this way (fill and clean up when dry) works better than leaving the masking on…when I did it with masking, some of the paint peeled off and came up with the masking tape…
Remove the masking after the paint has tacked up and won’t move/run if handled, but before it has completely dried. This way it’s soft enough to snap cleanly at the edge of the mask and not pull the rest up with it.
It’s a handy technique I picked up from airbrushing cars, helmets, etc.
I airbrush all the time…lol. But remove the stencil or mask right away…
With colorfill, there’s more paint and it was also seeping under the mask…idk…seems easy to remove the excess after it dries…lol