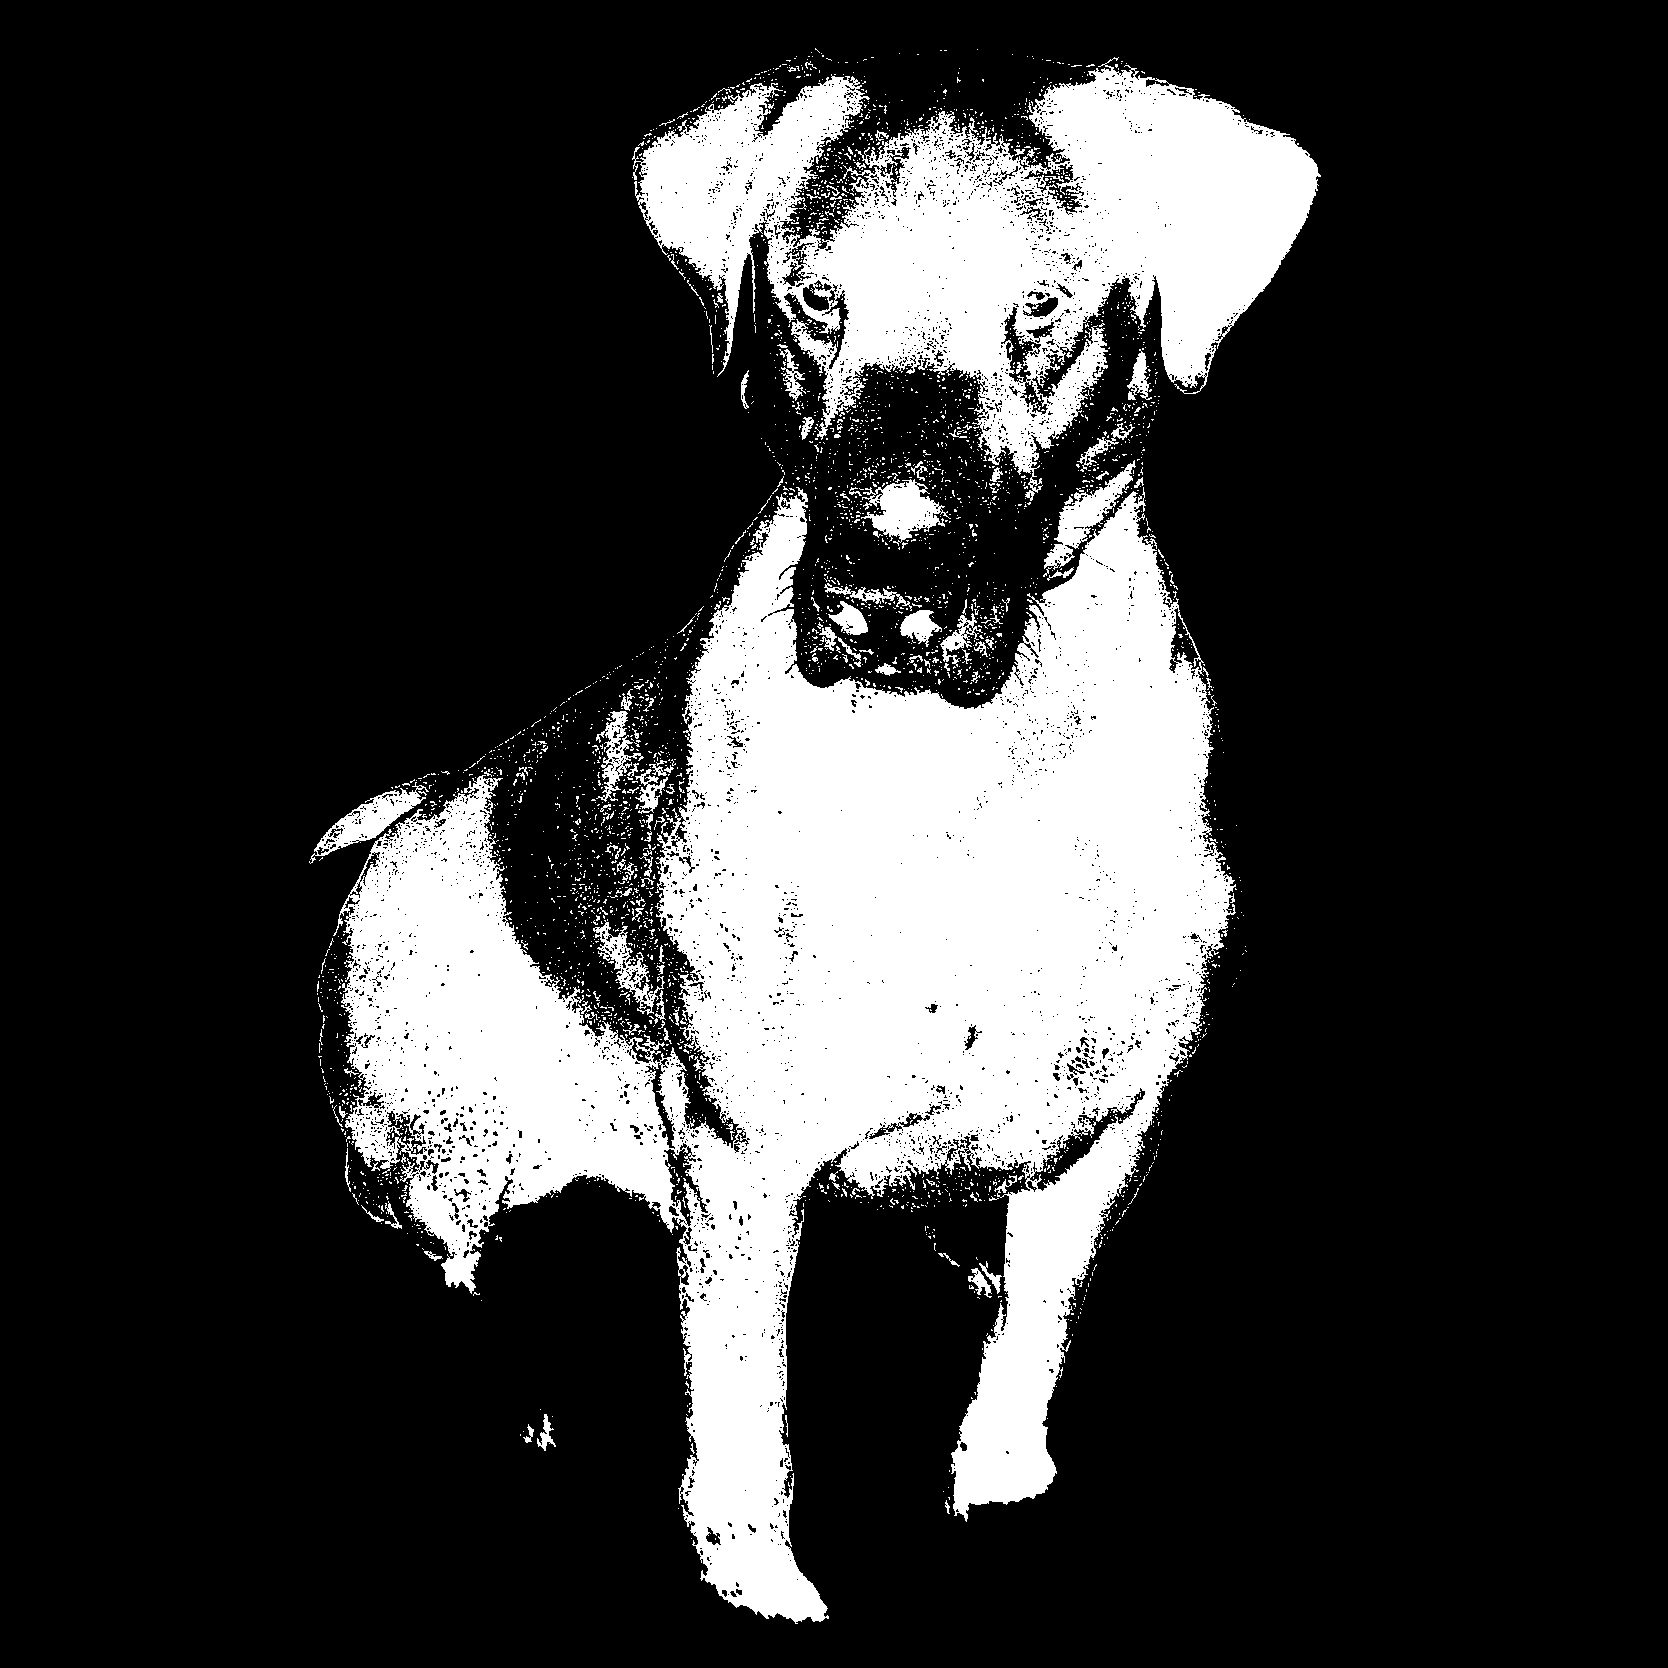
I’ve recently been trying to engrave some monochromatic designs in tile and slate. To this end, I’ve saved my images as 300 dpi 1-bit .png files to upload. To my understanding, a B&W image should require no dithering via “vary power” or “covert to dots”, as the interface should only be burning black and ignoring white, however selecting either of these options appears to give different, yet equally unsatisfying results. I’m thinking the issue must be with my image, but I’m struggling to understand why. Would appreciate any ideas if folks have looked into this before. I found one post about trying to force single color by changing the “minimum power” setting while using “vary power”, but short of converting it to a vector image, why doesn’t this work?
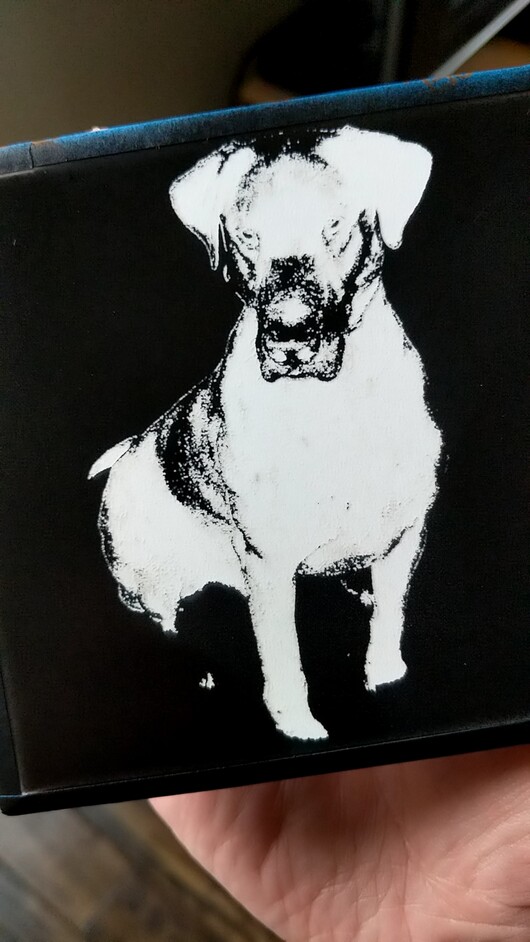
And the result from “convert to dots” method, 340 lpi, where the dots are huge despite seemingly being unnecessary (if you right-click open the image in a separate tab, it should let you zoom in to see the lack of definition around any of the dots):
I’m guessing it’s one of the situations where the is designed for less tech savvy folk so it’s trying to understand what you want and “fix” it.
This is definitely a case for vary power. The bonus of tile/slate is that it’s not like it’s going to burn deeply so just basic vary power with no other adjustments will probably do what you want.
I’ve found that for engraving things like this that lose a bit of the detail that I was expecting, I have to engrave twice. I use high LPI and dots, and then a second engrave at vary power…or was it the other way around? Don’t remember. But I do one pass with dots, and one with vary power…and I think I got the idea from somewhere on this forum.
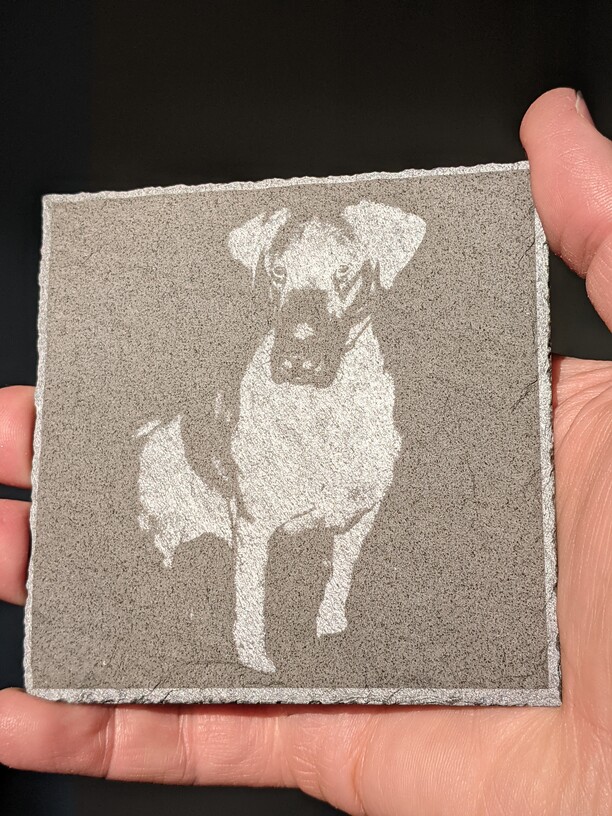
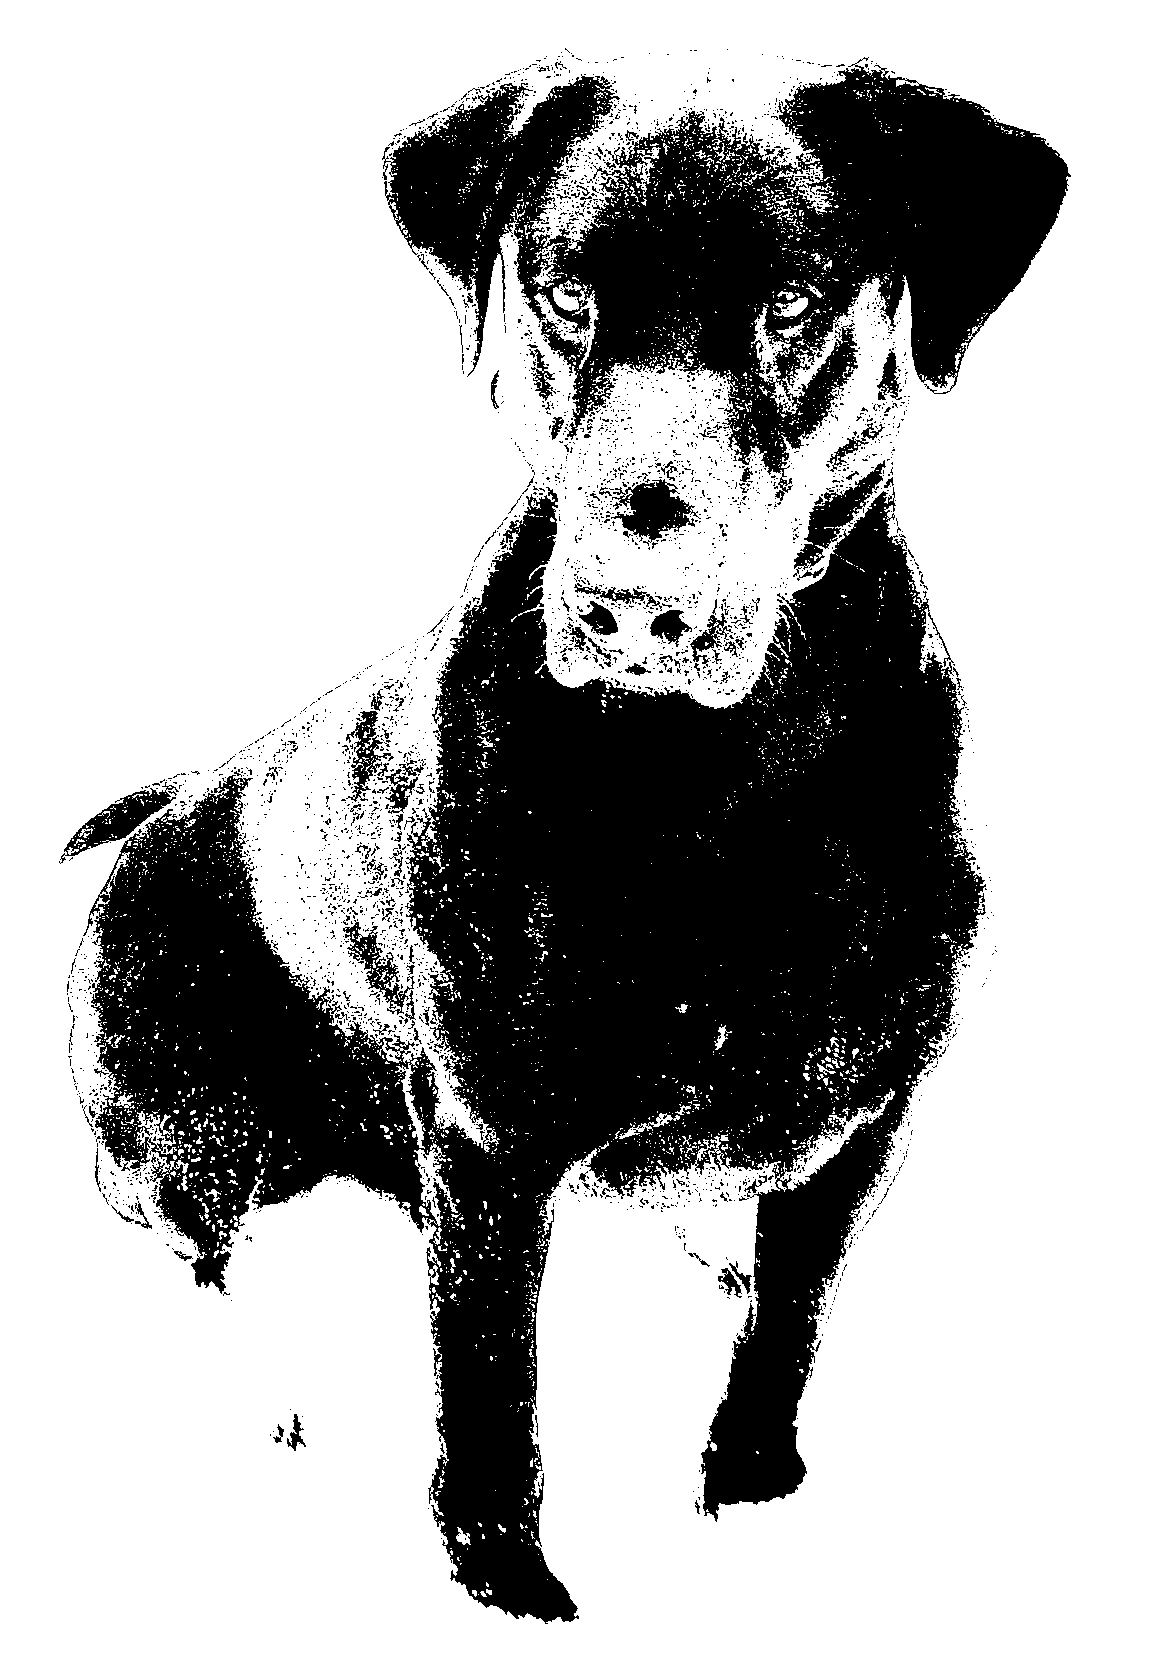
So I’ve yet to run the exact same file on the exact same medium (pictured above was supposed to be “Norton method” of painting a tile black, then burning in the image you wanted - but I’m thinking now that might be for less powerful lasers incapable of etching the tile on their own, which the Glowforge clearly is), however when I ran the same file on a piece of slate using “vary power” (granted, not as clean a surface), a lot of detail was lost. Almost seemed like some portions of my black were being considered gray, then converted to white (if that makes sense), and thus all fine detail was gone, despite my attempts at using a high-resolution image.
Here’s that example. You can see where his back right foot (among other details) essentially disappears:
I think on the slate what you’re seeing is that a rough surface isn’t going to give you quite the details that a smooth one will.
What is missing from your slate engrave is a pretty tiny thin line of white. That actually came out beautifully on the Norton one - but the face got all messed up. It thickened that line to make it more visible…part of the “helping”.
The Norton method works quite well on the GF several of us have posted our projects in just the last couple of weeks. Just type “Norton” in the search bar and sort by Latest Post.
Thanks for pointing me in that direction and I loved your methodical analysis!
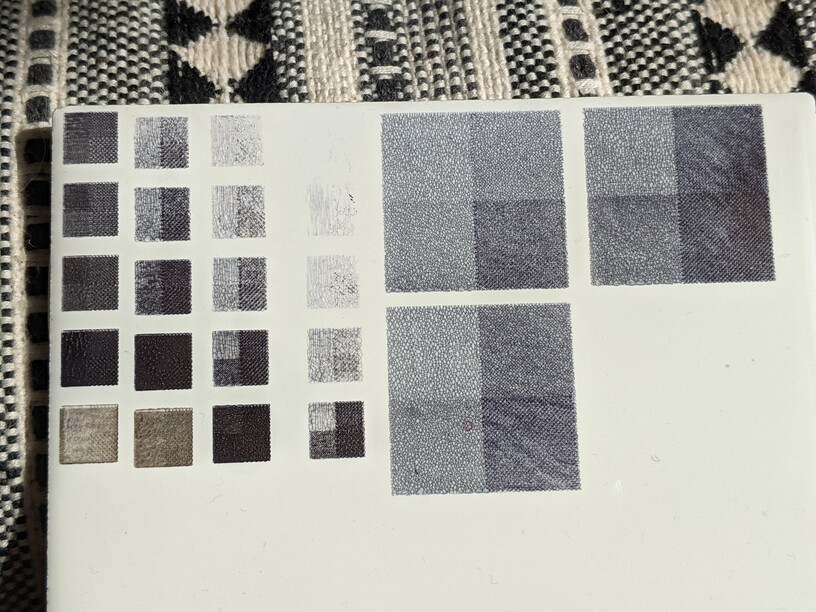
With my own experimentation, it seems like image resolution on tile is perhaps being limited by differential melting of the enameled glaze, which likely varies by vendor and style of tile. Below is an example of what I should call the resulting absorbent surface after a “resolution check” at several burn speeds:
If you right-click, zoom in, and perhaps can see, the finer dots (top left quadrant) basically blur together as melted droplets at essentially any speed, which allows for some level of grayscale, but doesn’t result in crisp images. To be explicit, in my case this was the sharpie method where you burn the tile, color over with sharpie, then wipe away everything that hasn’t been absorbed into holes in the glaze. I realize you’re doing Norton method, although I thought I was seeing familiar little circles, presumably from melting, in your text examples?
I guess my question would be whether this facet of tile engraving necessarily degrades resulting image resolution, as single pixels aren’t going to melt the glaze to the extent that four contiguous pixels will or whether it’s a matter of hammering at settings (lower power, higher speed, more passes)?
Curious what you’ve found. Again, loved your methodical approach. Yay, scientific method!
 is designed for less tech savvy folk so it’s trying to understand what you want and “fix” it.