Renaming didn’t work: the device name didn’t stick so the name is DVF-482 would like that changed to: (didn’t think it would allow spaces? would rather have spaces between words?)
“Don’tUnderestimateTheForge”
Screen capture shows that the name was signed up is my email address instead of “Livein3D” that I was using before this machine showed up.
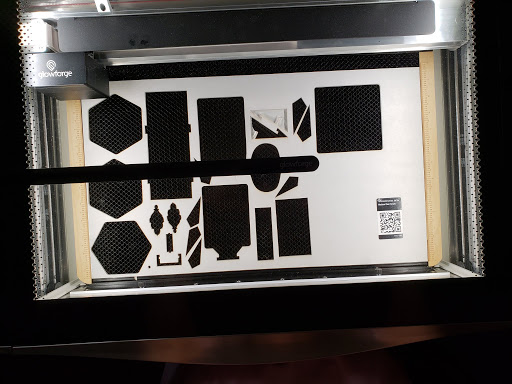
I put the honeycomb base in the new unit, however, the new machine’s camera is not seeing the ruler edge I put on it.
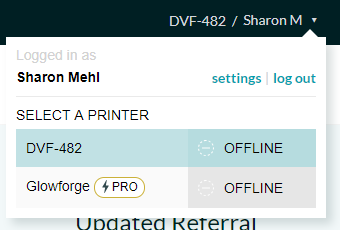
last GF machine was recognized as a Pro unit; this one is not designated as such – but it does have the pass through slot.
Hmmmm… I got a replacement Pro and I chose the same name as my first one and it seems to work just fine. I was prepared to have to rename this one, but so far the original name is working fine…
I don’t doubt that…after all I am off work today. It’s working — just had a few questions…like about the camera (why is it seeing the same “bed” differently?)
Glad you got the replacement so soon. Hope these questions get solves right away. Support has fixed the name and username issue before on request. The bed view is something different thought. Do you have a screen shot from your previous forge of the ruler edge in question and how it showed up and then the same for your current Glowforge and how it shows?
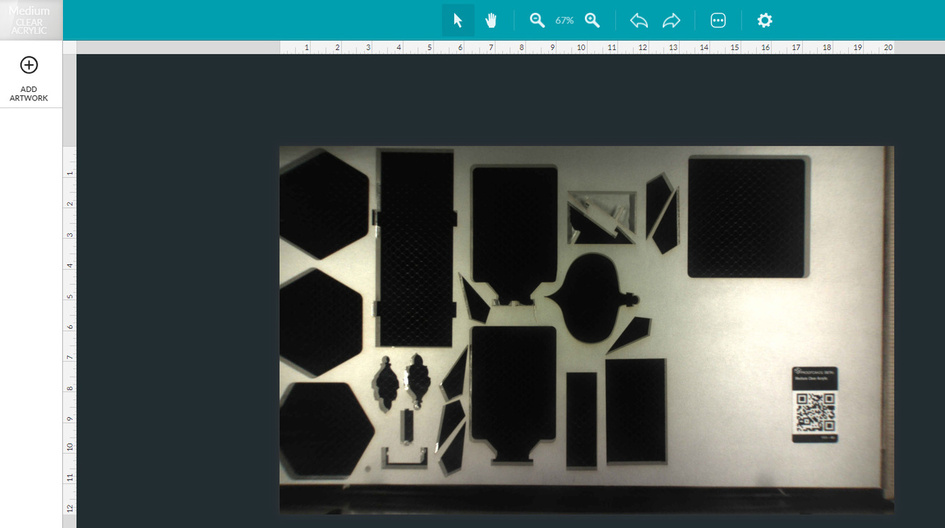
It doesn’t look like we happened to have taken a screenshot from previous one. Interesting thing to note is the whole printable area of the bed is not showing in the camera view…noted because piece of proofgrade used in other machine has cuts in it and this camera cuts off the image on the left side.
here is what I can see in person:
you can see that my previous GF could show more of the bed and cut it as well. On the previous GF I could see the edges of the ruler on both sides.
Ideas?
Note: My table is a little tall for me (IKEA) so taking picture above my head.
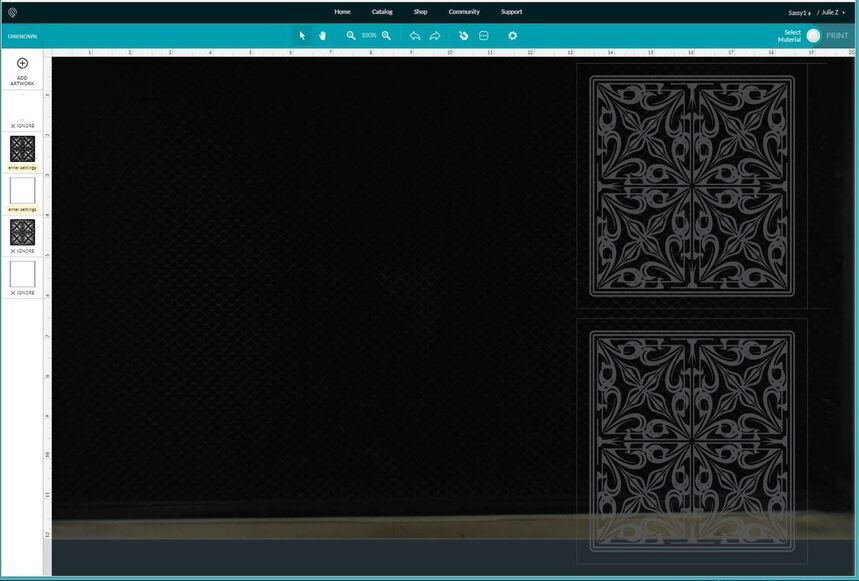
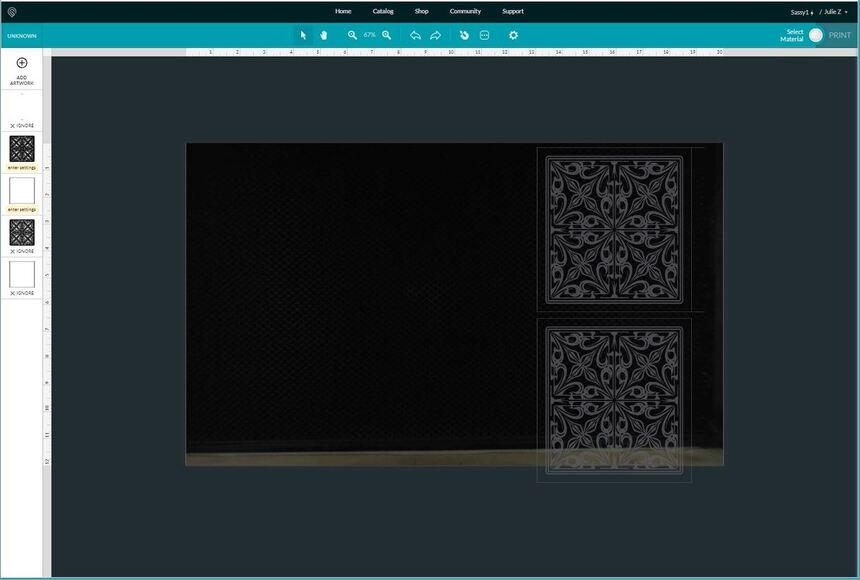
The reason that you are seeing the dark gray areas around the bed is that you have shifted the view out away from the 0,0 point on the rulers by zooming out to 67% view.
There is currently supposed to be a 3/4 " strip on the left side that is not cuttable, and a 1/2" strip on the right that is not cuttable. That’s a buffer zone so the head can decelerate during engraves. If your first machine didn’t have that, it could have been a problem and might have resulted in damage.
I zoomed out hoping it would show that I wasn’t zoomed too far in. On the previous machine I could see the outside of the objects on the left.
The wooden rulers we printed (source? here at GF) and attached give us a very specific place to put them on the bed so we can line up prints. This is cutting a bit of the view off of the bed that we used to have.
I’ve never been able to see those rulers in the screen shot. You can actually see more of them in your shot above than I usually get if I place them on the edges of the tray.
But they are useful for squaring up material by lining up both edges on the equivalent measurements at either side.
I made the rulers i can only see the right hand ruler - not the left, on my machine. I think that’s the same for everyone. If you were able to see the left ruler on your first machine, that machine had a problem.
Thank you for the rulers!!! Because of them I am able to line my project material up consistently every time. Makes it easy when 2 of us are using the machine to make sure we put it in the same spot.
On the previous machine I would put a design on the screen and cut. The cut would be diagonally to the left; hard to figure out exactly where it would cut. Just tried this morning and they are almost spot on to where the design was laid. Going to do some more experiments and see if I imagined that or not. Would be nice to have it much closer to where I placed it to where it cuts!
The way I use them is to align the left side or right side of the material to a specific mark on the crumbtray rail to make a jig. Line it up to the measurement and you have repeateable placement with taking material in and out between cuts.
We can help rename your Glowforge! Unfortunately, each name can have a maximum of 15 characters (including spaces)
Can you let us know where you’re seeing an incorrect name? We’d love to fix that for you and unfortunately I’m unable to see a screenshot.
Regarding the bed image: Your Glowforge can currently print up to 11 x 19.5 in. Engravings take extra room to speed up and slow down, so the area may be a bit smaller. We’re working on software improvements that will increase the printable area as well as the camera’s field of view.
I’ve verified that your replacement Glowforge is also a Pro! If something is showing you something different, can you send a screen shot?
 It’s working — just had a few questions…like about the camera (why is it seeing the same “bed” differently?)