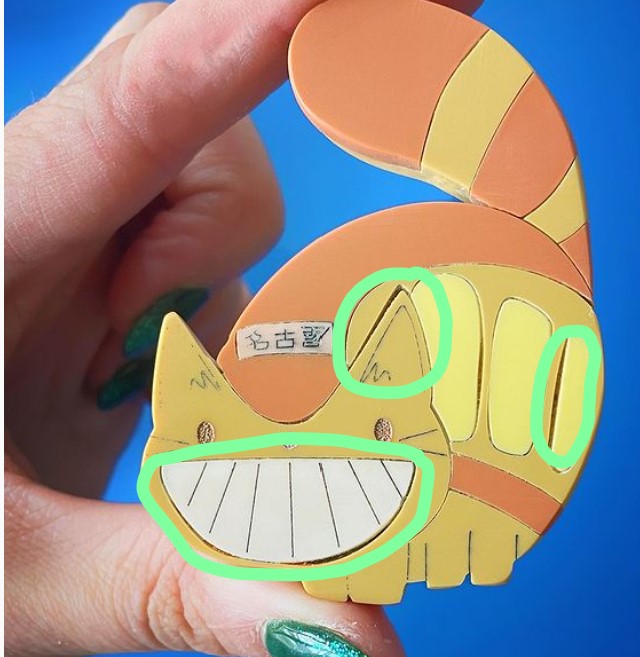
Hello! I’m still kind of new to the laser cutting community and I had a design related question. Does anyone have any advice on how to minimize space between acylic pieces? When I prepare my files, they look like they fit perfectly but when I cut them, do to the melting, there is a SLIVER taken off that makes the pieces not fit PERFECTLY. I’ve tried compensating by making the pieces a little larger, but is there an easier, more precise way that could help? I’ve attached a picture of what I"m talking about!
What you are asking about is kerf. In acrylic you can sometimes have good results flipping one of the pieces or when designing, use outside stroke for one part and inside stroke for another of the pieces.
I deal with kerf with acrylic a lot and my best suggestion is to do as many tests as necessary to figure out the best settings You can do that with just small scrap pieces and keep adjusting stuff until it fits. I’ve been able to make many things that just snap fit tightly together by doing this. It can be tedious and repetative but it will pay off in the end.
The irregularity in the photo doesn’t look like just a kerf issue. Acrylic should snap together with no asymmetric gaps. If it is too tight or too loose, the whole piece should be like that.
I agree. There is some other problem. Kerf should be a constant gap, but there are clearly places where the gap changes significantly. I’m betting each piece is a different piece of artwork and they’re not all exactly the same shape.
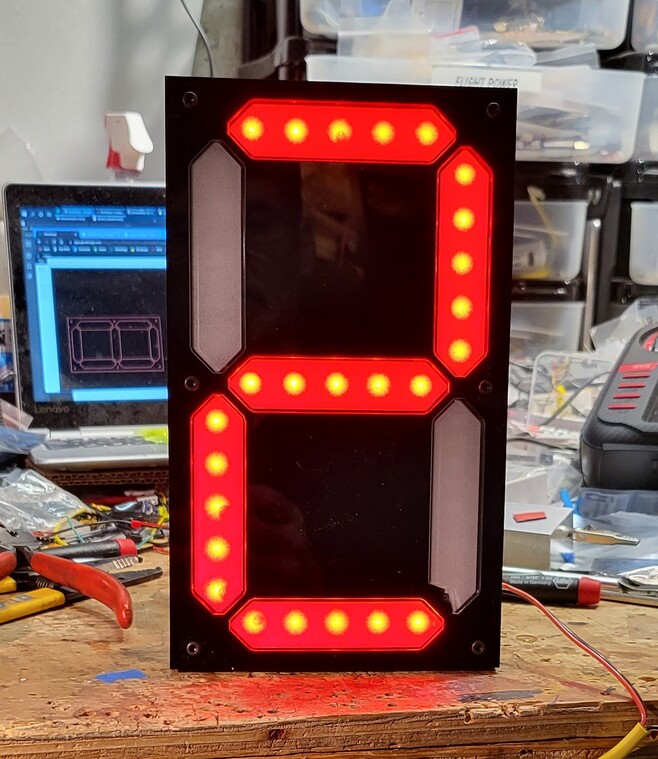
I just made this giant 7 segment LED digit display. The face is black acrylic with cutouts for each segment. The segments are clear/engraved acrylic. For the segments, I simply took the cutouts from the black acrylic shape and increased them by 0.1mm. They fit (almost) perfectly. Snapped in and no glue required to hold them in. But you can see the lower right segment has a chunk missing, that one snapped in just a bit too hard. Had to recut another and sand it down slightly before I was able to successfully snap it in.