Do you view removing the carriage plate to be hard?
Do you hate it?
Have you put off cleaning the plate?
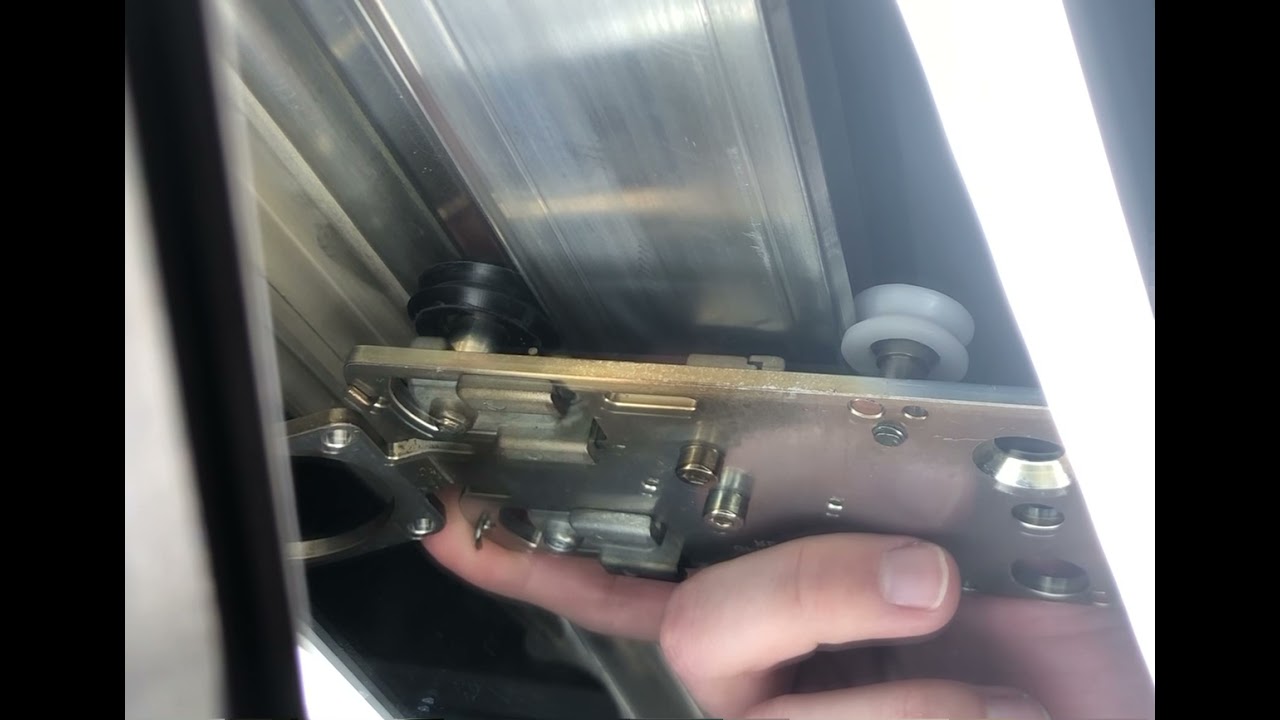
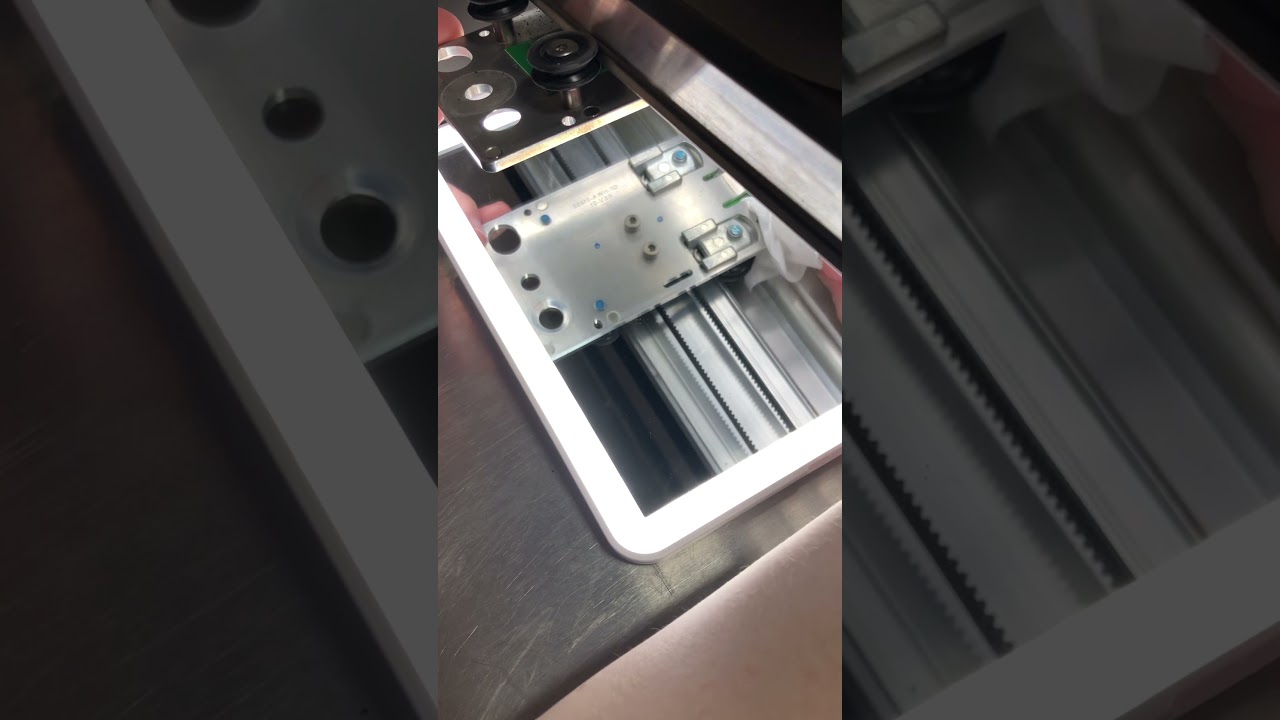
Removing the plate should only be hard if you have put off cleaning (and so the plate has a lot of buildup preventing it from easily coming off) or you do not yet have the correct understanding of what you need to do to remove it. This post will show a lot of different views of removing the plate and that might help you visualize what you have to do to remove it. I will also go over what I do if I have buildup on the plate. This post is meant to go alongside the support guides on removing the plate. I am only giving a different view. If you are removing your plate for the first time then make sure and read over the official guides from glowforge (also listed at the bottom of the post).
In this post you will also see that I use a compact 5x7 LED mirror to get a view under the plate. The mirror is awesome because it gives you great light, it can be angled so that you can have it out of the way and still see, and it is much bigger then the ‘phone on selfie mode’ option that the GF support suggests.
Unhook the belt
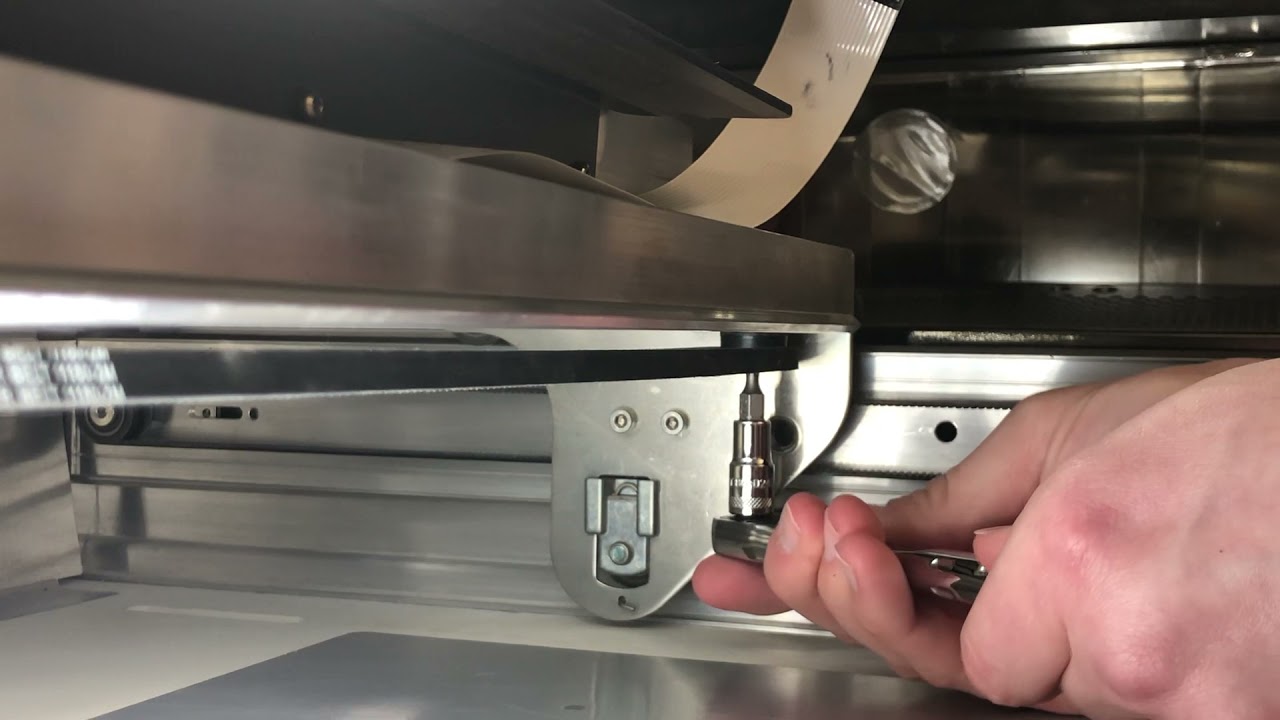
The beginning steps to remove the plate are; power off the machine, remove the print head, and then unhook the carriage plate belt. The glowforge support guides go over two main ways of unhooking the carriage plate belt; walking the belt off the pulley and loosening the pulley. I choose the loosening the pulley option. However, I do not use a L hex key. Instead, I use a hex socket and ratchet. Here is a video of how I remove the belt:
Removing the plate
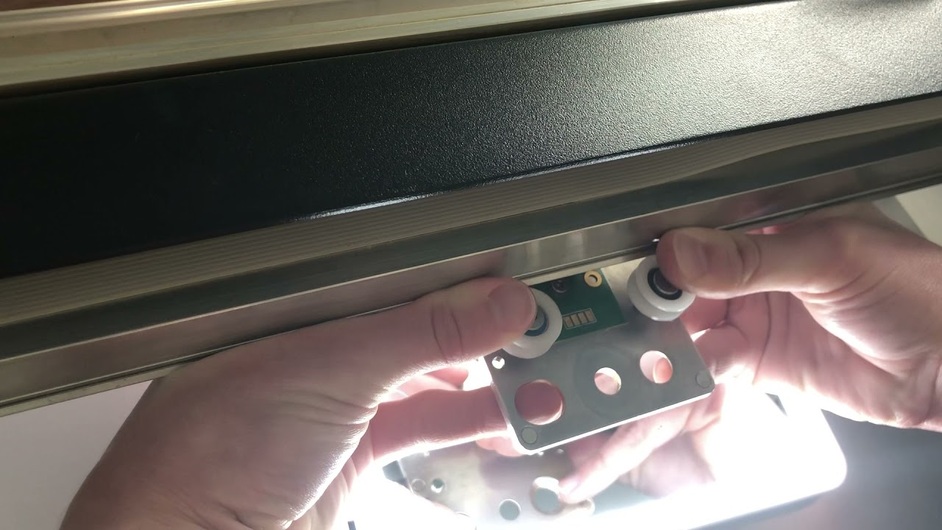
Now it onto the more dreaded part of removing the plate. The glowforge guide for this step says: “Place your thumbs on the top of the front wheels of the carriage plate. Support the base of the carriage plate and gently pull it towards you. Once the front wheels clear the laser arm, gently pull the carriage plate downwards and to the back and it will detach from the laser arm.”
Here is what I do:
-
Set thumbs on top of the front wheels of the plate and pointer fingers on the back side (the videos below give a better view of this)
-
With my pointer fingers, I pull the plate towards me just a little and then let it go back. I repeat this a few times for reasons that I will go into here shortly. Then, once I feel ready, I pull the plate towards me one final time and pull it far enough that the front wheels can easily clear the front edge of the laser arm. At this point, it actually should be easy to hold this position with the plate and so I am going to pause here real quick in the steps and explain two things.
- The reason why I ‘bounce’ the plate before finally bring it far forward is to get a feel for how the spring is moving and get in sync some with the place. The bouncing helps make sure that I do not feel excessive debris or build up preventing the spring from moving. If you are not able to bounce the plate like I do first, then I recommend taking care of that build up so that the springs can move well. Otherwise, you will be putting much more force on the laser arm then you should need to. Scroll towards the bottom of this post to see what I do if I feel a lot of resistance when trying to bounce the plate.
- So back to where I left off in step 2. Once you are able to pull the plate far enough forward with your pointer fingers, then lightly push down on the front two wheels with your thumbs. Then the plate will really just fall off and you can release your pointer fingers force.
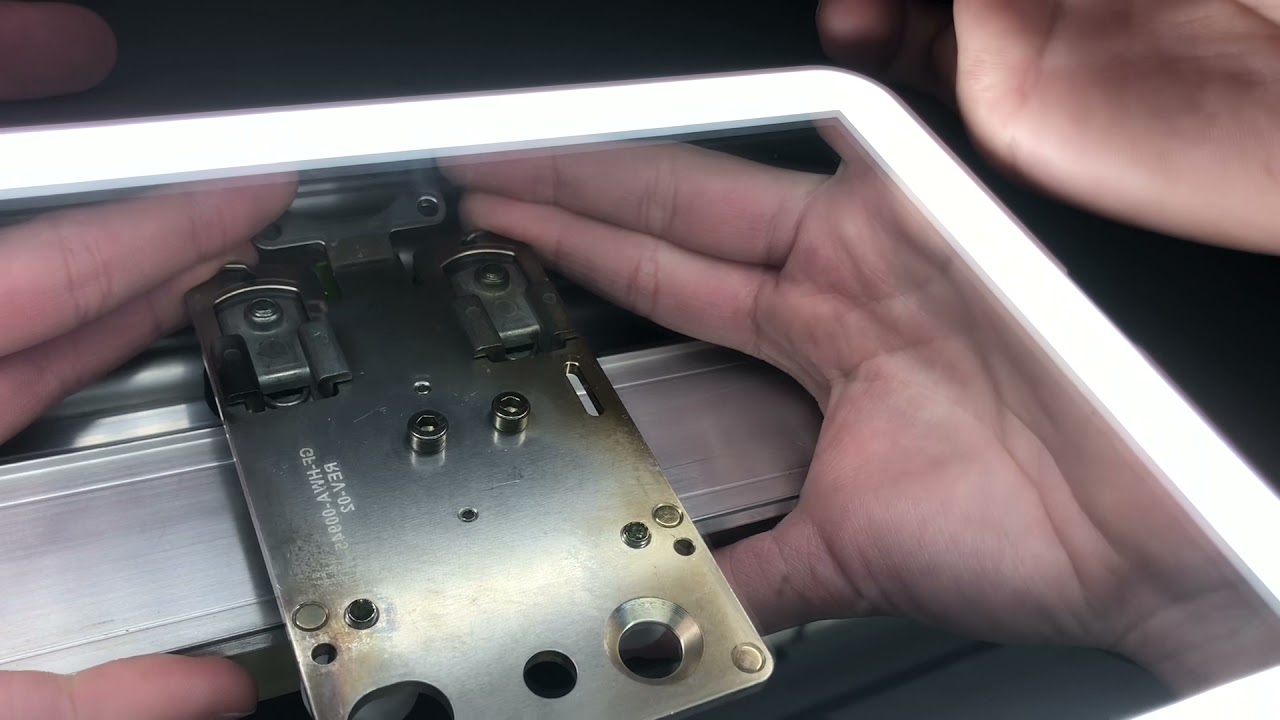
So here are two videos that show me doing this with a top view and a bottom view. I also have the belt and assist fan fully removed from this plate so that the video can give a much better view.
View from the bottom
View from the top
Additional views
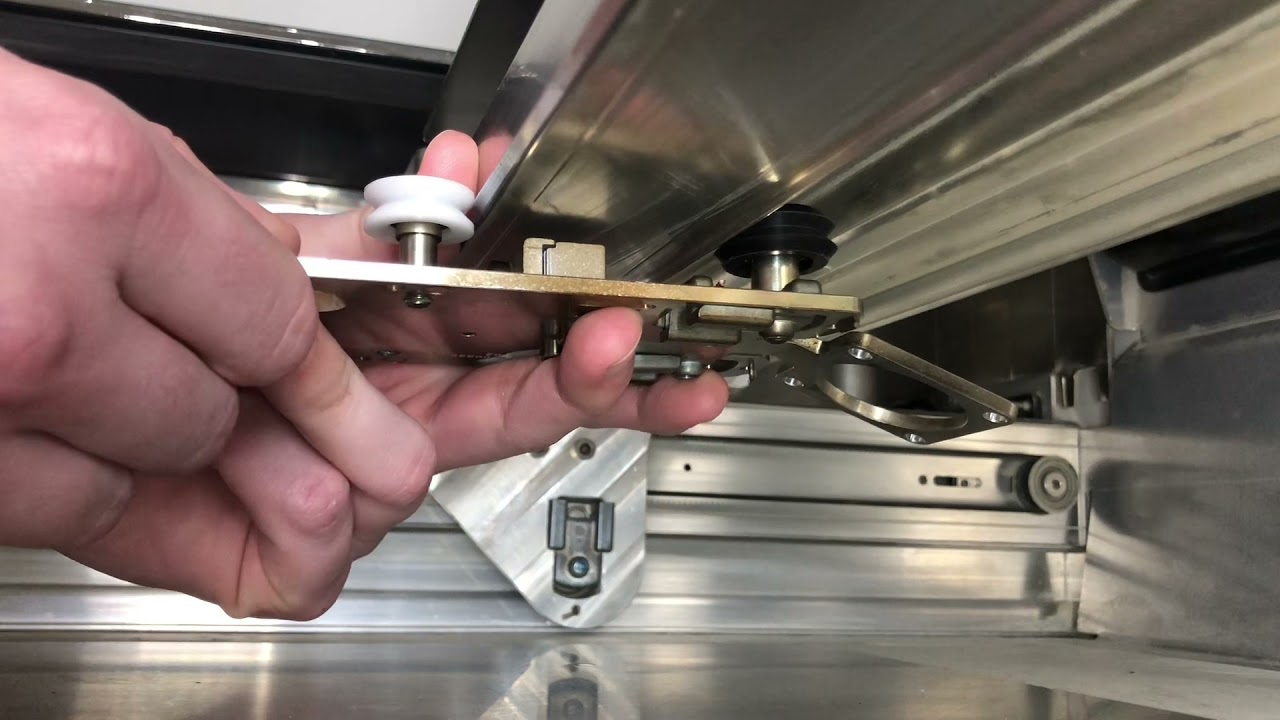
I have two more views that really focus on showing what the plate wheels are doing when you remove and put on the plate. For these video I have have removed the left sides wheels so that I can easily get the plate on and off with a hand positioning that does not block the view of what the wheels are doing.
View from the side of the wheels when being put onto the arm and then when being taken off:
View from underside of the same thing:
Gunked up spring
So if you have put off cleaning, don’t. It will make getting off the plate so much harder. But if you have, then what I do is use a lens cleaning wipe and put extra cleaning on it (i.e. 99% isopropyl alcohol). I then use a qtip to just gently push the wipe through the back side of the plate and just let the wipe sit there for a few seconds and then remove it. The objective at this point is not to clean off the gunk but just to simply break it up so that the spring can move easily. Here is a video of how I do it with a plate that does have its assist fan on it:
I am sure there are other creative solutions for this but it is just what I do.
Glowforge guide
And finally, here is the guide from glowforge on removing the plate. Make sure and read this guide before taking off the plate:
Steps 1-5 from this guide:
Hopefully this write up is fine in the tips and tricks section. Feel free to move it otherwise.
