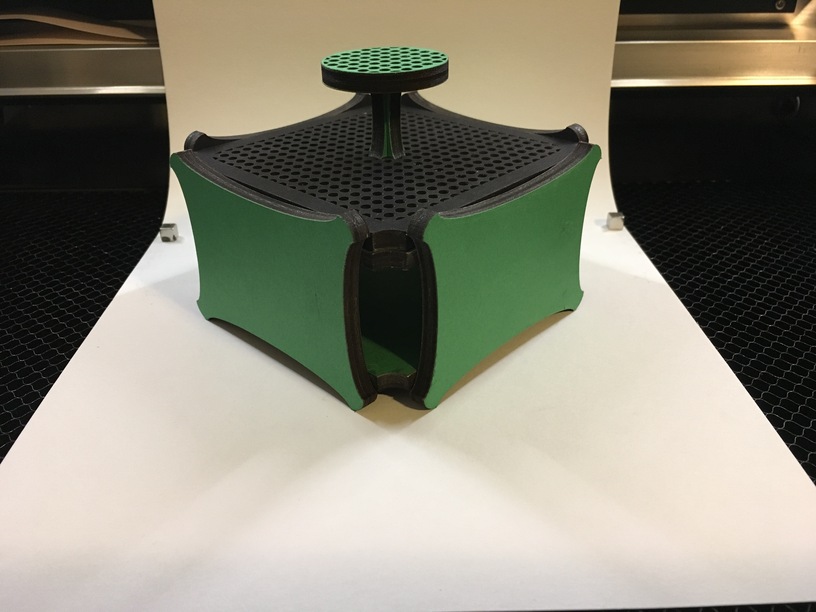
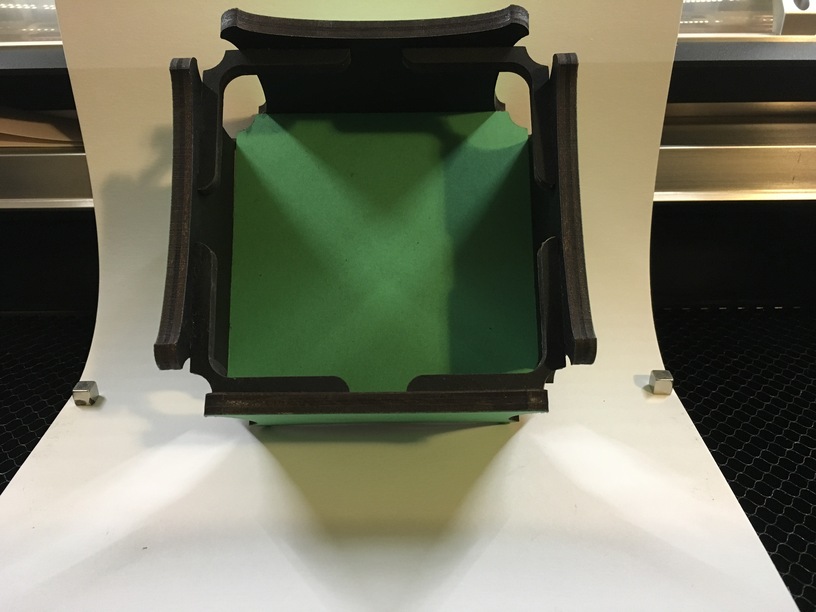
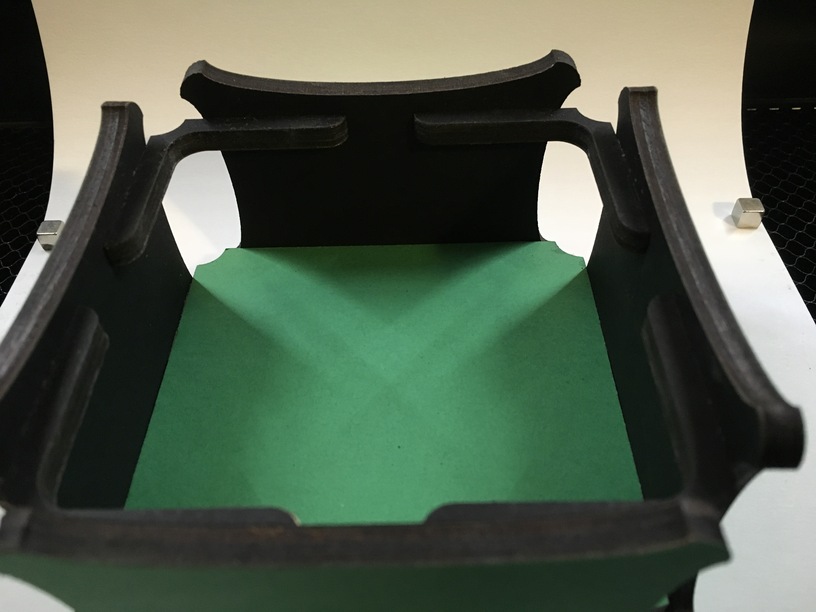
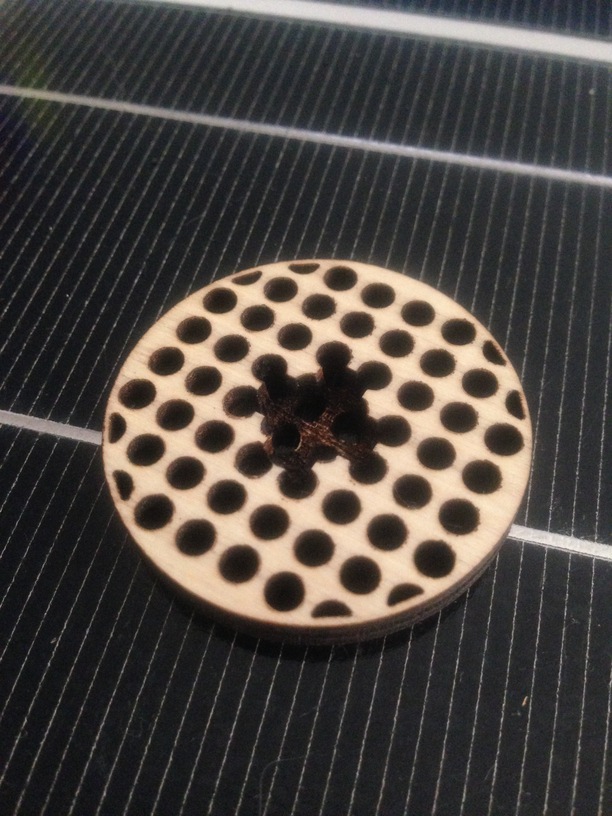
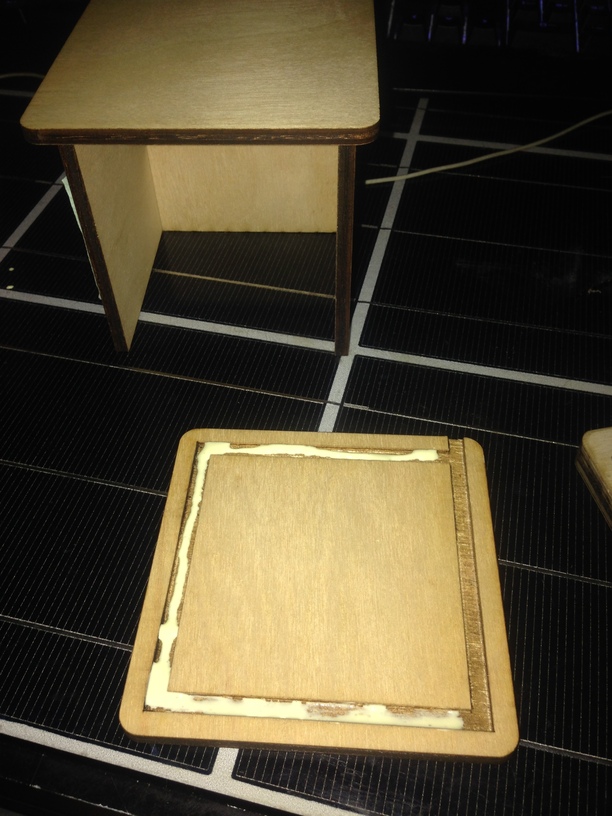
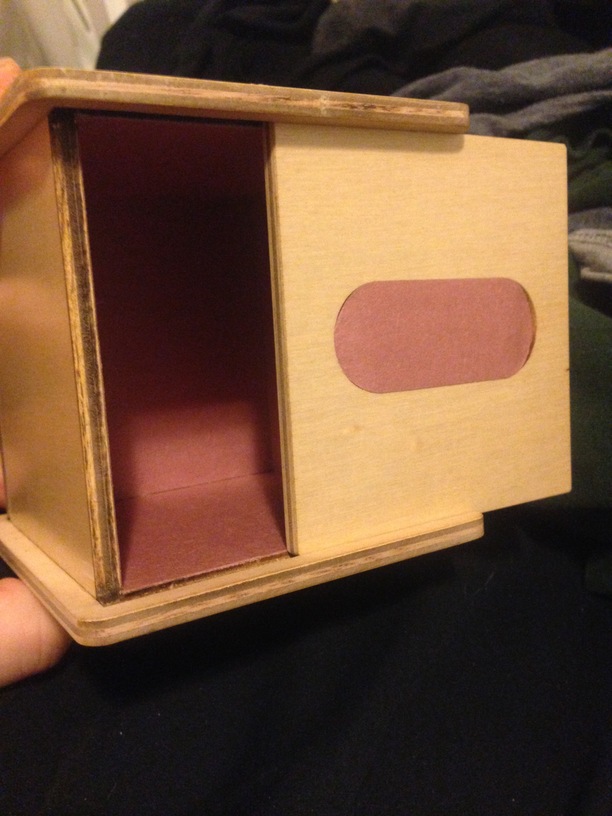
I then designed the box with a slot channel for the engrave. I made it around .006" narrower than my material to have a nice press fit. I also made a simple engrave file for grip holes in the lid by splitting a circle in inkscape and applying a fade to the fill. I then exported as a png and imported it back to the original spot. (im sure there is an easier way, thats just the way i found to do it with trial and error)
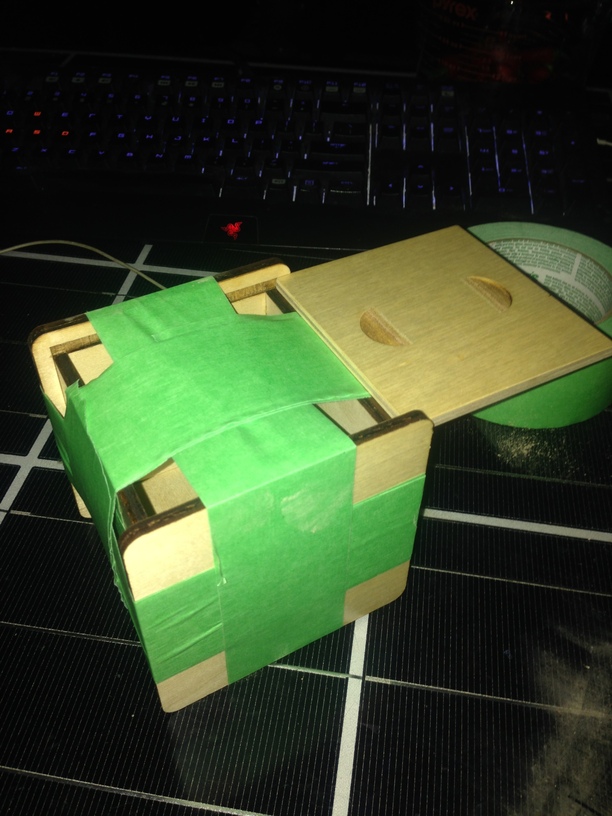
my clamps being used on another project I improvised with some tape
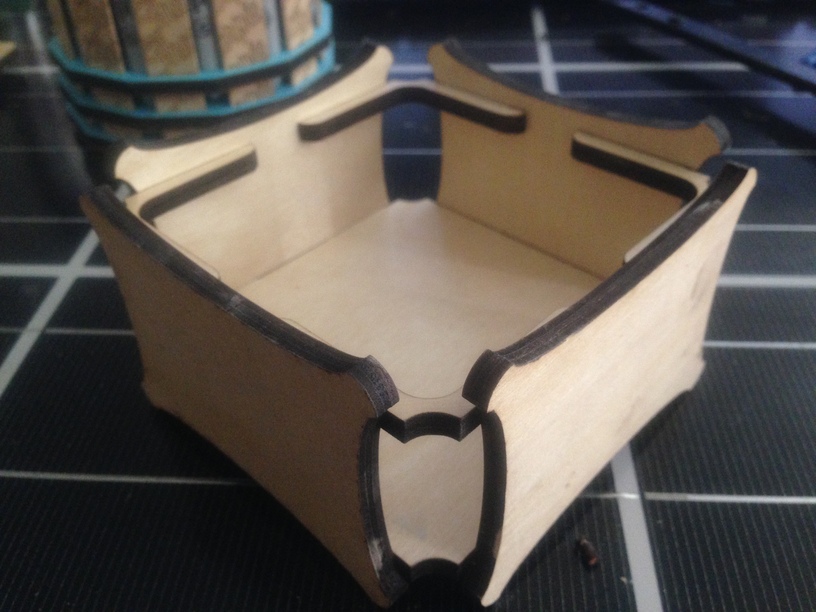
I forgot to leave a little extra room for the lid so it could slide so i sanded it down slightly and it worked out great.
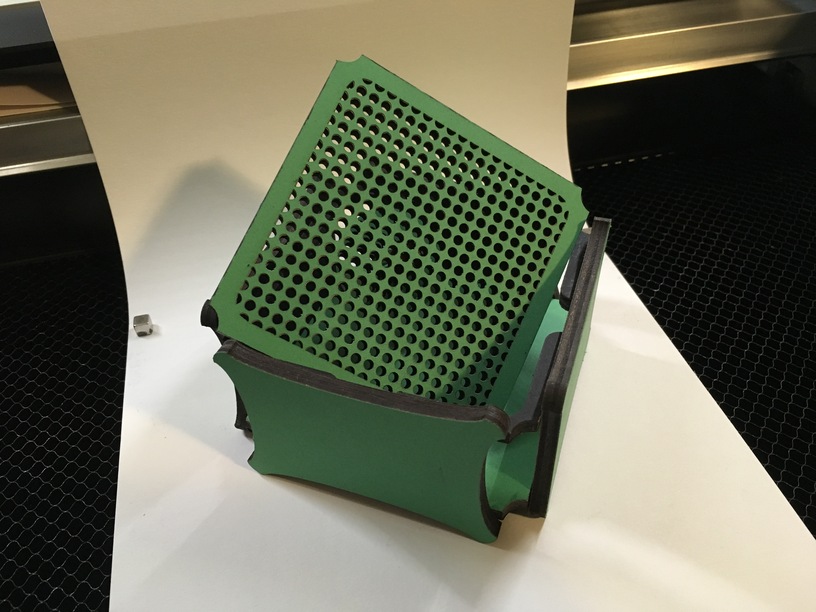
After it was all glued and cleaned up i used my original cut files to create some cut files for the construction paper.
After applying some spray adhesive to the back it was easy to line the box for a little better look. I also sanded down the edges to expose the plywood structure, in hind sight this would have been easier to do before the box was glued up.
In the end engraving the slots was not very practical as making some tabs would have taken a fraction of the time but glad i was able to prove the concept to myself and have some fun learning new skills. Not including engrave/ cut time the whole project took about 30 mins. Thx for your time
Putting a straight seam in a groove is not difficult as there is considerable play in the depth. Where I had difficulties was with fingers and finger holes where the range for error was much smaller,
Doing one or the other has not been a problem,
I know it wasn’t difficult, that is why i called it a simple box . Just a step i took learning a new concept. Hard to tell what you are talking about from that photo. Keep practicing and having fun I’m sure you will get the results you are looking for in the end.
Ah i understand now thx for the clarification. Tomorrows project after i complete a mirror and frame for a customer will be prototyping hidden smaller tabs for some fun
I really like where that is going! I was thinking about dovetails the other day and wonder if this application along with other things could be the answer to more complex construction ideas.
It looks great! I too am not a big fan of finger joints, although when done creatively like some in this community have done, they can look pretty good. But I really like this approach.
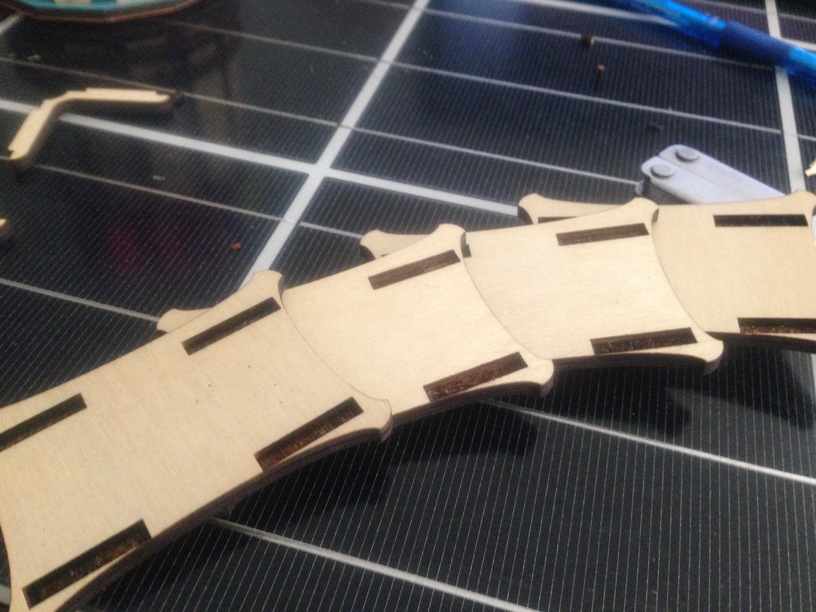
Same process as before but deeper engraves and individual tabs instead of 1 large slot and tab.
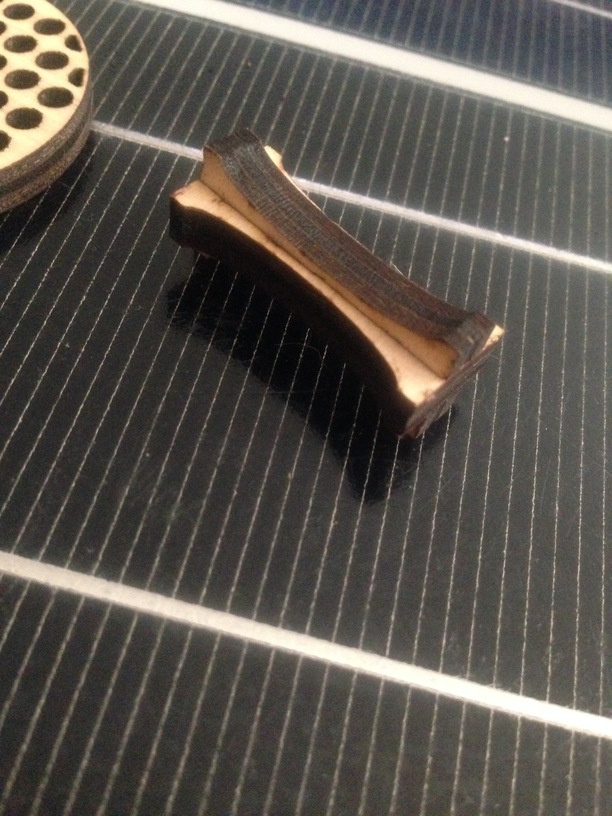
I did a second engrave test with 2 passes and found i could get a reliable 0.95"-0.105" engrave. so I designed the tabs to be 0.090" deep which is actually around 0.086" including the kerf from the laser. The rest of the steps were basically the same. little to no sanding it was all designed to be a press fit but glued it anyway.
Applied 3m spray adhesive to some thick card stock to cover the wood because i messed up on the cuts and had the wrong side up lol. the plywood i use is finished one side.
I like the approach on this one. The combination of space & the connectors to skeletonize the joint is a unique way of looking at dealing with laser slots & tabs. Really cool.

 . Just a step i took learning a new concept. Hard to tell what you are talking about from that photo. Keep practicing and having fun I’m sure you will get the results you are looking for in the end.