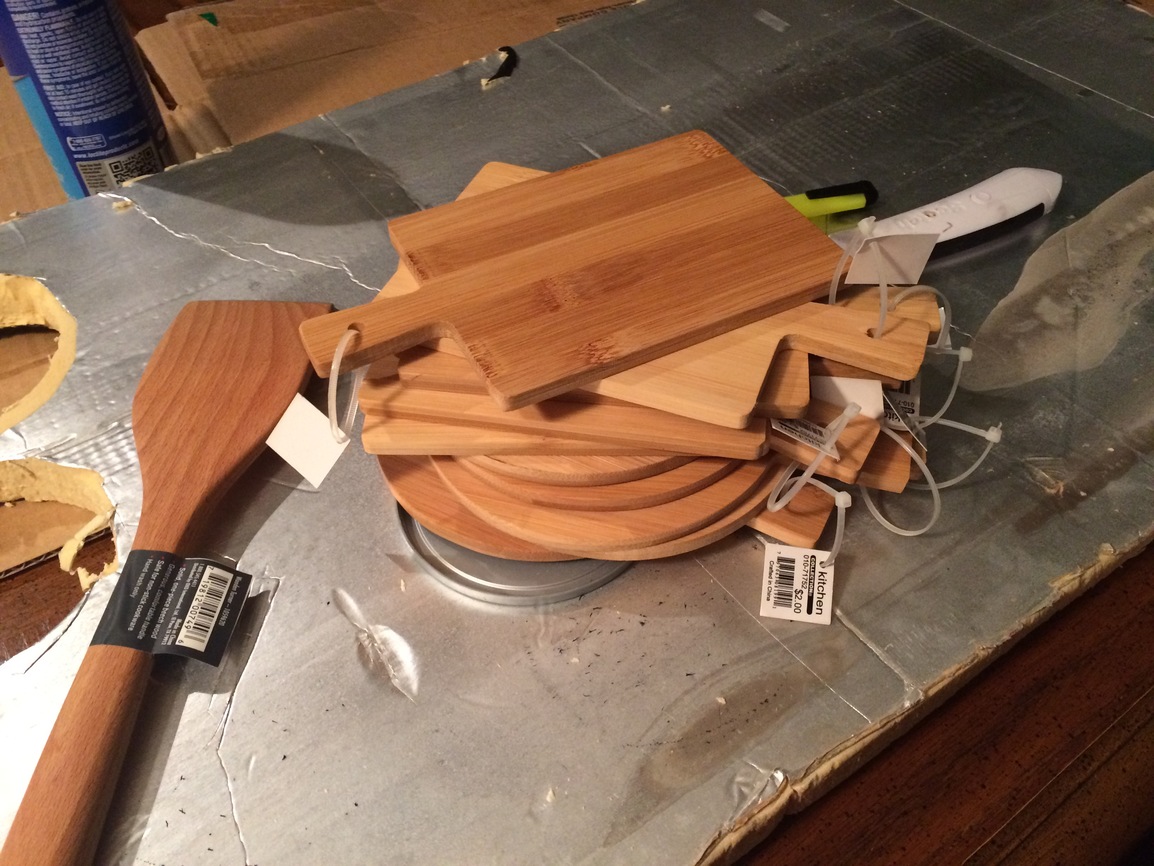
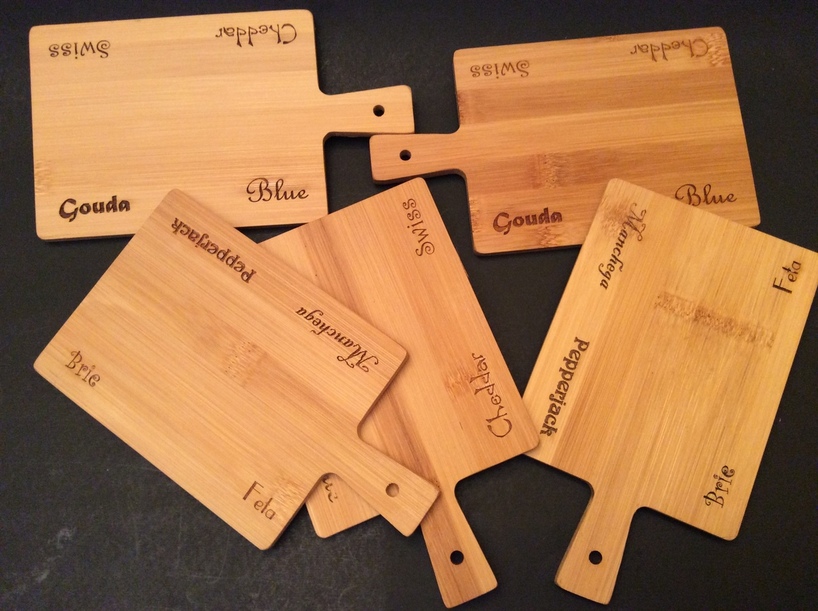
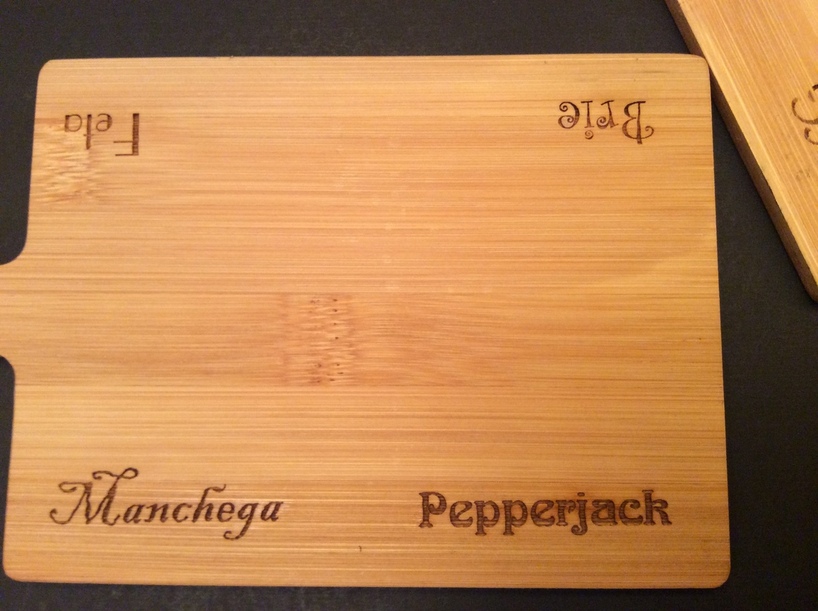
I went to the local outlet mall to the Kitchen Connection that has all the stuff for cooking. Lots of different materials to work with. I found these small bamboo cutting boards that would be perfect for serving cheese on. I bought five rectangular ones 5 1/2" x 4" and five round ones 5" in diameter. I looked up what are the most popular cheeses in America to serve and then thought about what other people around here serve for cheese. I personally would have one board reserved for different varieties of blue. Swiss would be have to be broken out into different varieties. As gifts though, these would be pretty good for catching most of the cheeses that folks serve. There certainly are different ways to group the varieties, but at least there are 14 different cheeses that one can choose from and have at least 7 at a time on display with two boards. Now I have five sets to give away. I shoot for Epiphany for gift giving, which this year is on the 8th of January.
Here is an image of the file I made up in Inkscape. Making the sets four different colors allows you to designate which ones you are going to process each time. Using the copy and paste and rotate you can do multiple boards at a time. I could fit four in the work area at a time. Eventually I’ll get the designs I want to share and put them in the Free Designs category, but I’m just getting these out for right now so folks can see what I’m working with.
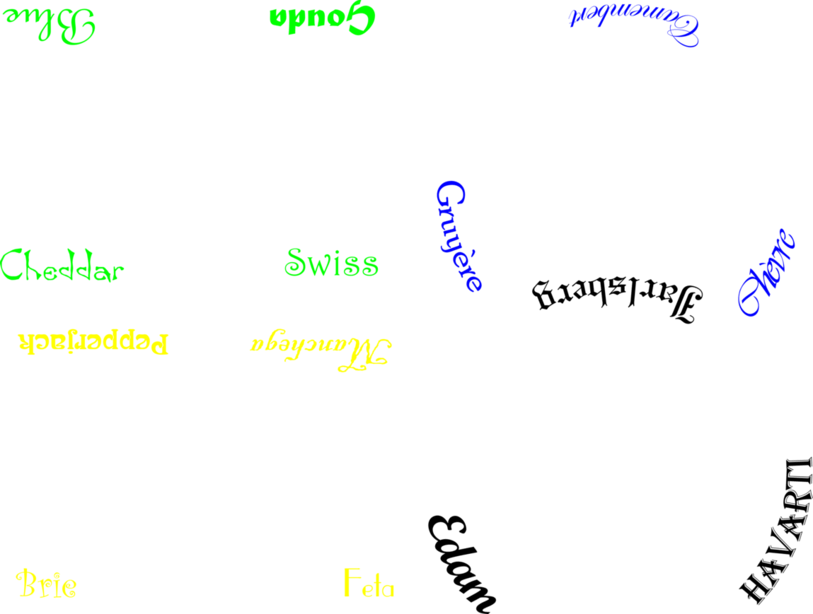
<a class=“attachment” href"/uploads/glowforge/original/2X/5/57b428aa8f8a14ec0bcf7dbbd3a460cec5750adb.svg" >CheeseBoards.svg
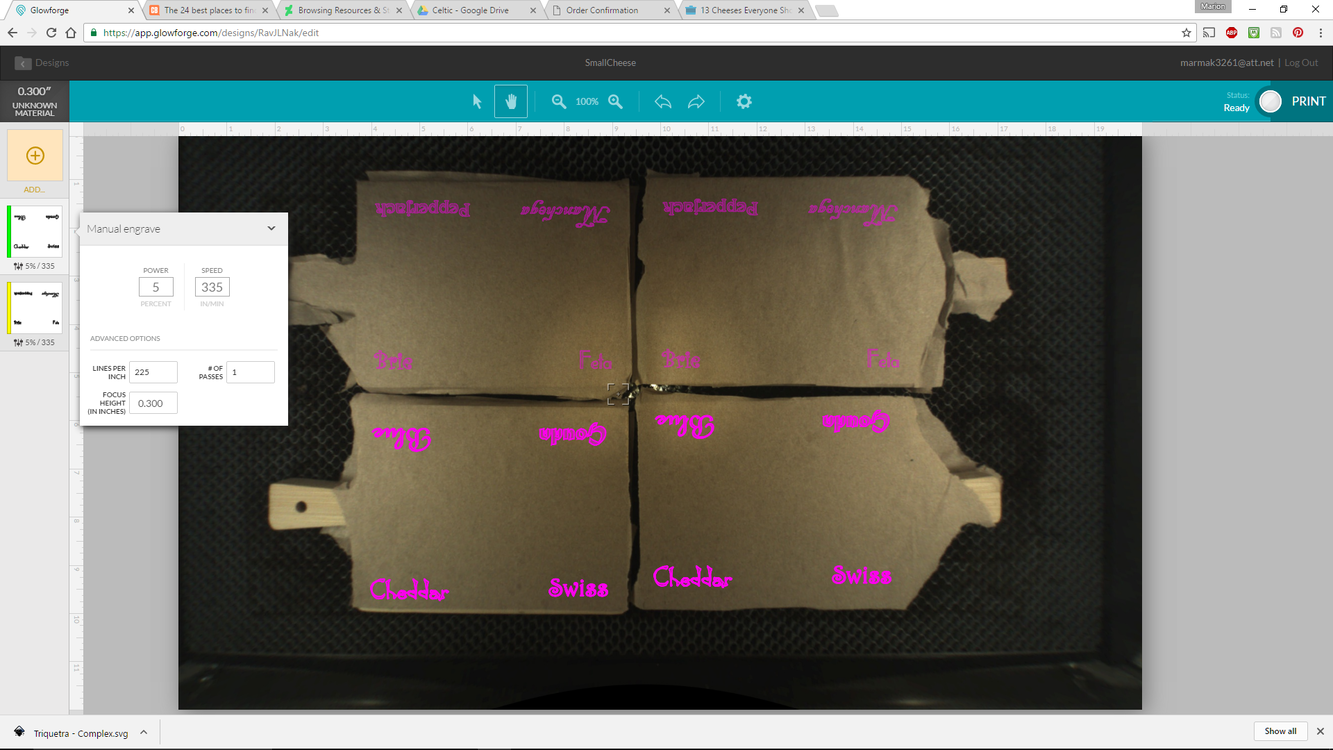
Here are screen shots of the workspace. Note the settings for power, speed and lines per inch. These took about fifteen minutes to engrave.
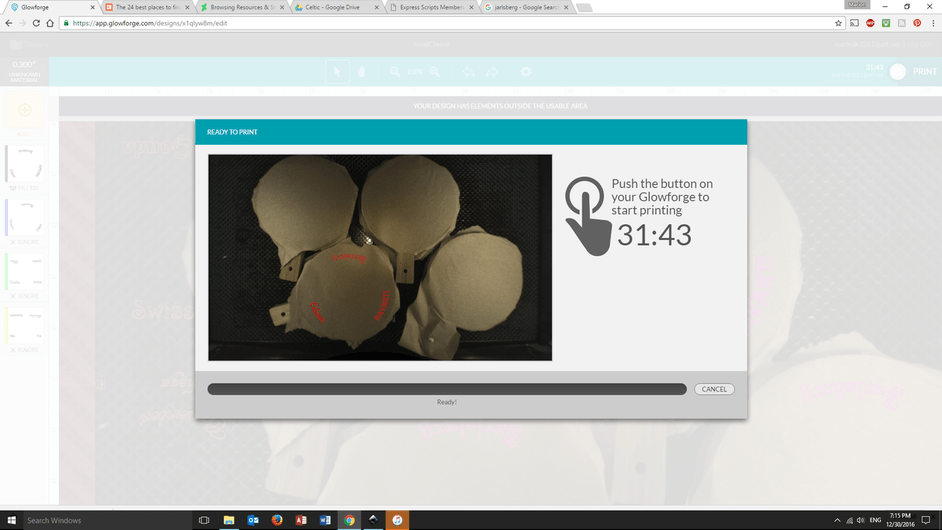
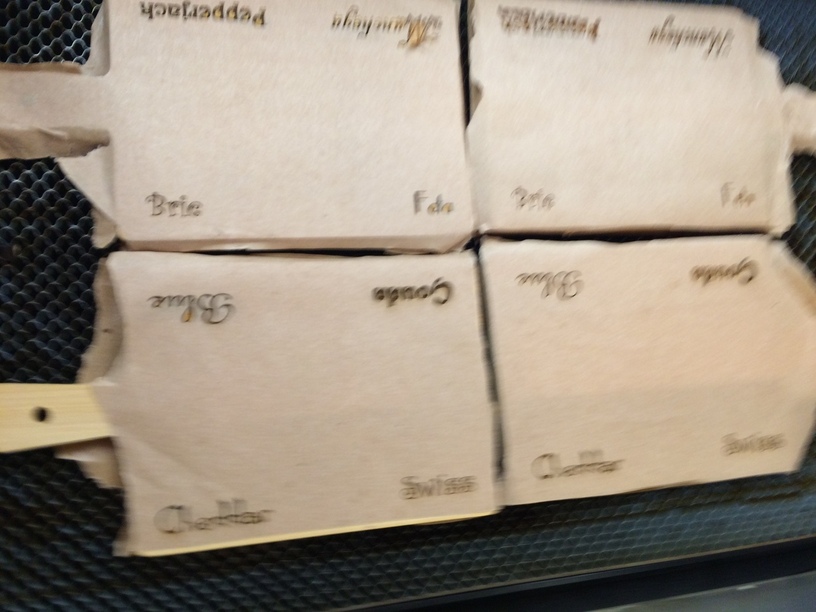
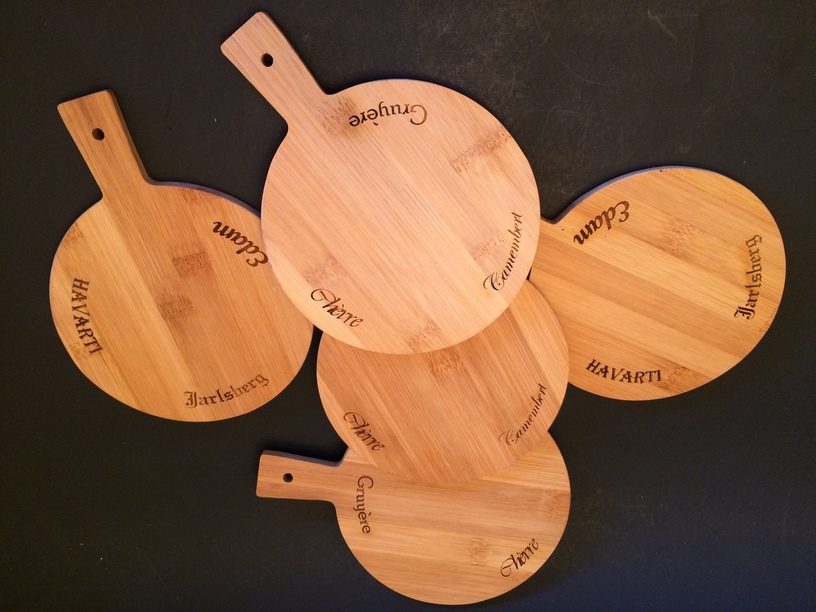
Here are one side of the four round ones during the print. These took about 32 minutes to engrave. That is one thing to consider in designing. I could group/combine the multiple copies to engrave in Inkscape and then place them all at once over the four boards. I think that would speed up the engrave. But then there is a tradeoff in making sure the boards are placed correctly. I did that with four rectangular ones and they only fifteen minutes. I kept them separate for the round for more exact placement. Whatever you do, figure in engraving times in the workflow process because sometimes the setup makes for longer engraves than you might have time for. This is something I’m familiarizing myself with more as time goes on. This is the project where I have engraved the most.
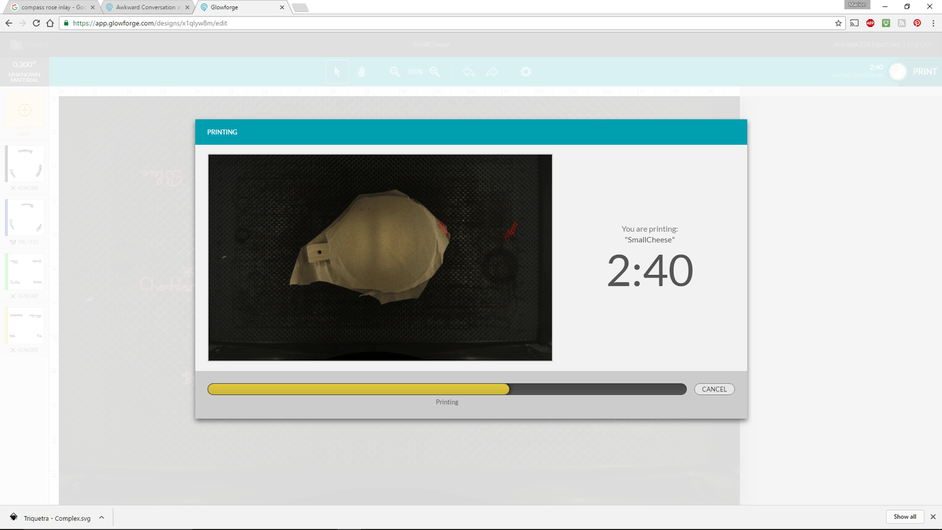
I had to do single prints of the fifth boards. I had to cancel this print because I had selected the wrong set of cheeses to print for this side. It’s a good idea to watch the bed as the print starts to make sure you are printing where you want too. I had reached over the desk and pressed the button and went back to work on the screen. Note the red text showing up during the print. The workspace is very clear in highlighting what you have chosen in the settings, but I need to pay attention! Too many projects going on at the same time. In any case, it was in total a 6 minute print.
I know you aren’t supposed to mix fonts, but hey, if you can serve different cheeses on the same board, you can mix fonts!
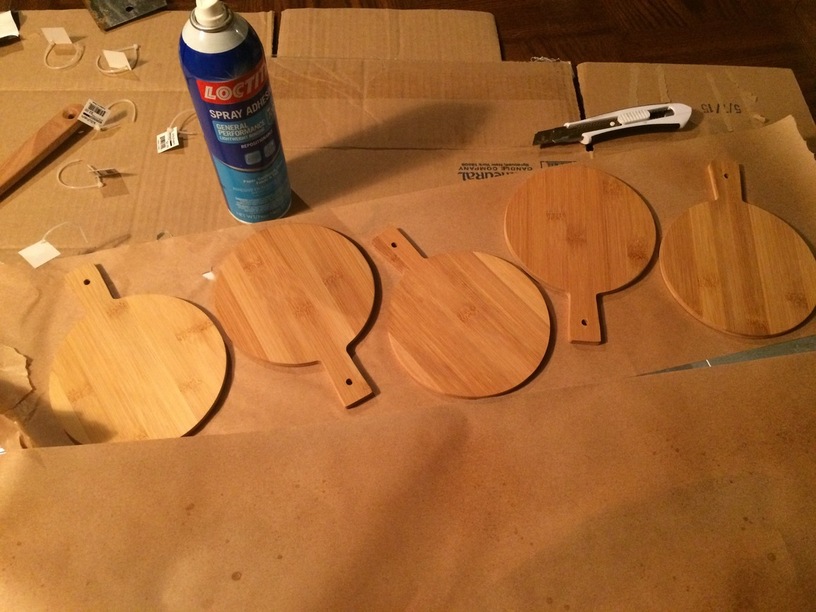
Here is the process of prepping the boards. I did a slight spray of repositional adhesive on kraft paper masking that comes in a roll but none goes on the cutting board.This may spark some discussion. I didn’t spray it on the cutting board and I printed fairly quickly after. It works very well as a mask. I went over each board with an pad soaked in alcohol to clean off any residue (it wasn’t tacky at all. the paper came off perfectly). Folks may think that this isn’t a good way to go. I do have a roll of laserable masking that I purchased, but I didn’t use it. I weighed pros and cons. The Loctite General Purpose adhesive has some funky stuff for propellants but most of that is volitile. I guess that @volivaa could help me out here. . Anyway, might as well throw this out there for discussion.
I might have just let it go without a mask and then sanded it.
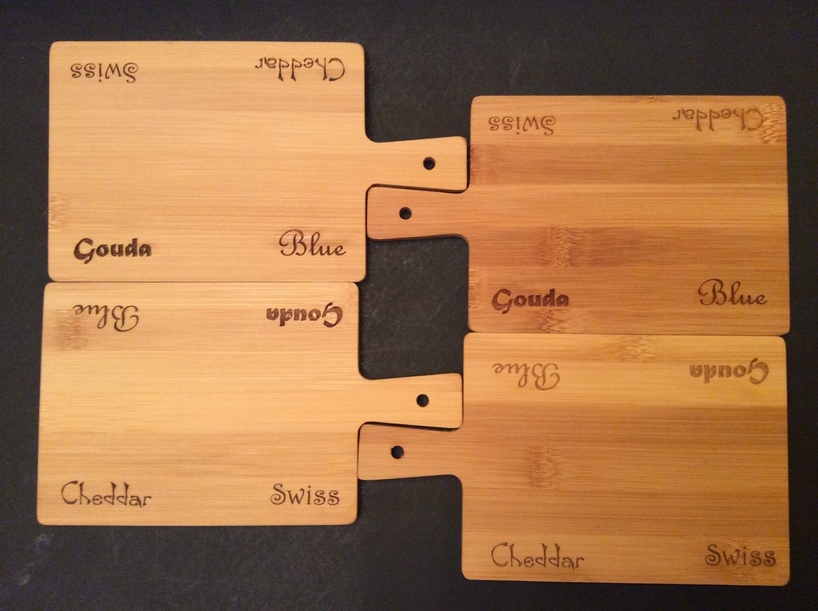
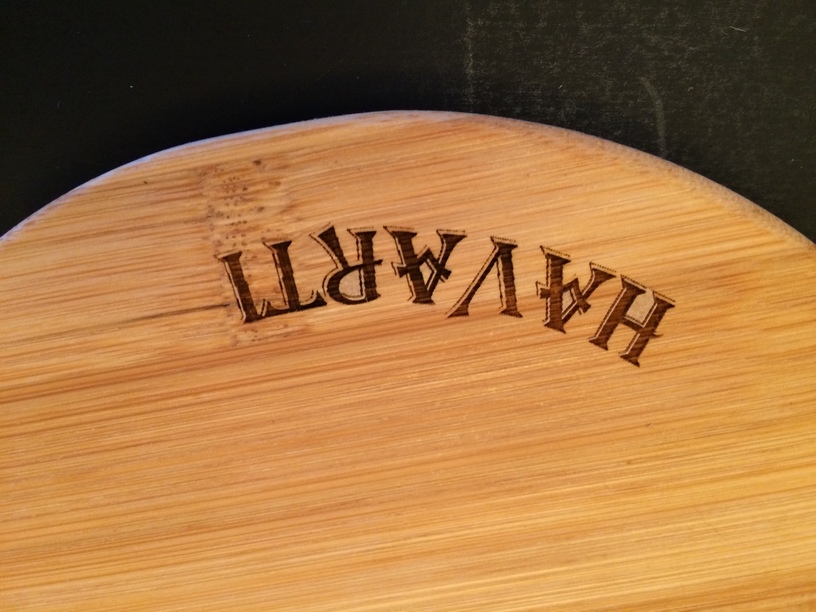
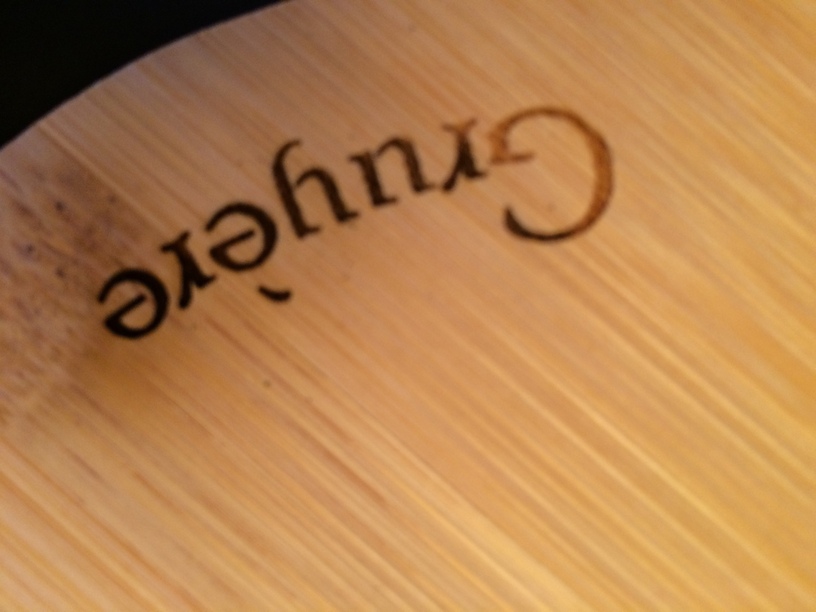
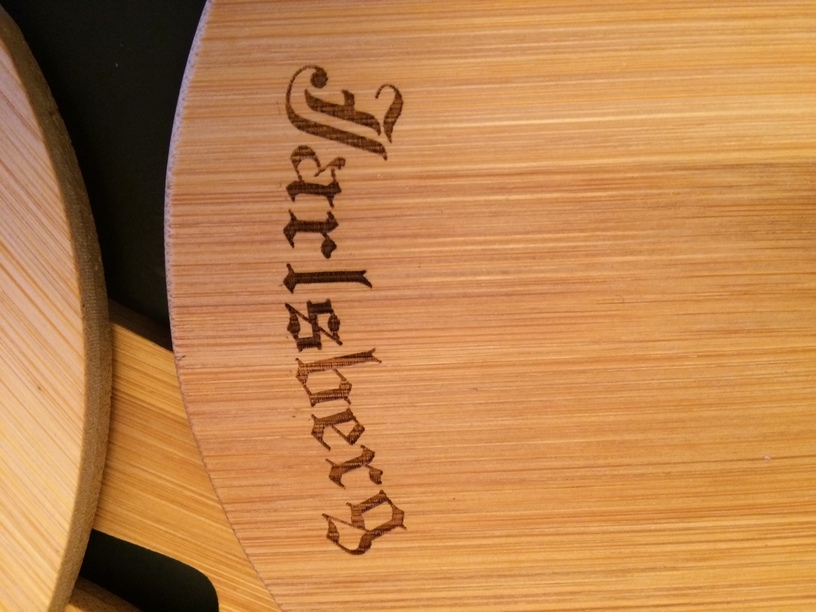
Note that the difference grains and places on the bamboo engrave differently.
All in all, I’m happy with this result. Once again, the Glowforge performed perfectly for me. I did a low resolution because the bamboo is naturally wavy and I wanted to save some time. I’m equipped with another set of Christmas gifts to give out.


