I’ve my glowforge basic now for a year, more or less.
Or, to be precise: I got a replacement unit half a year ago.
Since I can’t get the official material here in germany I have some supplier for acrylics and wood here.
For that material I made a lot of tests to get the right settings - which worked pretty well.
Until… a few days, maybe weeks ago.
For cutting hard wood (like beech, amaranth and mahagony) I used the following settings:
Speed 160, Power 30
As I said: this always worked.
The last two to three times I tried to cut the wood, the laser didn’t get through.
I then changed a few setting (it’s wood after all, variations happen):
Speed 130, Power 90
This time I nearly got through the mahagony but there were still some leftovers.
Today I tried amaranth again and it just won’t go through it.
I even let the laser go two or three times over it again, but nothing.
So, what happens here?
Is it the temperature (it’s about 26-27°C), is it wearout of the parts maybe?
I’d be happy to get some help on this topic
Thanks!
Flo
first question from support will be “have you cleaned your machine recently?” in particular the lens and mirrors. if those aren’t clean, you won’t get a cleanly focused beam and your machine will not cut as cleanly.
And it might just be less dense wood. People think that dense wood (knots) is harder to burn through, but air is a problem, there’s nothing to burn. Check for things like vugs in the wood. If you see heavy charring, but the laser isn’t cutting through in a few spots, check for vugs. (air pockets)
Did you check/clean the mirror too? (Be careful taking it out, remove it at a 45° angle to keep from pulling apart the foam, but the instructions are here:)
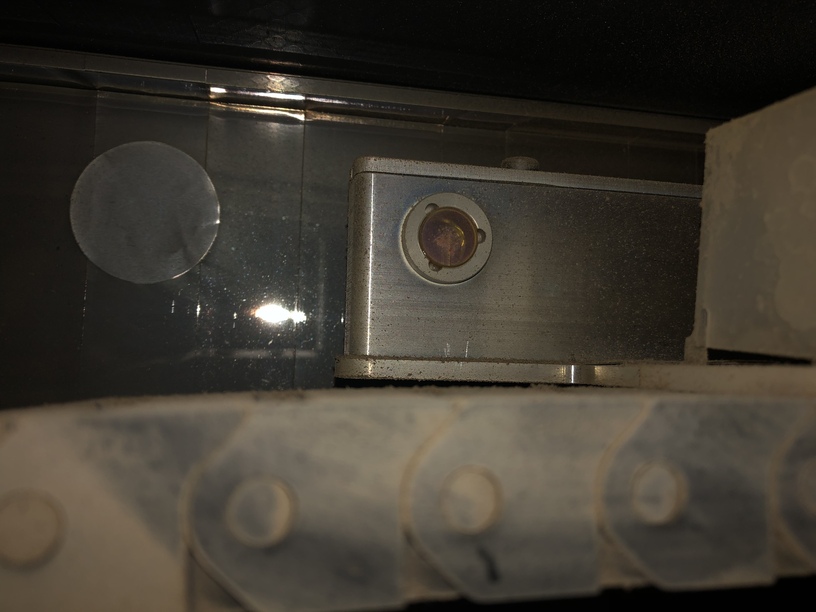
When cleaning remember the lens on the far right under the glass beyond the lid, and of course the mirror under the top of the cutting head. If your fans are going well, all the smoke will be passing that far right lens so it is easy to mess up and easy to miss. Secondly is your fans. If the head fan is not blowing enough the smoke will flame a lot. If the smoke is flaming the laser is not cutting as well.
This makes me think that posting pictures of the optics may help out. If I remember correctly, they sent only a few wipes along with the machine. A year, or 6 months, is a long time to not have yet bought your own cleaning wipes.
The other thing you’ll need to check, besides the cleanliness of all of the optics, is that the lens is installed correctly. It should be like a bowl, with the lens material on the bottom - not the other way around.
That‘s the first time I hear about it.
Sure, I knew there had to be mirrors on the left side to get the laser beam from tube to head but I never saw them.
I‘ve the feeling this could be the solution. Thanks!
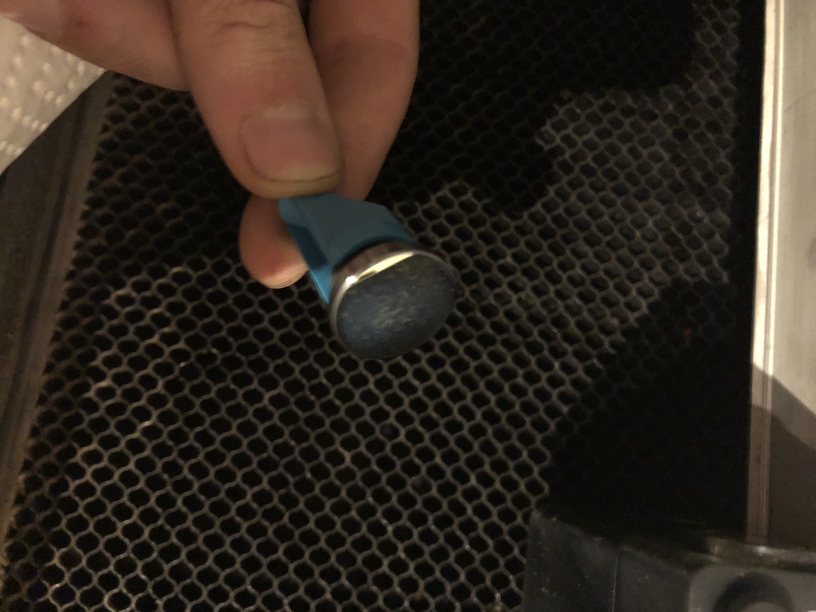
The two lenses on the head look good. No dull spots or something like it.
I got like three wipes or so with the replacement unit and used the last one yesterday to clean the lenses
As a Carpenter I normally love to see all the details in a machine and try to disassemble most of the parts and so on.
I never did this to the glowforge.
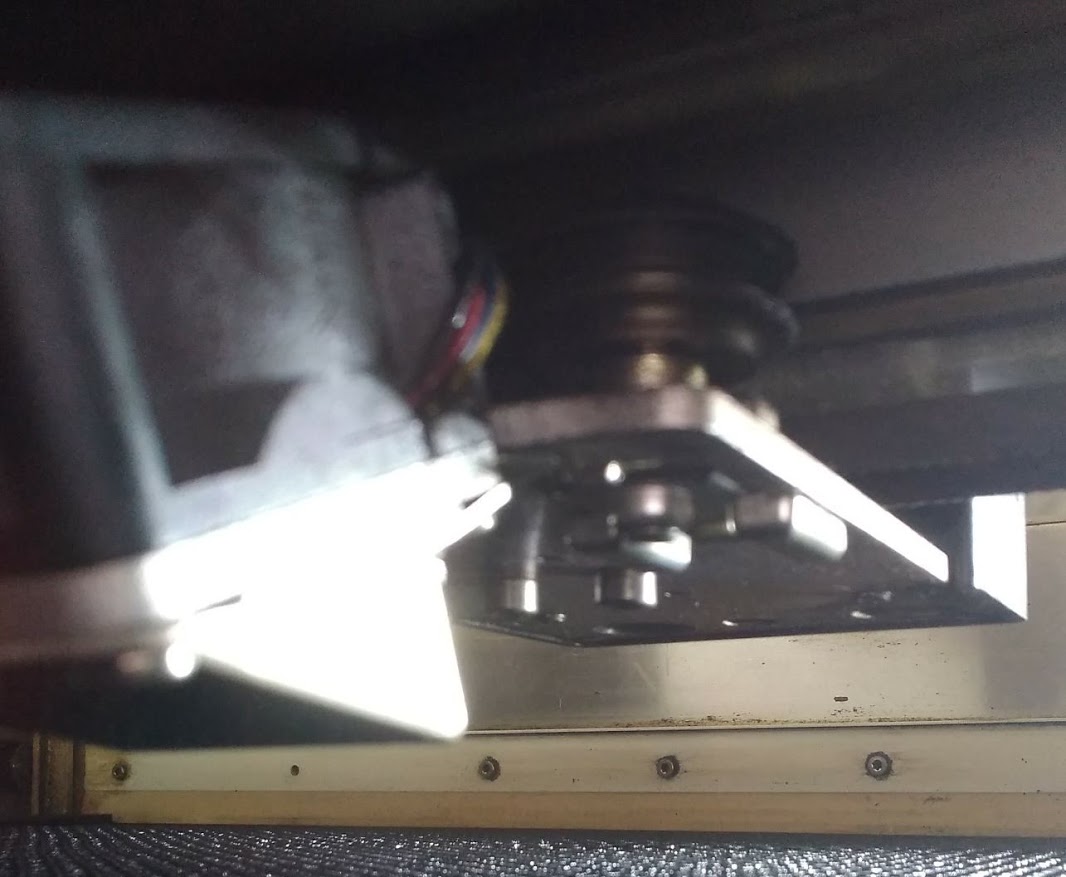
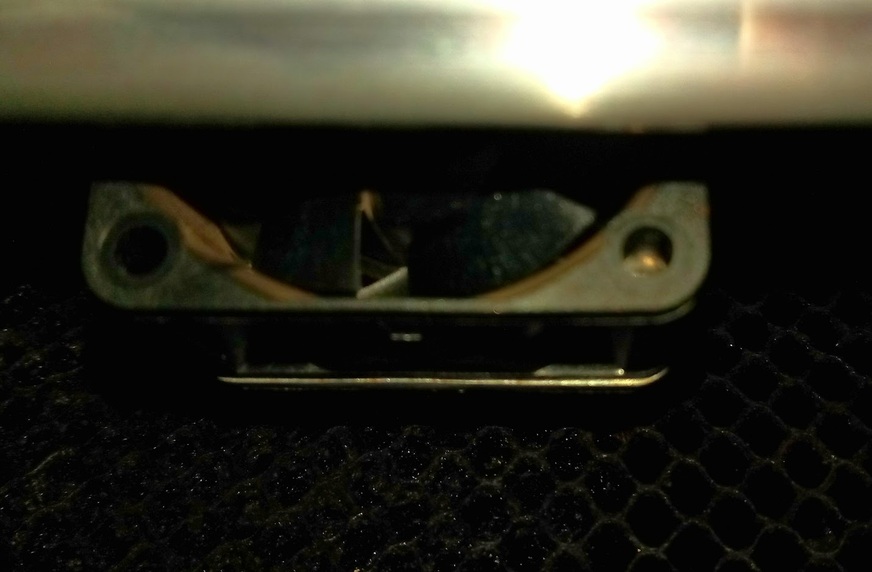
You may or may not know how my surprise-face looked like as I saw you can take the „hat“ from the printer head of
And yes: the mirror and the lens on the left side on the moving arm were quite dirty.
The cut got through the mahagony
Speed 130, Power 90
Which is the “corrected setting” for the hard wood.
But it got through without any unwanted scorch marks.
The amaranth… well, no succes.
But it is entirely possible that this board I have just is different than the others I had before.
So, it got better.
Thanks for your fast and really good help!
I’ll see how it’ll work with other kinds of wood (acrylic worked so far without any problems).
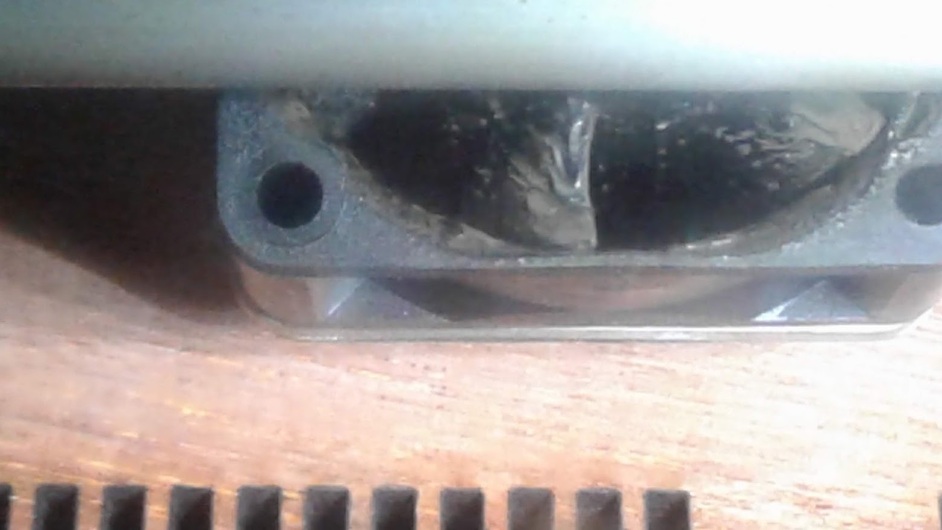
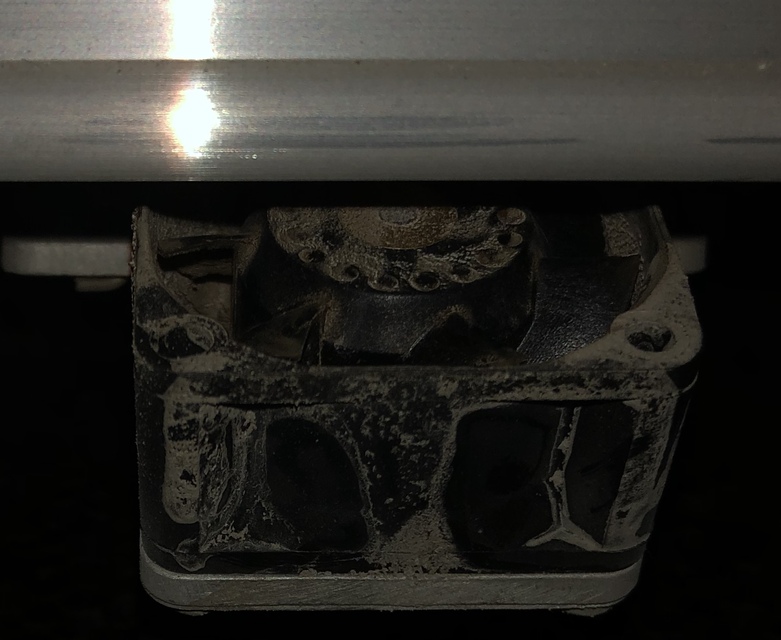
I cleaned the vent 4 weeks ago and thought this shouldn‘t be a problem by now.
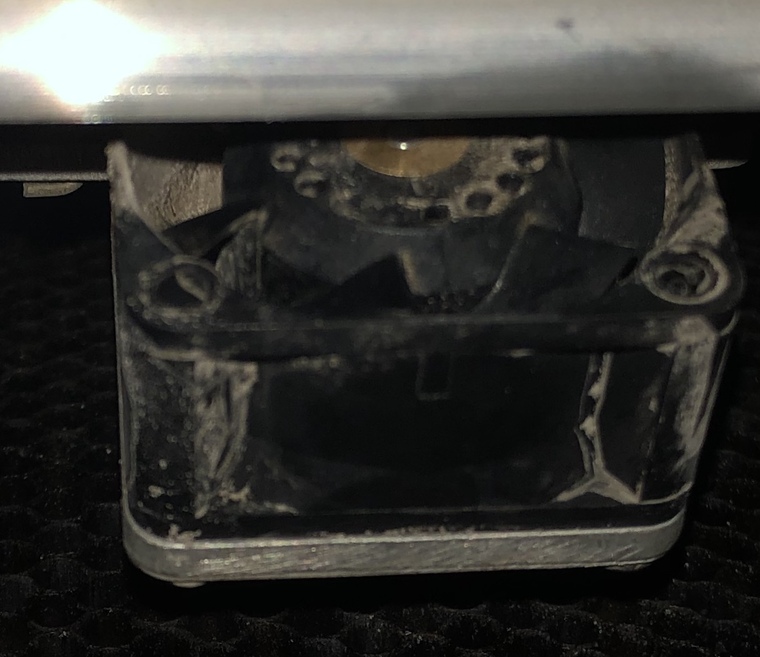
But, yeah, there was a liiittle bit of dust on it again
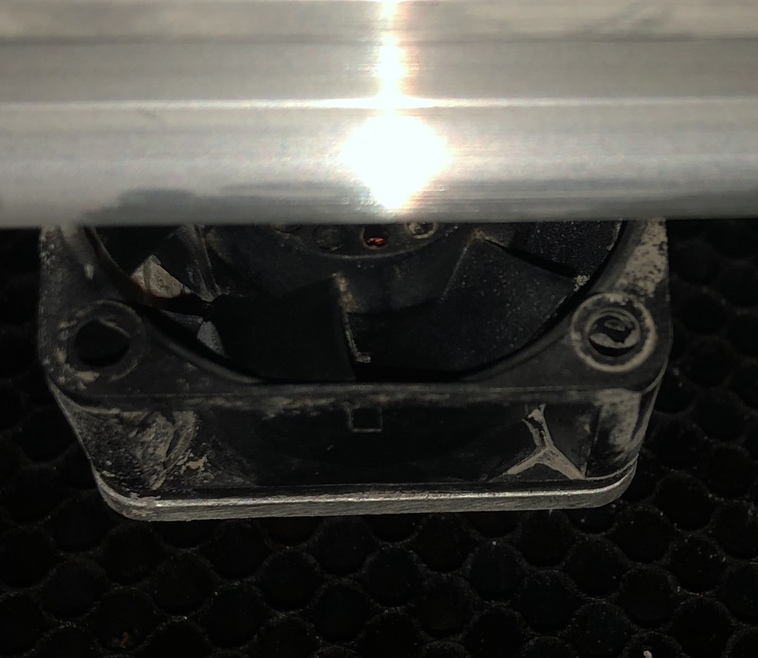
Cleaned it now, again. Looks much better
Hi there! I see you’ve already gotten some excellent suggestions on here. Is your machine back to performing as normal? Please let us know if you have additional questions or anything we can assist with.
Heyho
I‘d say it is back to 85 to 90%
Acrylc works fine, for the wood I had to change the settings a little bit (no matter what kind of wood I put in there).
So, yeah. It works

 ) to see what happens.