Curses! You cut off right before the good part. I was curios if @dan and company were going to show off the true power of Proofgrade and have the power dialed in so perfectly that while it cuts through the wood, it does not cut through the paper underneath (that would be INSANELY impressive for anyone experienced with lasers)
It did cut through the paper. That video is on Instagram…
And I was thinking the EXACT same thing! ROFL!
Mighty darned impressive. I noticed that one did not jump around, but followed a logical progression with the engrave, (raster treatment?).
Awesome looking design for the tag too!
jealous 
I hadn’t paid attention to the minimal tool travel time. The interface showed most every portion of the job was a different command. So likely it was manual ordering which made it so efficient. And yes the entire drawn portion was treated as a single raster, so done up dot matrix printer style.
Around 5:53 is when the lines on the far side of the tag are engraved, and it engraves top to bottom each time. If there was tool path optimization, it would have engraved top to bottom, then bottom to top.
Good point, and one that might need to be addressed…not so much for where the major cuts start, but the best method is to cut from the inside of a piece to the outside, if there are interior cuts.
Not an issue with wood probably, but if you try to cut something stylized like swirls and flourishes or small parts out of the center of something lighter weight like paper or fabric, the material can shift a bit if you cut the edges out first, throwing off the rest of the cut quite badly.
Inside to Outside. Smallest to largest. (Small cuts less likely to shift the material.)
So the one line at the left of the tag separating the graphic area from the holes for the strap, and the several lines at the right of the tag are not engraves, but shallow cuts. The engrave is deeper than I expected it to be, and the shallow cuts went about 2/3 through the tag.
So, those cuts and the full cuts were embedded in the template for the tag, and then my design was scanned as a raster, and it engraved the raster first, then the next command was the shallow cuts and finally the outside cut. I have no idea how it would decide which order to do the multiple shallow cuts.
No I think that’s part of their in-house processing. If there’s a way to order the full cuts, they should look into setting the interior ones to cut first.
Doing the engraving first is good, and the half-cuts second is fine, they just might need to address the order of the “full cuts” to make the interior ones go first.
It’s not something you’re likely to think about if you are used to cutting something thick like wood or acrylic that doesn’t shift.
We had to consider it. And if the machine is used for paper or something light weight, it’s going to cause a problem. Lighter materials aren’t going to be stuck down to anything.
(You might want to mention it to them if you see them again tomorrow and the show is still going on.)
Inside to outside is also good when the material is not quite flat. If it cuts a large shape out of curled material, that shape will fall down onto the bed and might shift slightly, then when it cuts the interior shape the alignment could be off.
Were the outside cut and the cut of the 2 holes one operation or cold they be reordered? It would be better to cut precisely sized and located holes prior to cutting the part loose from the stock material.
If you watch the UI at the start of the video, they had the two holes in the same operation as the main outline. So it was coincidence that the holes cut first (or MAYBE some interior priority work already in place?).
But, you certainly could design your own work to have the exterior cut be all by itself and listed last.
Operations in the Glowforge UI are from top to bottom. So you can see that they were going to engrave his scan twice initially (apparently with 4x or more the DPI on the second one), upon seeing the 20 minutes they went back and noticed the error and removed the second run (dropping the time from 20 minutes to 5, hence suspecting quadruple or higher DPI on that second engrave)
This is the part that I’m not familiar with using lasers - can you specify for yourself which vectors cut first?
(If so - no problem.)
The holes actually cut last in the video which, as you were talking about in your prior post, should be the other way around so the part doesn’t “fall” then cutting interior features that could then be misaligned.
Very kewl and exciting ! Question- did it read the yellow the same as the black when it engraved the lines?
Due to the complexity of the image, and the relatively light line at the time, they were going to engrave at a higher dpi. The second scan was because they wanted to grab a slightly tighter window on the art. Had they left it in it would have engraved twice (and apparently at the higher dpi for one of them), hence the 20 minute time. But they ended up leaving the final engrave at 225. I imagine with 1 engrave at double the dpi it would have taken 10 minutes or so. Dan said I could come back at the end of the day and if the line was short they would try at the higher dpi, but we ended up leaving earlier.
You can specify which go when by having the parts you care about be different operations. On my current laser I accomplish that by making things different colors if I care about their order. Glowforge will have some way to specify which groups to consider as distinct, then you put them in the order you want from there.
Ah, bad memory strikes again. I should have re-watched the end of the cut. So no pre-built priority in place, which is a mild shame. But since it is possible to manually control, not a huge issue (just slightly less newb user friendly)
Very kewl and exciting ! Question- did it read the yellow the same as the black when it engraved the lines?
No. the yellow in the scan was completely ignored. Just the black was grabbed. The shallow and deep cut lines were embedded in the template for that shape within the GF software.
did it read the yellow the same as the black when it engraved the lines?
Correct, the yellow is ignored in the scan so it’s just to help people see how their drawing will align with the final product.
Re: order, each color in the original digital design is assigned a step. Added scans or bitmaps are given their own steps. Within a step, rasters go bottom-to-top so you can see them unfold (thanks @Kusmeroglu for thinking of that) and vectors use a very simple approach to optimizing. Improving cutline optimization is in the hopper.
Re: order, each color in the original digital design is assigned a step.
That’ll work. (Can always assign a different color to outside outline to force it to cut last.)![]()
It was great to meet some of the Glowforge crew and see the machines in action.
One interesting observation from the show yesterday, was seeing the lines of people around the Glowforge area and then go to the opposite end of the floor and see the Epilog Laser demo area there would be just a few people
That reminded me I had a video of the Epilog.
Of note, she states that the resolution of the Epilog is 1200dpi, and if I recall correctly, @dan stated that the Glowforge will go up to 1300. The cost of the Epilog is massive comparatively as well.
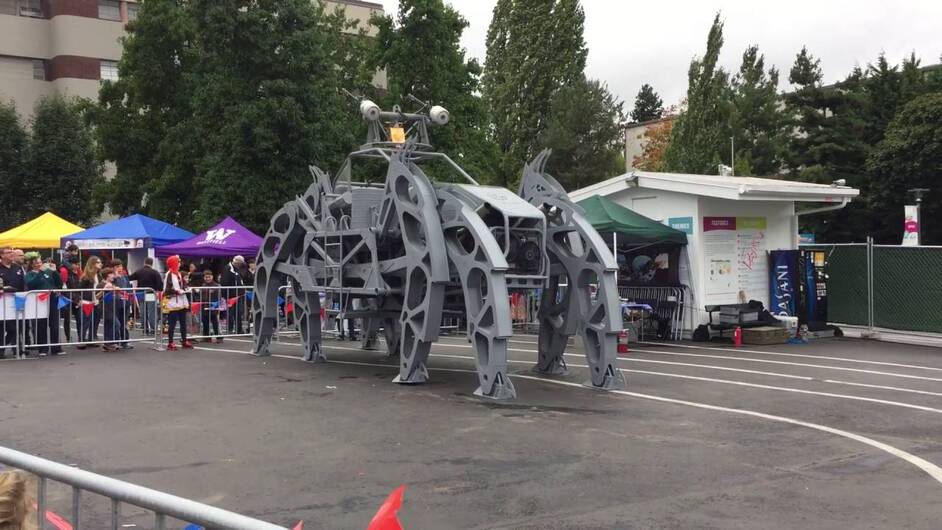
And a bit of the Walking Beast!

