Succulent Boxes

This uncomplicated project brought me a bunch of joy and a crafted object I can show off at work.

IMG_0533

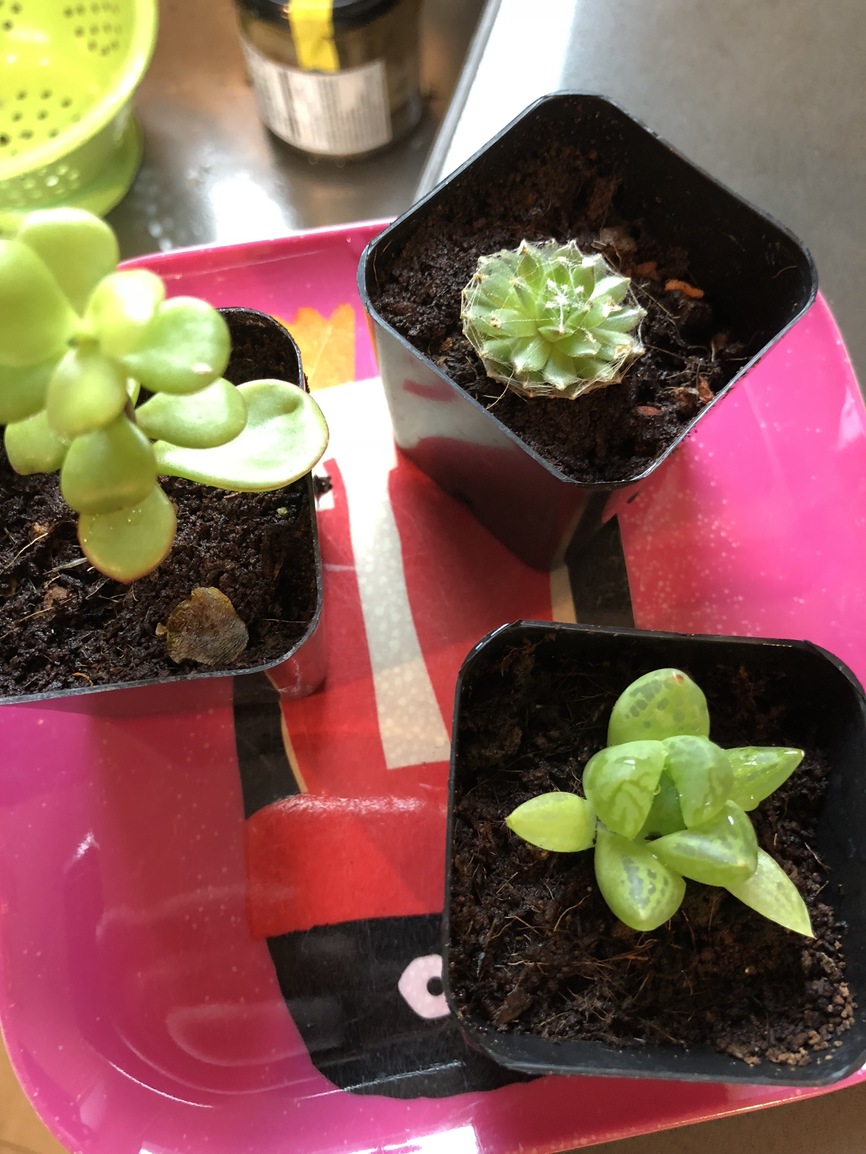
My local farmer’s market sells tiny succulents in 2x2x2" plastic tubs. The tubs aren’t pretty, fall over a bunch, but do a good jobs of holding the soil and roots and moisture together for the little plants. I love those little guys, they look so juicy and full of life. Here’s are some getting their monthly watering:

IMG_0525%202

I want these to last, so I need a box nice enough to put right in front of me at work. This sounds like a job for Sparky, so I went looking for box generators.

The author of this Instructables article also wrote a plugin for Inkscape - Tabbed box generator, which turned out to have the right combination of features I needed, which are:

  1. Don’t just spit out 493 isolated line segments.
  2. Measurements based on the inside dimensions, in inches.
  3. Kerf / cut width input, also in inches.
  4. Please don’t put notches on the top surface.

While I don’t LOVE inkscape, it has two useful features for this work that my other tools don’t.

  1. it speaks inches directly to the GF. I don’t need to pull stunts like adding a 20x12 ratio box in there
  2. it writes SVG directly, which shortens my edit - test - edit cycle.

I’ll post instructions on how to install the plugin in the comments, if anyone wants to know.

I took a prototyping approach to this project - make a rough cut in draftboard and only simple decorations at first to get the sizes and fit right, then iterate into maple ply as I converge. I did 6 versions in total and ended up 2 polished finished items (one for me and one for my son) and a bunch of perfectly usable protos.

Other family members are now requesting their own customised versions!

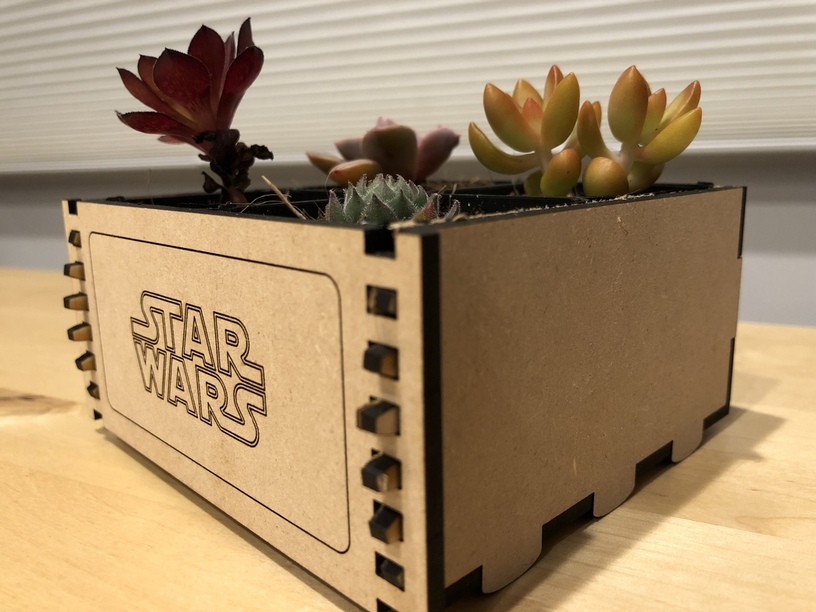
The one for the desk:

IMG_0522

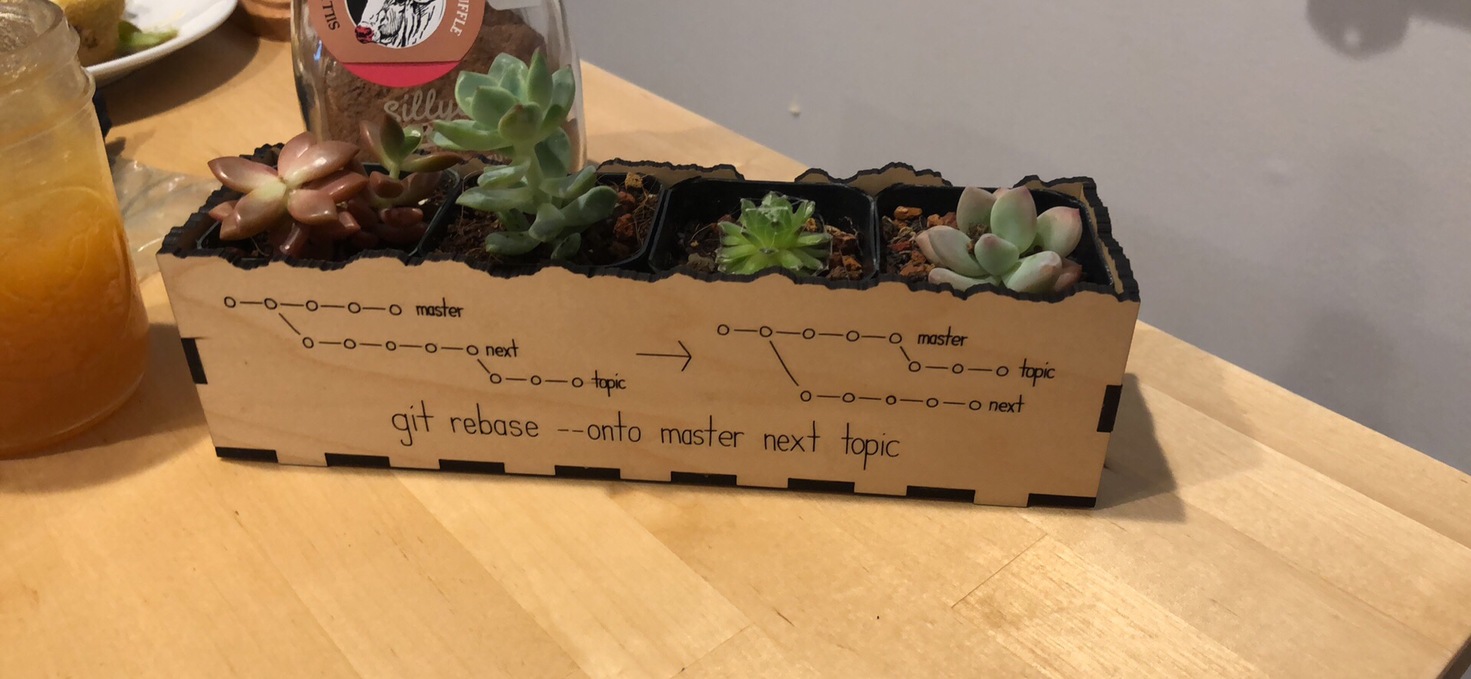
Business casual with an important motto for coders - don’t hitch your code wagon to someone else’s branch. Includes a slight lift (extended feet tabs) so I don’t moisture damage the desk, and air vents on the underside. The crumbly edge is Inkscape’s Fractalize feature, which helps to add an organic touch to the design.

I set the ‘cut width’ (related to kerf) to 0.006", which let the tabs snap together with a satisfying ‘click’. I probably didn’t even need glue for this one.
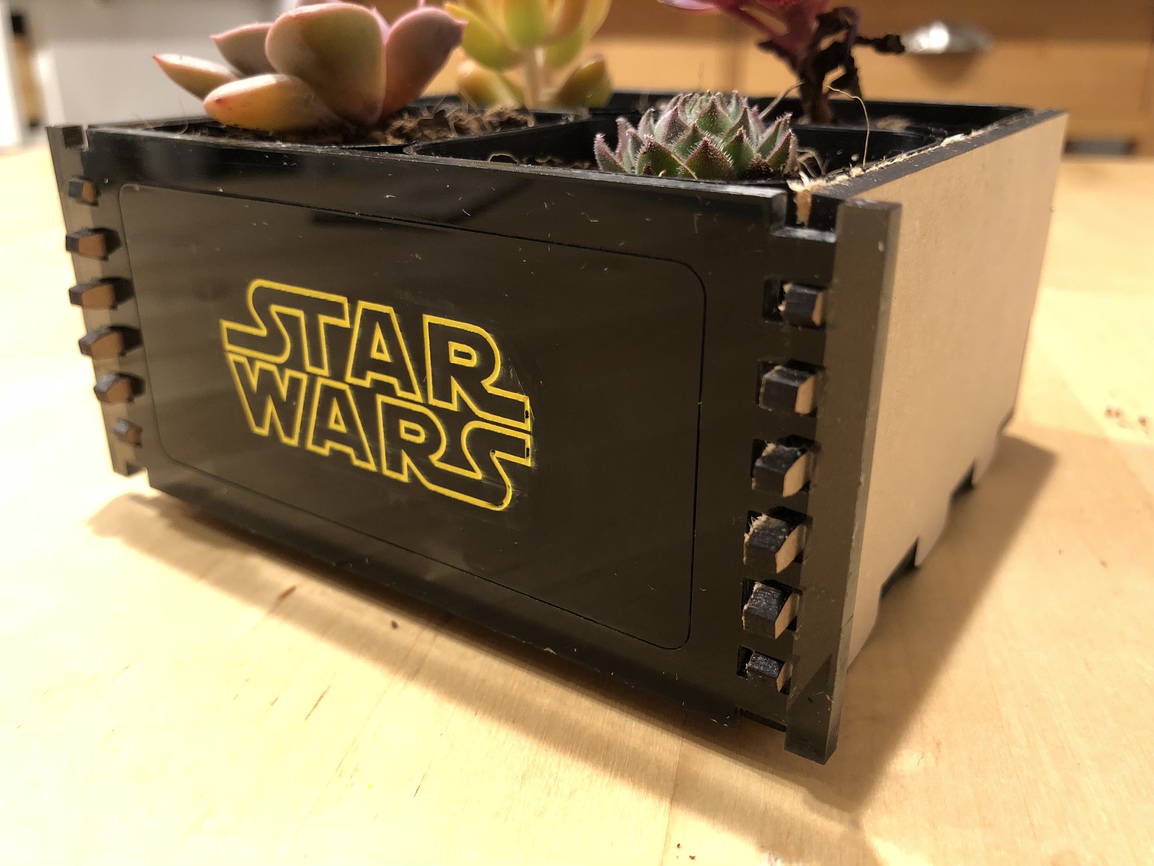
The boy’s room

IMG_0533

A beginner owner of succulents only needs 3 slots for now, and a cute cactus logo I lifted from the internet. I took the fractal design to new depths, making every non load-bearing exposed edge have the desert feel. Also includes sturdier, taller feet and big air vents underneath.

The document

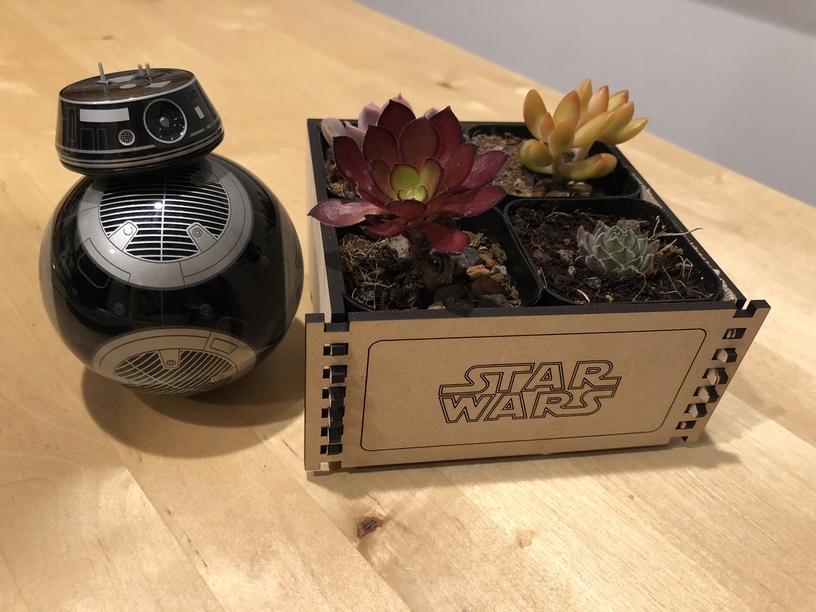
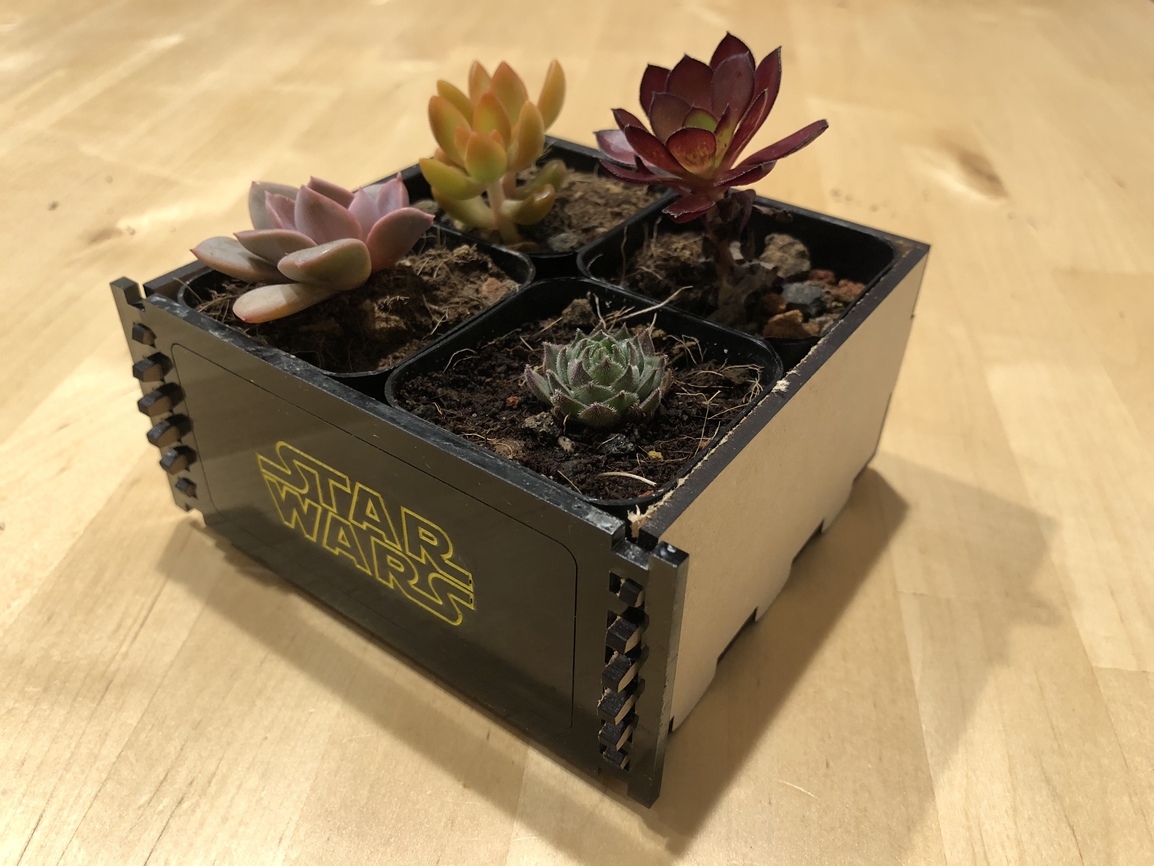
While I would certainly advise anyone to build their own using the above instructions and a dash of decorating flair, here’s the 4-slot design.

Git%20rebase%20succulent%20box

Mum the film nut
——
image

This design (details below) has a front reminiscent of a film cel; and uses sprocket like fingers to hold it on.

38 Likes

Love those crinkly tabs!

1 Like

Very nice, agree with @cynd11 about the tabs.

1 Like

What a great idea! Very fun project!

Excellent write up.

You can fix the invisible attachment by changing its size in the post. The attachment starts with something like [image|XxY], where x and y are numbers of pixels. SVGs tend to default to tiny numbers, but you can manually set them. Once you set it to a reasonable size it should be visible.

2 Likes

Nice looking succulent box. I really like the flourishes on the edges. Also, thanks for the link to the Instructables article. It’s the first time I’ve seen the article. Very useful.

1 Like

While Inkscape for Mac is still missing the fillet/chamfer plug-in, I found a workaround that looks good:

  1. Extend the feet tabs, easy way is to double the ‘material depth’ when you generate the box; This extends all the tabs, giving me room for the crinkles. Otherwise just grab the ends of the feet tabs with the point editor and use shift-downarrow on the keyboard to shunt them 5-10 steps. Repeat for all feet sides.
  2. Select the poly line with tabs on.
  3. Use add nodes login to split each segment into 2
  4. Use the point editing tool to simply delete the point which touch the floor.
  5. Magically the line fixes itself with a nice curved foot
1 Like

Genuine fractals courtesy of Inkscape’s fractalize feature.

I’m always looking for ways to add organic detail or unexpected subtlety to the edges and corners of designs.

It usually requires a lot of messing around with masks but this one was cheap and effective.

1 Like

I didn’t know about the fractilize feature! I will be trying that out on my next aged cedar project!

i hate tab and finger joints - well done hiding the tabs behind the design. also, git <3. neat idea, actually, having cheat sheet entries on office plant containers.

Excellent project! (I tend to drown mine, but I love succulents!) :grinning:

Draftboard prototype of another design: film cell sprocket holes and sprockets take the place of the finger joints.

Lots of pixel pushing in Inkscape for this one.

Will re-do in acrylic as time permits-here’s a quick and dirty version with paint squeegeed on:

image

Painting in engraved slots in acrylic is super difficult for me to get right. For this one I did it real carefully using a mask and weeding after the paintwork (still wet) and ruined it by smudging. I then washed off the first attempt with acetone then used a stiff squeegee to push paint into the slots (no mask) and then a wet squeegee to wipe the excess off. Maybe I can fix the smears after it dries

11 Likes

Great idea with the film strip sprockets! :smiley:

Love the execution of a theme integral with the design

You made such lovely homes for the succulents. Each one has so much character. Love the individualized joints!

1 Like

A long time later: here’s the last one of the series

6 Likes