I created a box shape svg file in inkscape, but when I upload it to GF for cutting, it errors out…error message didn’t reappear, but said something about a raster file. What did I do wrong? thanks.
If you could upload the file here that would help diagnose the problem.
In Windows right click the file and ‘Send to/zipped folder’ and drop that here.
2 Likes
What PrintToLaser meant was to zip the 4x8 box.svg file and upload the 4x8 box.zip file here. If you just upload a ,svg it appears as a tiny dot and is hard to download again to troubleshoot. That is why he wanted you to zip it up.
Just to be clear, in the GFUI you are clicking on upload and then uploading 4x8 box.svg correct? If you are uploading a file with a .png extension then you have essentially uploaded a raster file.
Great, I’ll give it a try! Thanks very much.
It shows for me. However you need to a: make sure saved as plain svg and b: move it closer to the document:
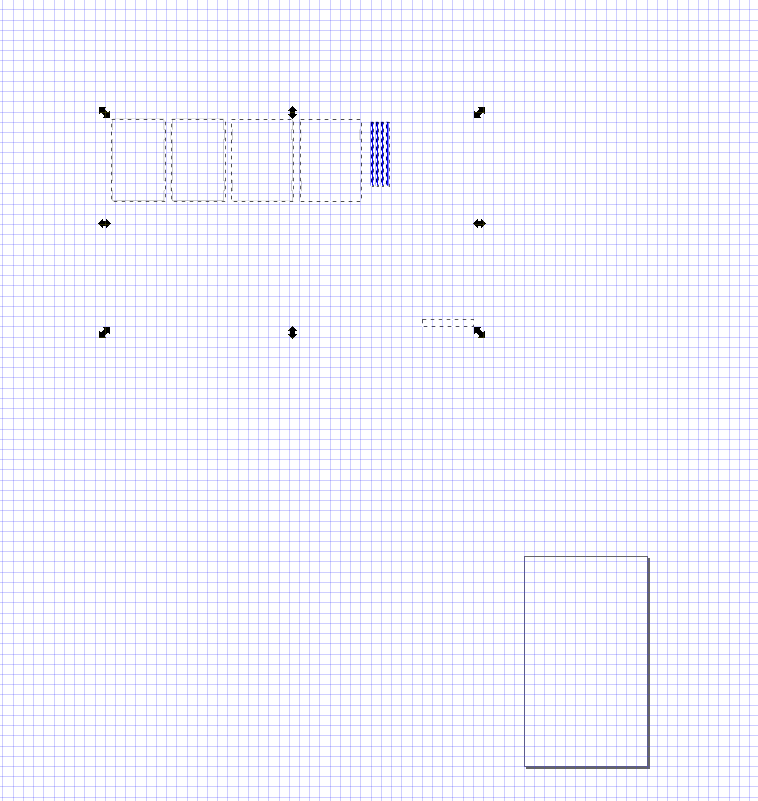
you do have an artifact in lower left that is "invisible: but see how your document is lower right. After loading in GUI I had to scroll up up up up to the left to get the design then drag back to bed
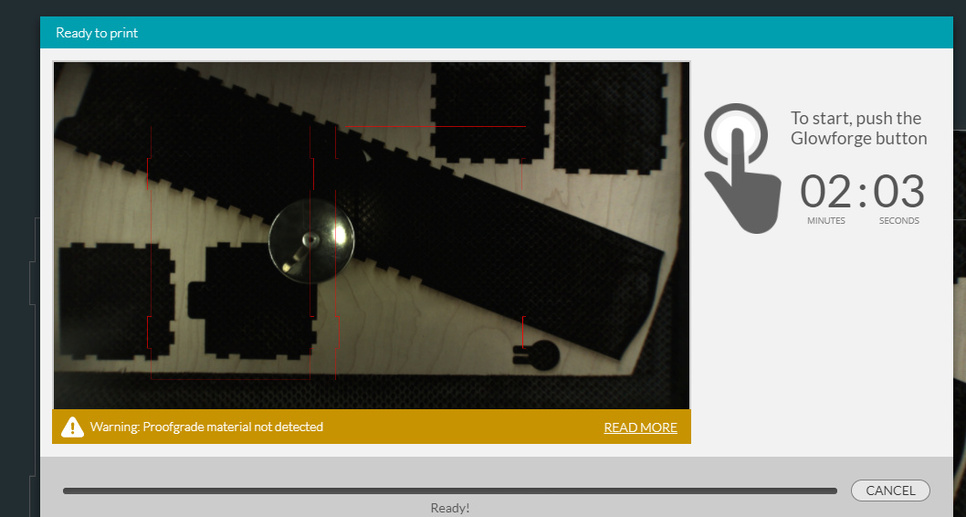
Didn’t all fit on one sheet, but no error when told to print (Cancelled job just wanted to see it any issues telling it to)
1 Like
So I didn’t have any issues loading it in the GFUI, however, there are some problems. Like your objects weren’t anywhere close to the cutting bed.
-
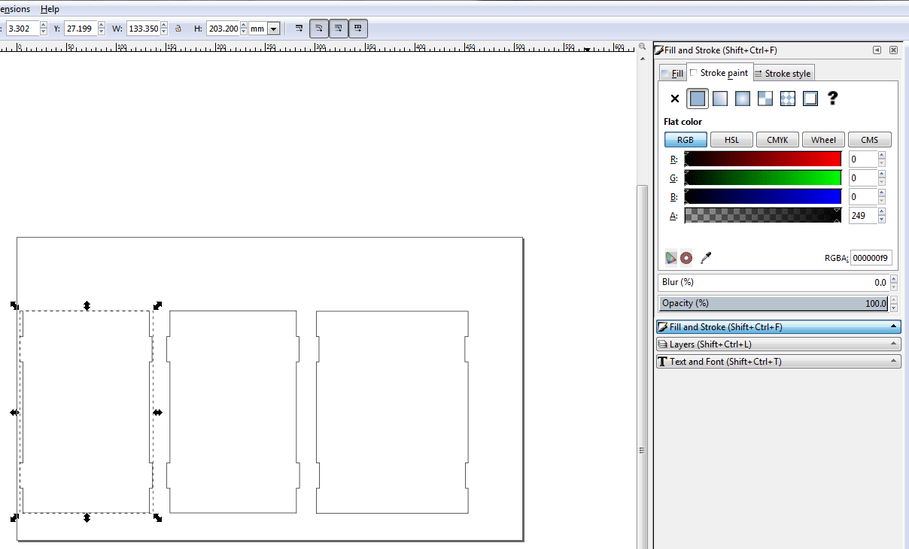
If you go to File->Document Properties, you should set the Custom Size to Width: 20, Height: 12 and Units: in. Yours was set to a width of 12 and height of 20.5. Using 20x12 will make things a lot easier for you in the long run.
-
As PlGHEADED pointed out, your stuff was at -40 inches to the left of 0,0. You want it to be located inside that 20x12 box you set in step 1. At the top of the Inkscape window is a X and Y box. 0,0 is the bottom left corner of the artboard you defined in step 1 above. If you select multiple objects in Inkscape at once you can move them all using the X and Y box.
-
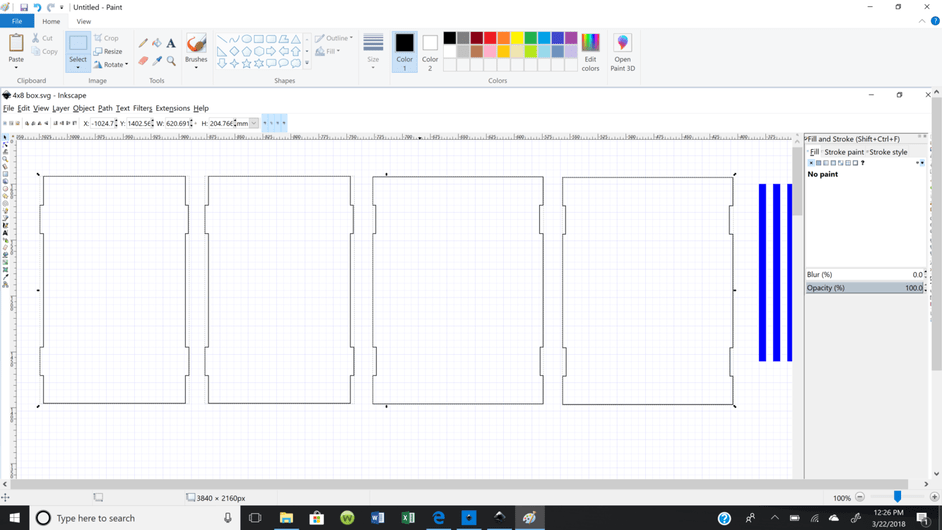
Were you aware the paint color of your panels are different? That is why they are showing as different cut operations in the GFUI. To change stroke color go to Fill and Stroke and select Stroke Paint as shown here:
See the numbers to the right of the four color bars? They are different for each panel. The glowforge decides what to cut/score (or engrave) by color. The first panel is all black. The second two are not identical, they have a little blue in them, but they are identical enough that the glowforge considers them one job. Sometimes you want to do this on purpose, sometimes not. Not sure what your intent was here. -
I have no idea what those four blue rectangles are for. They are all fill and no stroke. Right now the glowforge will “dig a trench” where they are by engraving them. If you want them to cut you have to change the stroke paint from none to something. To not engrave at all set the Fill paint to nothing. You do this like in 3 above.
At any rate, I moved stuff around, put it in two svgs, as you can’t fit it all on the GF bed at once, and uploaded it below. When I loaded your original in the GFUI there were two other small objects that I can’t find in your original svg (probably off in some corner.) If you need them and know where they are, just move them closer to the 0,0 point. Good luck!
4x8 box v2.zip (2.3 KB)
2 Likes
I so appreciate this! As you can tell, I’m trying to teach myself and I’m an old dog! Thanks again!!!
2 Likes
It gets easier; I’m far from young.
1 Like
Thanks @caribis2! @angie_forsell I’m going to close this thread, but please just open a new thread each time you have another question. We’re here to help!