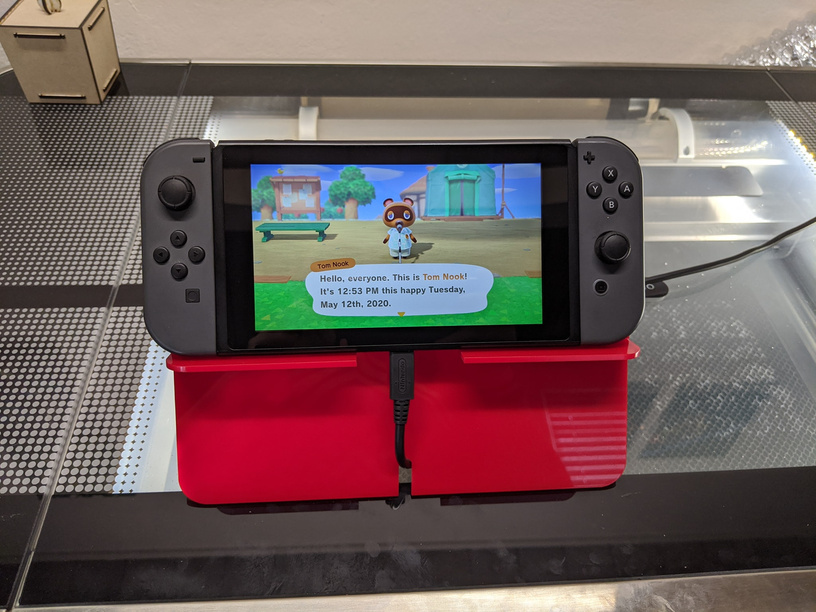
A friend of mine asked if I could make something for her son - b/c evidently he’s destroyed two charged in the last couple months. Those who are familiar w/ the pain of Nintendo’s decision to put the charge port at the bottom - now here’s a solution
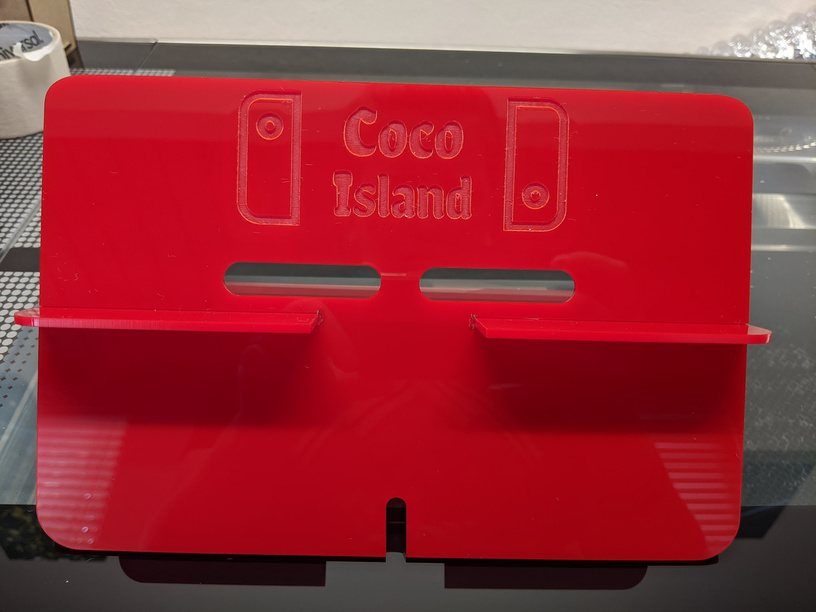
My very first “modular” piece - I started w/ one of the free designs here for a phone - but realized it needed more stability. I tried my hand in inkspace - a few simple shapes, using the “difference” tool, I made my own! Measured slots at .118 for acrylic
If you’re interested in adjusting for your material, please keep in mind you need to compensate for kerf!
Slots are grouped together, and easily adjustable in Inkscape!
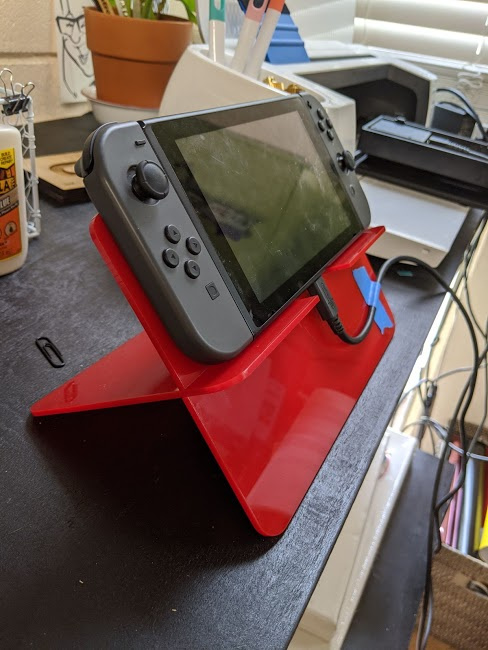
nice! If you decide to keep iterating, maybe add a little notch front bottom center, so the cord can slip under and behind (and be kind of captured so it stays in place when the switch is removed) instead of snaking around to the side.
wondering here what would be the best “aesthetically appealing” adding the notch. A notch on the side? In the middle to snake it in? I finally got the cuts correct for .118 acrylic (will update soon)
My tv and game systems and stuff are on stand, all cords snake backwards into and behind the stand for power distribution and I/O, so if it were for me, I would put the notch (or slot or whatever) in the middle, so that it could exit out the back and not be visible or in the way. But not everyone has their stuff setup like I do. A hooked notch on the side might do exactly what the blue tape is doing now. A small u-shaped acrylic piece (with two matching holes in the body of the stand) might be another option.
Thank you so much for this!! My son and 5 of my 7 nephews all have switches. The only reason the other 2 don’t have one is that they are 3 and 1. I love being the cool aunt!
Thank you!! When I sent your pic to my SIL, she said the 3 yr old is getting the switch lite at the end of the month for his b-day. I really appreciate you designing this!