You were the one who helped me resolve a lot of my issues with this problem. It was the belts that were not tight enough. So I searched on the community forum and found lots of helpful things (can’t remember them off-hand), but do remember searching for “belts”, “photoshop preparation”, and there is a link to basic settings on Google Drive that I cannot remember the link to it.
So this is my process in Affinity Photo. (I have about 20 years of experience working in Photoshop) but took that knowledge and applied it to Affinity Photo. Affinity Photo is non-destructive whereas Photoshop has a destructive method to it. (Unless they have changed it in CC. An important side note to Affinity Photo is it only costs $50 / one-time payment, with free updates. Whereas Photoshop CC is like what $20 / month now? So it’s easy to see why I went with Affinity Photo. I have the PSCS5 Extended edition and I still have it working on macOS Mojave.)
These are my steps to the project.
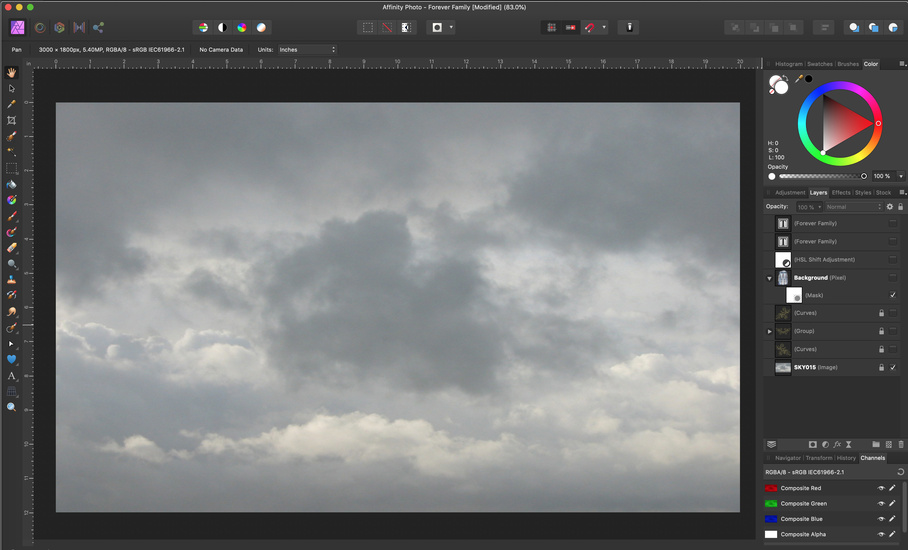
STEP 1: I started with this sky image (I have a texture library of images I received a while back as a student).
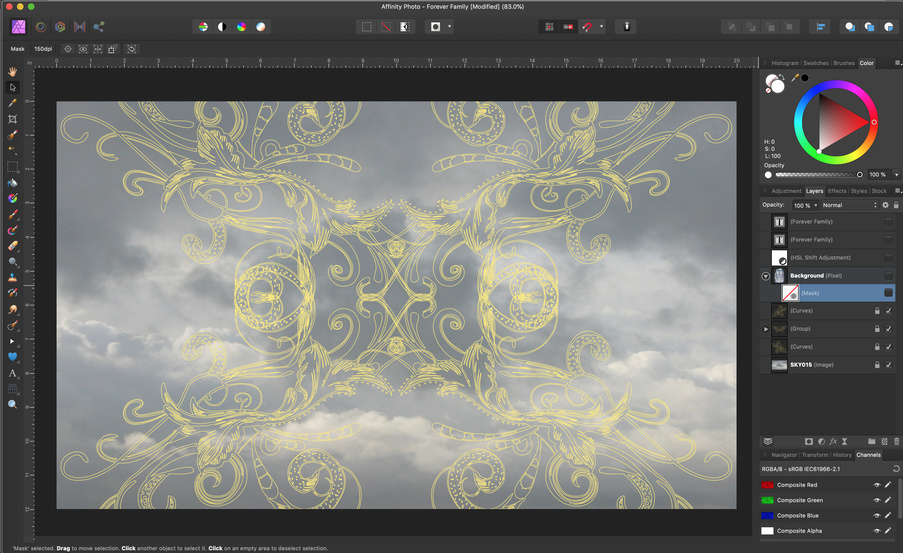
STEP 2: I added this EPS file, which is still curves.
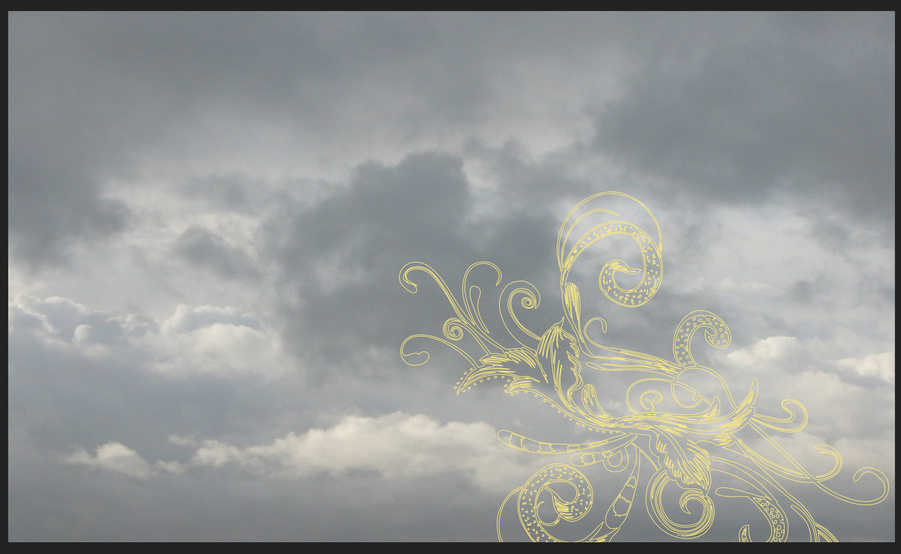
and mirrored it vertically and horizontally
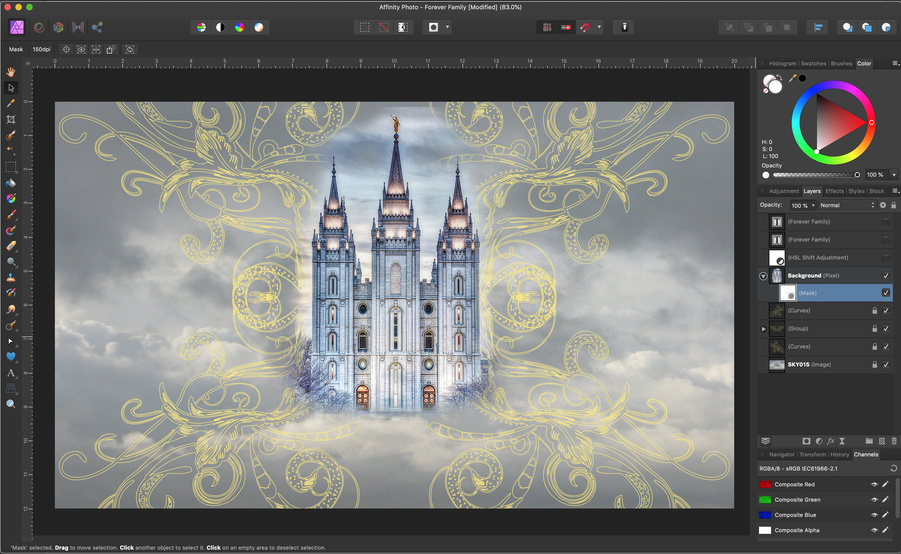
STEP 3: I added the temple, created a mask, and added a (hue/saturation leveling HSL) overtop of all of those images.
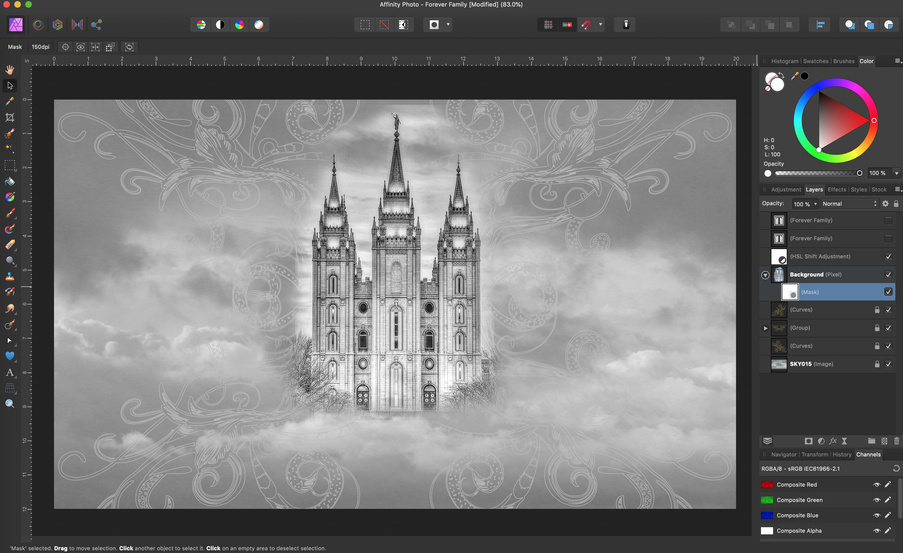
STEP 4: I added the font, and convert to outlines.
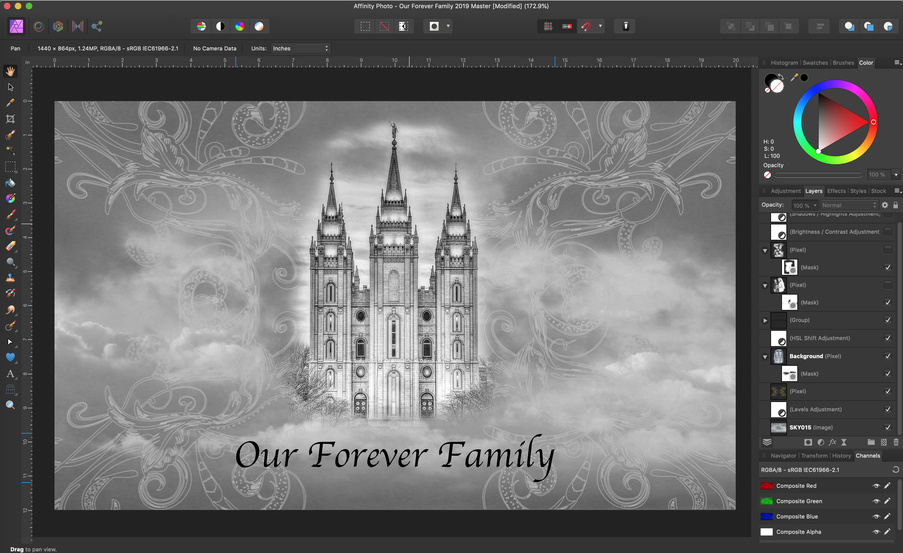
STEP 5: I cropped the image, turned it to greyscale, did a levels adjustment, made a selection, deleted the background, created a mask, which resulted in this.
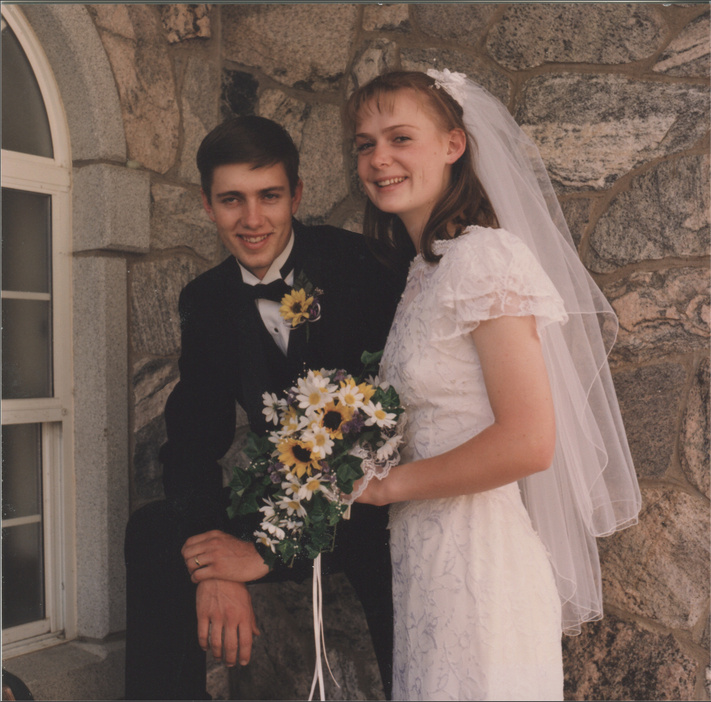
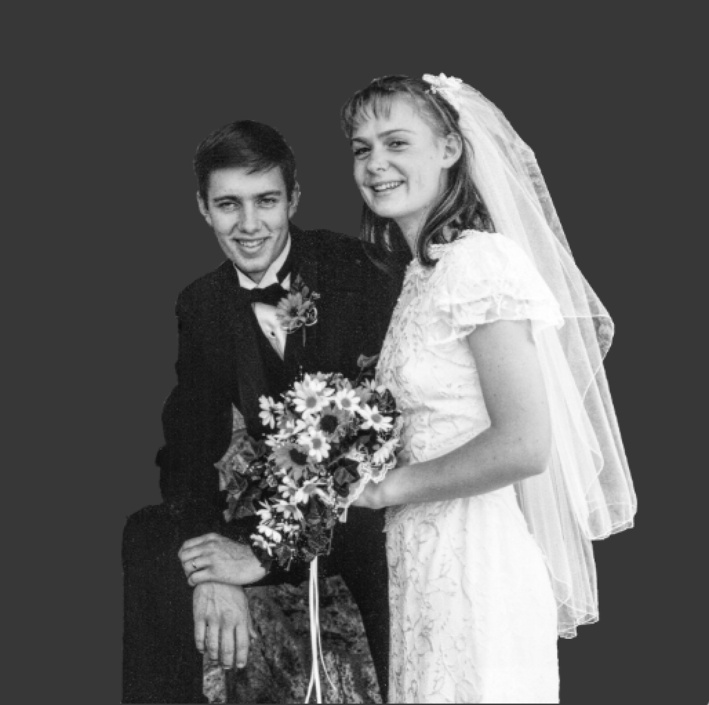
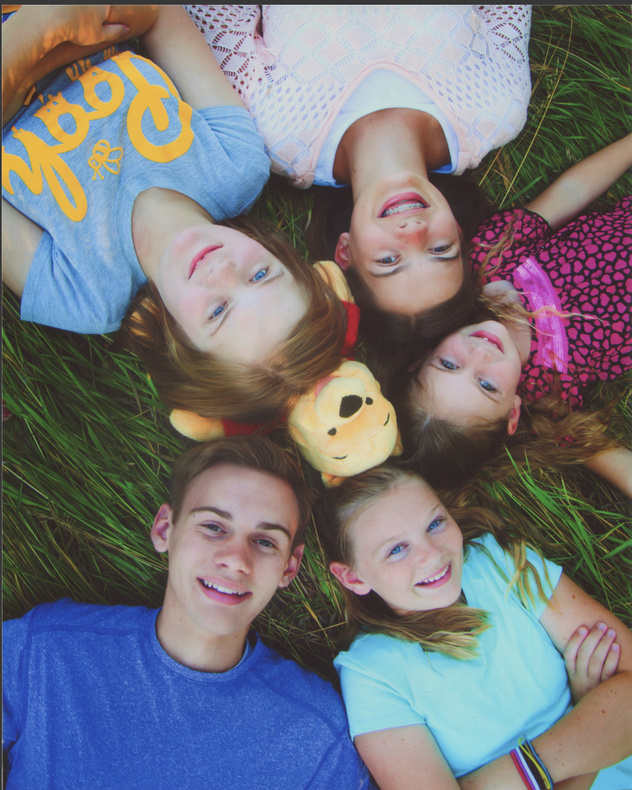
STEP 6: Added children with a similar process.
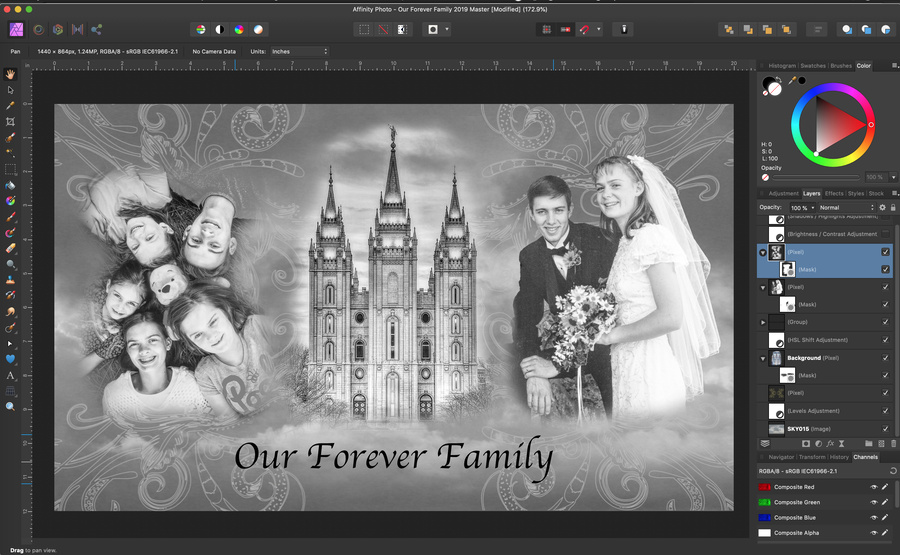
STEP 7: I added brightness and contrast, and then a shadows and highlights adjustment.
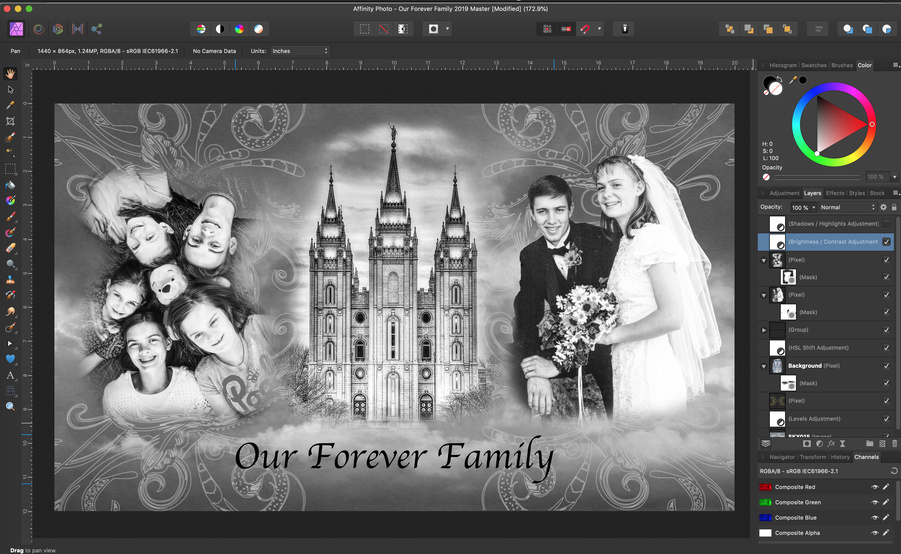

I wanted it to be as dark as possible to boost the whites and darken the darks.
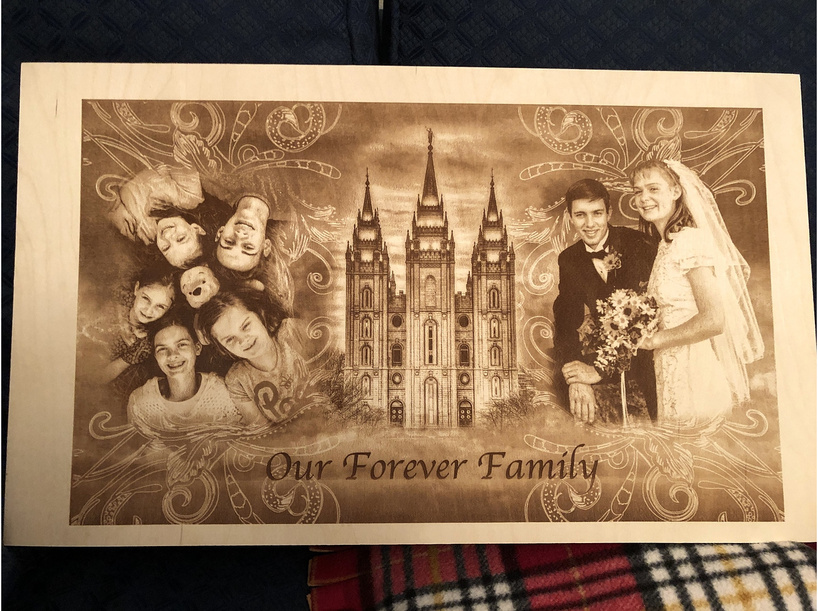
STEP 8: I used these settings on GFUI
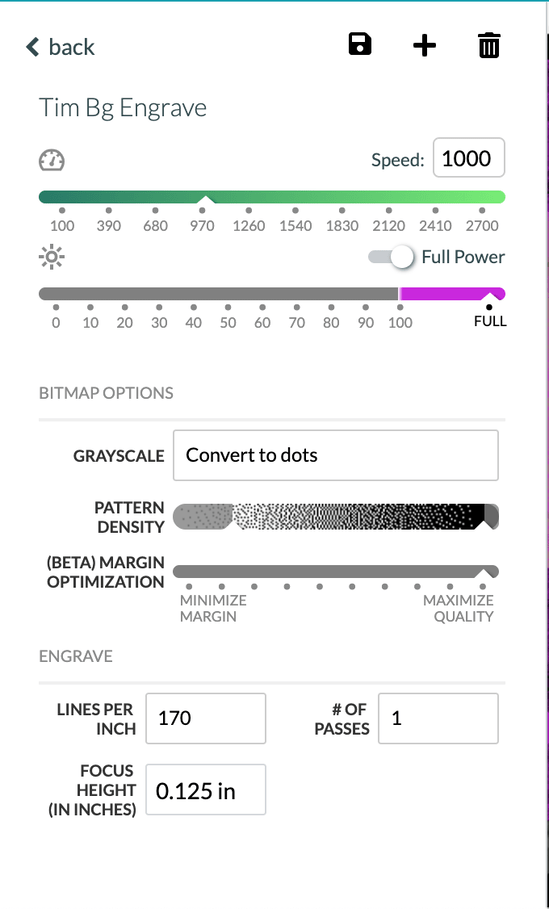
Also, make sure your image is 400 DPI which will enhance the detail when engraving.
I didn’t use a mask on this 1/8" baltic birch unfinished from Etsy, which resulted came to the ending image. I used similar settings on the other image. If one uses a mask, it will vaporize into the engraving causing a hell of a lot of trouble that takes off the engraving leaving it looking tinted and less vivid.
Anyhow tha’ts how I did it.
The whole process took me about four weeks to research everything (mostly), trial and error, meeting with the client, and editing the photos took time also. The research was the most important thing. I searched for keywords like “belts”, “settings for model type”, and a lot of people here on the community really helped answer a lot of my questions.
So if one isn’t getting good results keep working with it, and try what works for you, I know it’s frustrating trying to get it right, but its part of the journey. You will eventually have success.
Sincerely,
Christopher