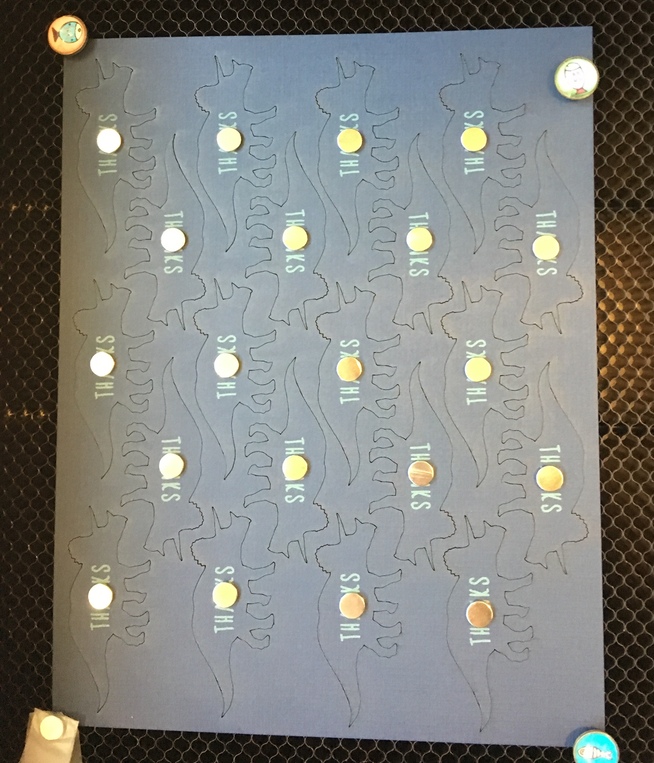
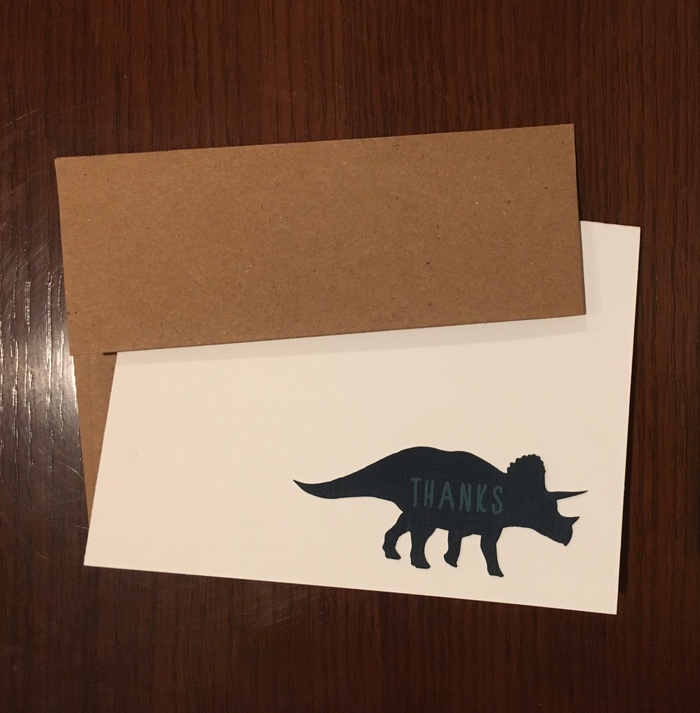
My kiddo just turned two and we have some thank you cards to send out for gifts. I have mountains of paper I never seem to use, so it seemed prudent to make something with my laser powers.
Enter, etched and cut cardstock dinosaurs. Thank you to @raymondking32 for cardstock settings in his post on jewelry tags! This wouldn’t have been great on light paper, but the dark blue was very forgiving.
I wanted to cut out 20 of them, and alas have neither seklema mat nor spray adhesive. But I do have lots of little magnets! So, I etched first, then set up each spot with a magnet positioned over the etched text, then cut. Worked perfectly!
I’m quite amazed that you placed a magnet on each one. This is why I found settings to perforate the paper so that I could just punch them out after taking them out, and so that the pieces don’t fly everywhere. Great idea on etching the paper first!
The settings did just that in other shapes I cut with less detail, but I hadn’t used them on anything with this level of fine detail that might slow things down enough to cut through. Most were still perforated, but a few were all the way cut so I was glad for the precaution.