The leather bandwagon

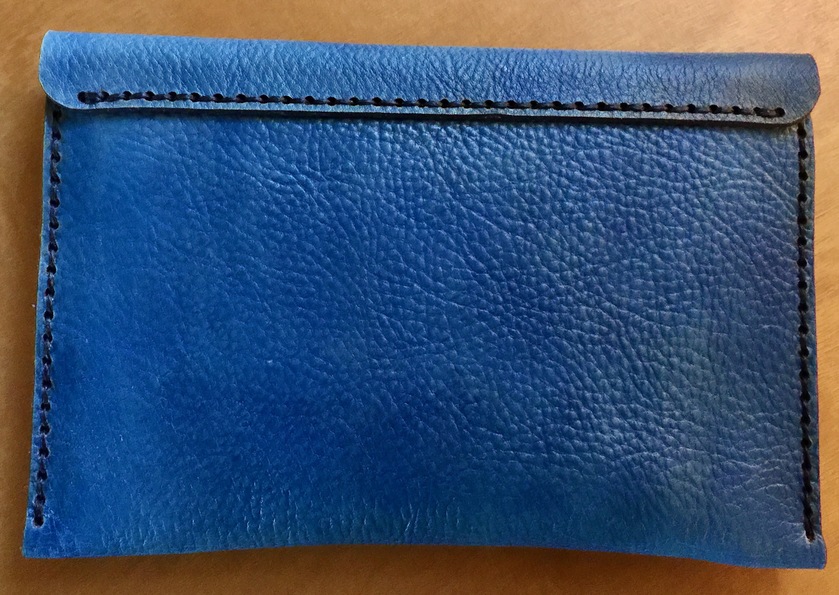
When I first got my Glowforge I was interested in trying leather. I made one mystery braid bracelet (ho hum) and then went on to other materials. Several weeks ago, I decided to revisit but had not a clue how to design using leather. I made the GF design for the Artisans Clutch to start out. I really enjoyed the process but wanted to eventually learn to make my own designs. The next step for me to get there was to buy a book on Amazon that included a huge page of patterns and wonderful instructions for making everything in the book. Problem was, the patterns were designed for making everything by hand and I wanted to use the laser.

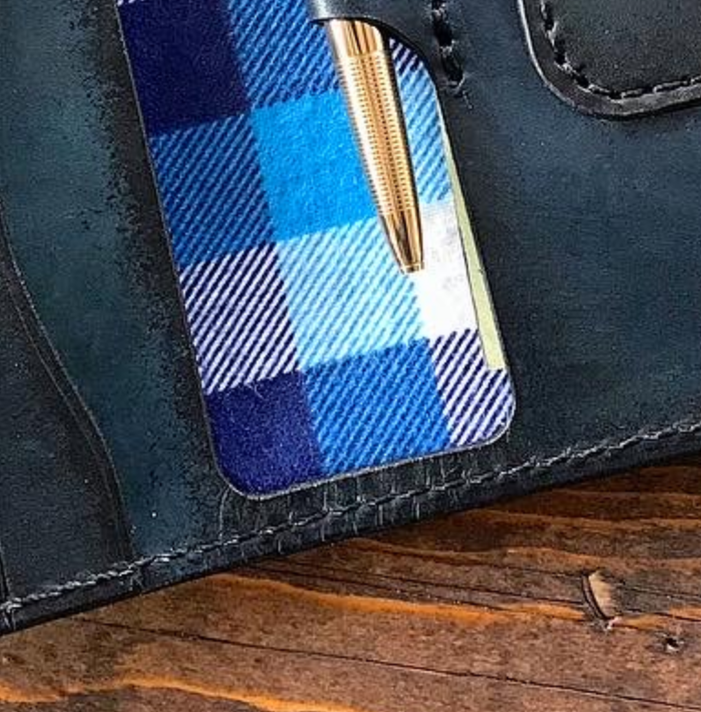
Because of that, it would be necessary to scan the pattern pieces into my computer and painstakingly trace and adapt every darned one. I donā€™t use the word painstaking lightly. It was a real PITA. Some of the pattern pieces were larger than the bed of my all-in-one Canon printer, so I started out with the smallest thingā€¦ā€¦a coin purse. Next, I adapted a card case design slightly to make a weird case that could be put on a cord around my neck. At the time, my husband I had planned go back east and because he is disabled, I carry his ID and my own. My thought was to make getting out our ID much quicker going to and from in the airportā€¦not having to dig it out of my purse all the time. Well, we all know what happened to that plan. The largest thing I made required me to take the sheet of patterns downtown to our local printing shop and pay to have the largest piece scanned in and emailed to me.

Then, I did what we all end up doingā€¦bought all the stuff I needed to facilitate a new pursuit. I did the entire process from beginning to endā€¦.dyeing and cutting the leather, learning to saddle stitch and put hardware on. I learned a huge amount from doing this. Now, when weā€™re all homebound, I plan to work on my own designs. Here are the things Iā€™ve made so farā€¦ā€¦complete with commentary on the mistakes I made on themā€¦ā€¦not as negatives but as positives.

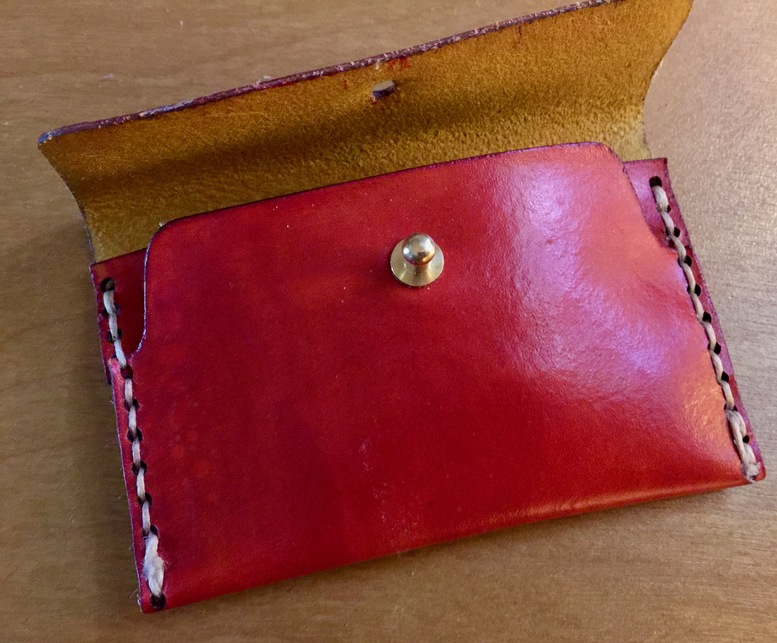
The little red coin purse (no one carries a coin purse anymore, do they?) A perfect little-waste project for a first try. Saddle stitching was OKā€¦but a couple of mistakes.

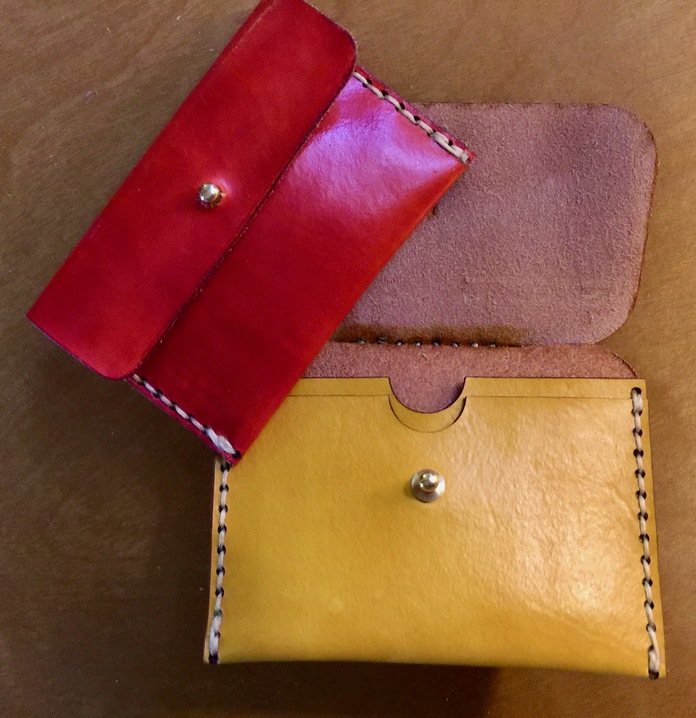
Adaptation of a card case. Discovering at this point that I want to make the stitch holes a bit smaller. Dye job is greatā€¦a little hit and miss with the free hand stuff.

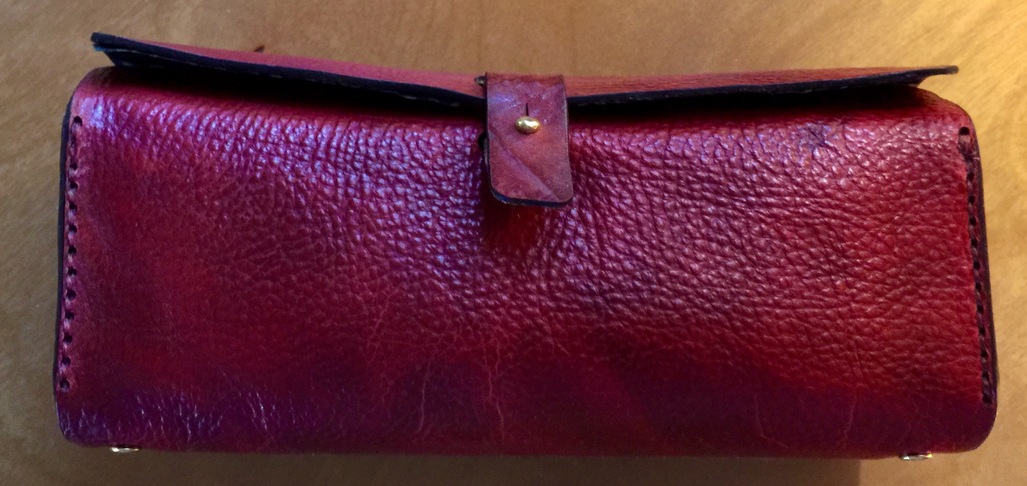
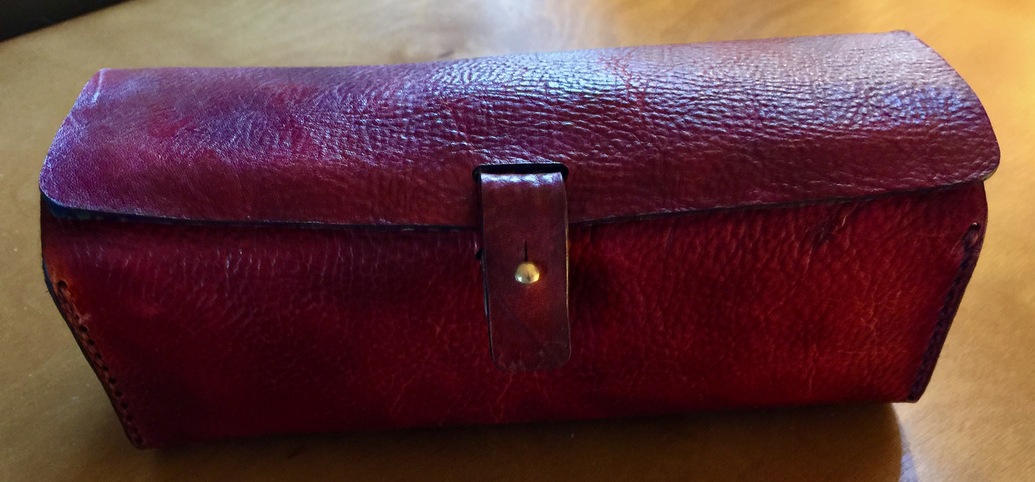
This is a minimalist design tool box of sorts. Actually designed to carry leather working tools inside. Not sure what Iā€™ll use it for, yet. Dye color great, some spacing errors on the ends which you canā€™t see, and a really lame attempt at a lining. Making a lined piece is something Iā€™ll look forward to working on.

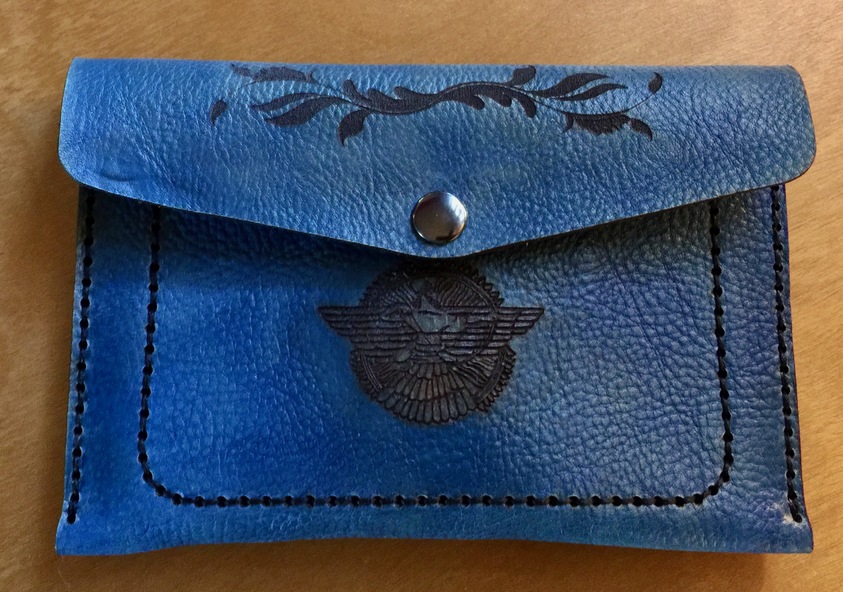
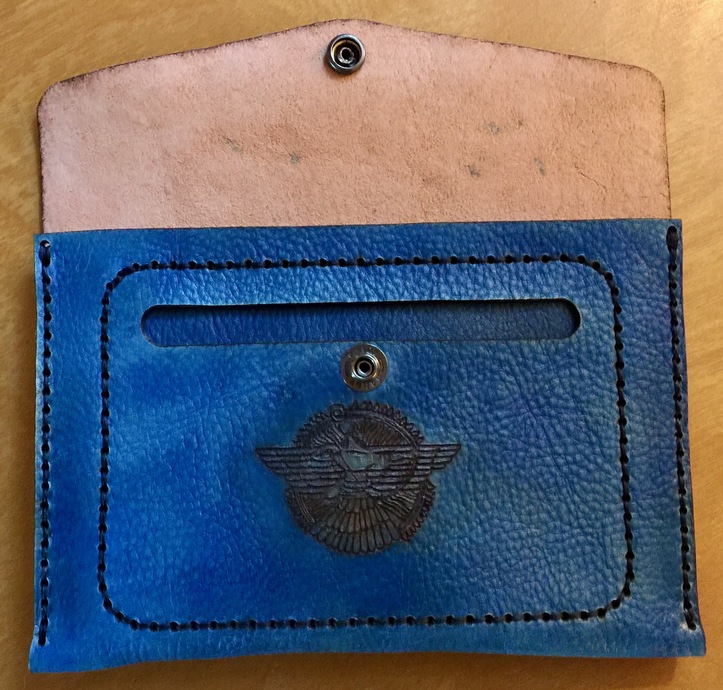
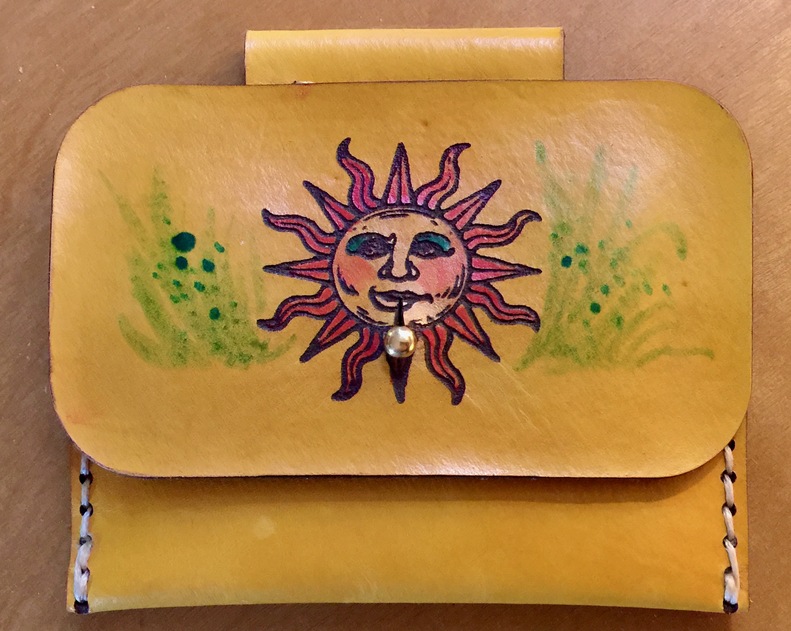
Still have some finishing work to do on this last one. On this particular one I learned about image spacing for engraving on something that has not yet been stitched together. You can see the errors. Again, glaring to me by now are the large size of the stitching holes.

So far, I love working with leatherā€¦itā€™s rather therapeutic and soothingā€¦and the precision of cutting and engraving it canā€™t be surpassed.

32 Likes

For lining the leather, I am guessing you will want to either glue the lining to the leather before cutting, using barge cement or something along those lines, or stabilize the cut edges either with a hem or liquid stitch. Personally I would probably put the lining on first. If there are exposed leather areas you donā€™t want lined, the lining will obviously need to be glued on afterward. You may need to mask the leather to keep the cement off the leather.
It looks like you may have done the glued lining already, but the glue didnā€™t hold because it didnā€™t get soaked into the fabric. I would press the lining to the leather and let it cure. You have to work fast though, unless you can get a longer work time cement.
When I was younger and had time and money I made a notebook cover out of brocade. Most of it was sewn together, but I found a couple of hems that I needed flat without stitching, either because I was doing this with no plan and no pattern and wasnā€™t able to get the sewing machine in there, or because I didnā€™t want stitches in the brocade. I canā€™t remember which. I used heat bond tape and put the iron just about as hot as the tape would allow, and let it sit as long as I dared. This got the heat bond into the fabric on both sides and it didnā€™t come apart. This may be another way to do a hem if you donā€™t want to show stitching. It also serves to stabilize the fabric, even with a satin weave like brocade.
Good work! I wish I had more time to do this type of thing. I have a torn leather coat and some accessories that I want to make for my steampunk cosplay.

4 Likes

Thanks for the great pointers! Itā€™s certainly something Iā€™ll be working on to improve. Iā€™m thinking toward trying this kind of thingā€¦like @Andy_Mock did on this;

makes for a nice finished piece

6 Likes

Your desire to learn new techniques and your success at completing a series of truly beautiful items inspires me. Thanks for sharing your journey.

4 Likes

How pretty! Canā€™t believe how beautifully even you got your dye jobsā€¦love that blue! :grinning:

3 Likes

Oh gosh! Theyā€™re so fun! I love that youā€™re getting into leather!!

3 Likes

Fun Stuff! I think your stuff is coming out great. I like the yellow one! Great sun! Keep Going!!!

3 Likes

Great stuff @Xabbess!! Excellent progress. I see weā€™re bitten by the same bug in a similar time line. Youā€™re giving me a different closure idea too. Love your dyeing jobs.

2 Likes

Oh, wowā€”some really nice leather projects there! I especially love the ā€œtool boxā€ ā€”it sure looks like a high-end purse to me. Lovely color, design, and stitching.

I didnā€™t see what kind of thread you are using. Have you tried the Ritza Tiger thread (available on Amazon)? I like it best for leather and it gets great reviews.

3 Likes

Thank you!..I like the tool box, too. Itā€™s rather smallā€¦about 8.5" long by 4"W. I donā€™t know what kind of thread mine is because I bought a ā€˜samplerā€™ kind of box. Since I was just a beginner, I wanted to keep the cost down while I learn. Itā€™s waxed and sort of ā€˜fatā€™. I am going to look at your recommendation (which means Iā€™ll end up buying some :slightly_smiling_face:) Thank you for telling me about it. Since weā€™re talking about thisā€¦what size do you make your stitching holes? Iā€™ve been bothered that mine seem too large.

I see that the Ritza comes in different sizesā€¦what do you recommend?

1 Like

I have used the 0.6mm size with the Compass Rose Notebook Cover and it seems to work great with the hole size in that project. Iā€™m sorry, I donā€™t know what size they are but maybe you could print a small part of that project (itā€™s a free one or maybe it was just free to Founders) and measure them.

1 Like

That helps, thanks. I found a list of John Jamesā€™ (on their website) needle sizes with the equivalent size of Ritza Tiger threadā€¦it says a size 4 needle pairs with 0.6 mm, so that gives me a very good idea of where to start. Appreciate your input.

2 Likes

Kudos! Wow! Nice way to get your feet wet! Positively LOVE the tool pouch!

1 Like

This topic was automatically closed 32 days after the last reply. New replies are no longer allowed.