Continuation from The Road to Catan: First Project Results and Lessons Learned
Double-sided tape: 3M manufactures a variety of double-sided tape, a huge variety. I settled on 3M 467 and 3M 300. The tapes have a number of differences in their properties. Simply summarized, 467 is cheaper and less thick than 300. Either will work for adhering plywood or acrylic. 467 is a bit fussier to work with. It peels from larger area wood surfaces more easily when removing the second backing layer. For limited hobby work I’d recommend 300, but if you’re moving to production I’d recommend 467 for the cost savings.
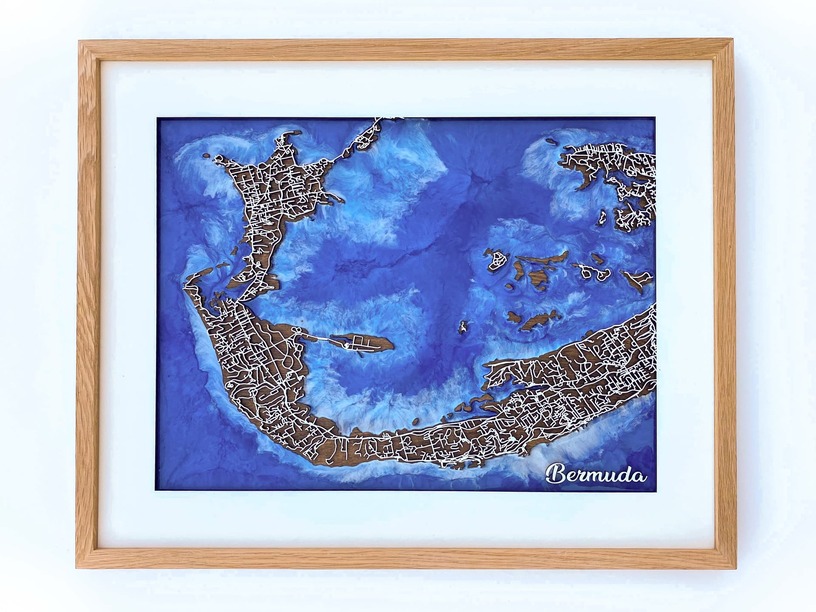
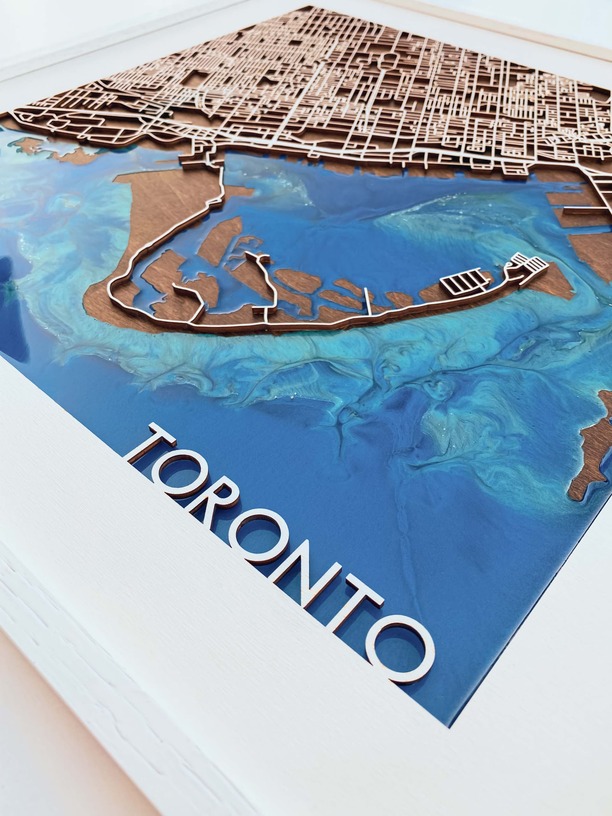
Epoxy: The combination of laser cut wood and epoxy yields excellent results. Working with epoxy, however, can be tricky. Epoxy takes about 24 hours to cure. During the initial hours, it’s deceptively viscous. A level surface and a tight seal containing the pour area are essential. Otherwise, you may return hours later or the next day to find the epoxy has pooled in a corner or leaked through the smallest crack.
Unmasking: Removing the masking from finely cut bits can be a real time suck. Duct tape really speeds things along. Tape over the masking, press it down firmly, and you’ll find the masking comes off when you peel the duct tape. You may need to rock the duct tape on and off a bit if the masking gets left behind in some spots.
Photographing: Shoot your pictures outside. In door lighting is going to create shadows or glare unless you’ve got a more sophisticated setup. I shoot outside in the shade, placing items on top of a piece of painted drywall. In the shade, you’re still getting enough light, but without the shadows. Auto settings in Adobe Lightroom (hugely beneficial) will make short work of brightening the shots up.
I appreciate your support should you choose to give it:
Etsy, Pinterest, Shopify