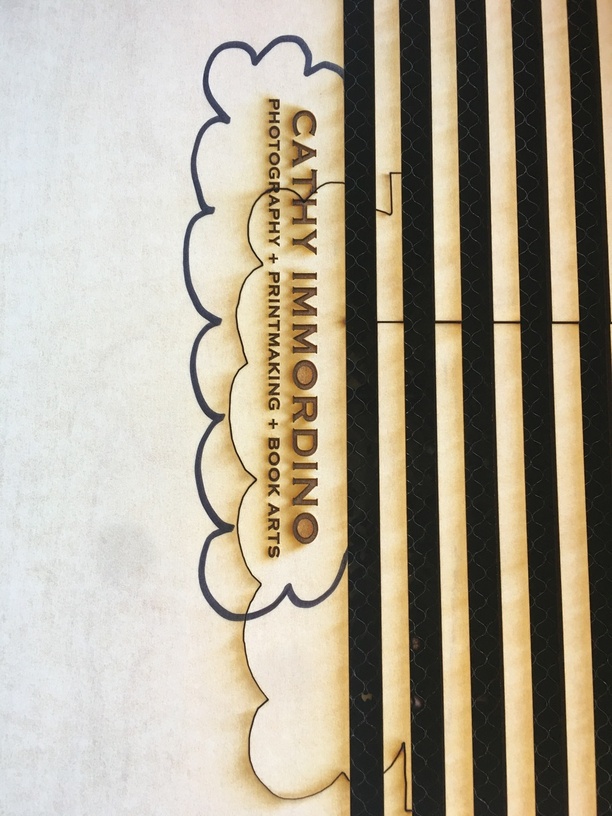
So I have been having alignment issues, but never this bad. I had forgotten to put a boarder around my illustrator perimeter before saving a PDF to engrave/cut. I drew, with a sharpie, where I wanted to cut. This is the worse alignment issue and it’s way off.
The only time I’ve ever seen it this far off is when I accidentally bumped the head while I was putting material in, after it had calibrated. Could this have happened here? It doesn’t take much of a bump to throw the calibration way off.
Okay, I might know what happened here…when you made the cut, you had a certain allowance for fisheye built into the results…then you drew in with a marker and did a Trace using the GFUI.
That came from a different source, so it didn’t have the same allowance built in…what you should have done at that point was to shift the Trace results so that it lined up around the Preview of the text, not the actual text that was printed. The post print pink lines will also have the same adjustment for fisheye effect included. (Sorry that’s probably a lousy explanation, I don’t really have words for that yet.)
It would be tough to do, and easier in the long run to just build in your border cut into the original file. Then you know that it’s going to line up relative to the text perfectly.
The software on your Glowforge is responsible for ensuring that the print lands on the material in the same place as the preview. When you’re done with a print, let a new image load. If the print appears on screen far from where it was supposed to go, you may have an alignment problem.
Most alignment problems come from the material being closer or farther from the camera than expected. While the software is still improving, you can take these steps for the most accurate alignment results:
Use Proofgrade™ materials.
If you don’t use Proofgrade materials, use a precision set of calipers to measure your material, and enter the thickness in the “uncertified materials” dialog.
Use material that is not warped or tilted.
Place your design near the center of the bed.
Clean the area underneath your crumb tray, particularly the four indentations on the floor.
Reboot the machine. Alignment can drift over time, particularly if you bump the head of your Glowforge while removing material.
I believe @cynd11’s theory is correct. I took a look at the logs for your print and it appears the printer head was not starting from the correct position.
If you reboot your unit, does the alignment improve?
No this had not happened. There was no bumping as the material was inside before I turned the Glowforge on. I unplaugged the Glowforge for a few days and this problem no longer exists. The only issue I am having now seems to be it powering off on initial start up after I have already powered it on. Since this process only happens right on startup, I am not concerned about it yet.
This particular time was nowhere close to where the preview was engraved. Thank you for this advice though, I will use it on future projects. I ended up re-engraving and cutting in the same session with an Illustrator file and got something I could use.
I’m glad to hear that helped! I’m going to close this thread - if the problem reoccurs, go ahead and post a new topic. Thanks for letting us know about this!