Oh boy, haven’t been on here much since I met up with @PrintToLaser , just been too busy making things and prepping for a convention!
Also my machine is borked beyond remote-repair so the warranty fairy is coming to take it away.
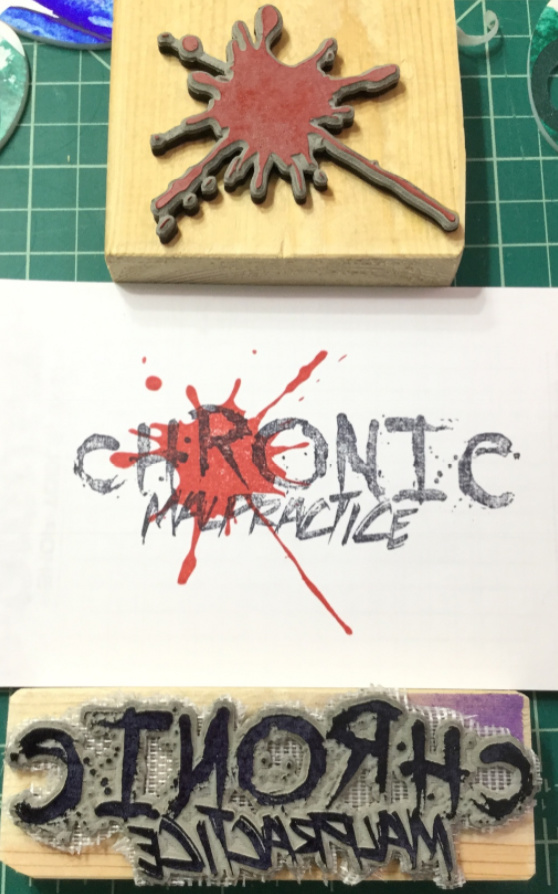
However I just finished making some stamps with that laser rubber. Something I’ve wanted to do for a while to “build my brand” is to put my comic logo on bags for when folks buy stuff from me at a convention and now I can!
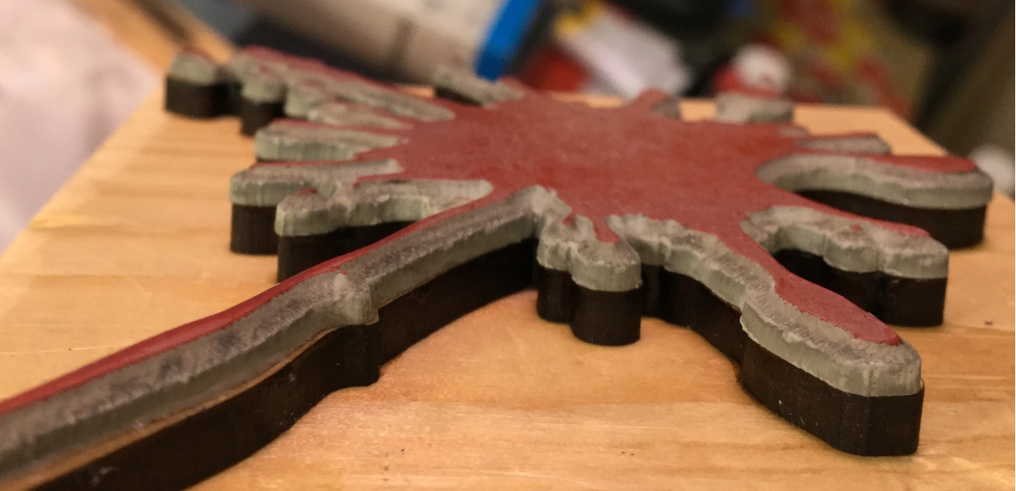
How are you other stampers attaching the rubber to the wood? I used CA glue on this because cutting around that shape to remove the carpet tape(which i used on the other stamp) would have been too much sticky work.
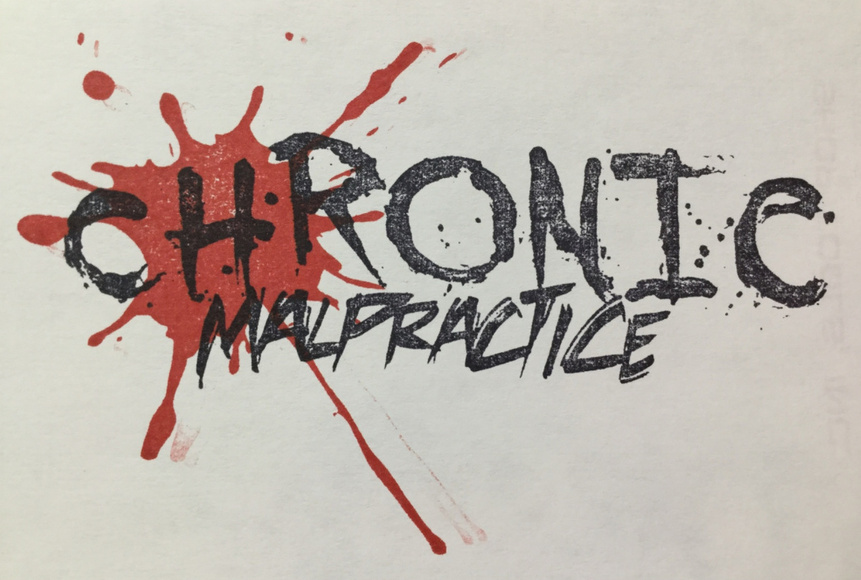
My doofy logo
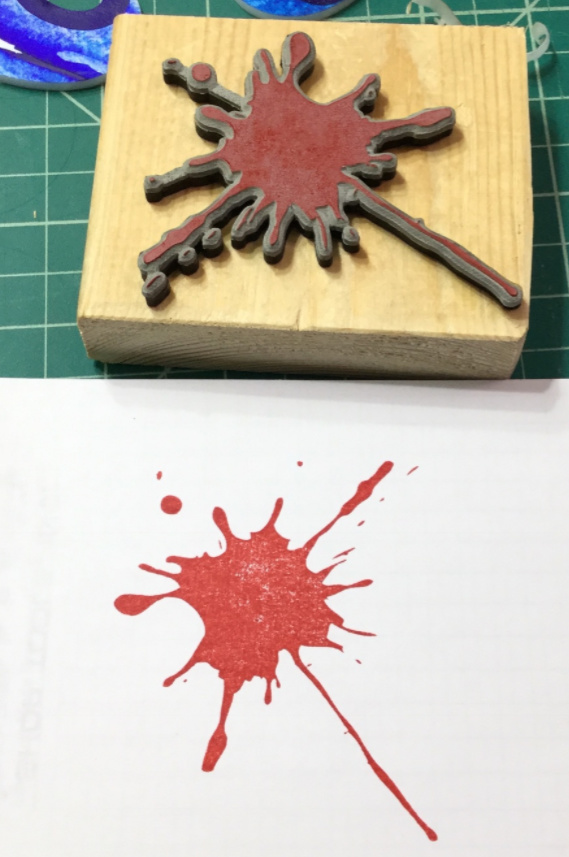
Luckily I found some ink that sorta matches my logo. Or I chose a logo color that matched existing ink
The alignment could use some work, but these are going on those flat/gusseted brown kraft bags, so it doesn’t need to be perfect, just in the ballpark of the logo.
This was one of the very first ideas I had when ordering the GF and now it’s come true
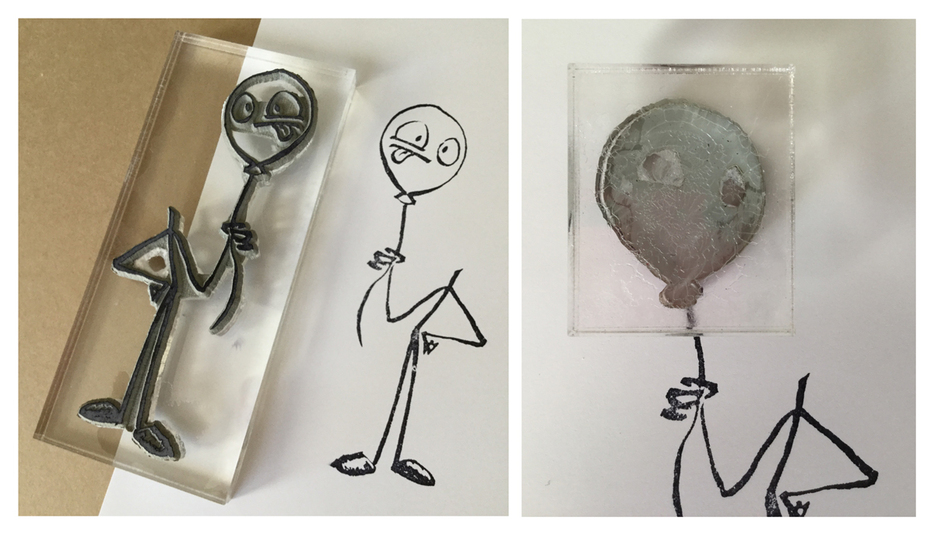
The ones I made for my sister were from the clear rubber material. They are used with an acrylic block. You peel the back off the finished stamp and place sticky side down on acrylic block. When done using, you can peel it off the block, replace the backing, and store for later use. You can have a bunch of stamps that you use on the same acrylic block. My sister said that it’s allows greater accuracy on placement.
This is such a fantastic idea! I have looked into having custom stamps made with my company logo many times and kept back burner-ing it due to cost and lack of time (i.e. I never think about it until an event is days away). This would save me soo much time, money, and sanity by giving me full control of the process. I cannot wait to give this a try.
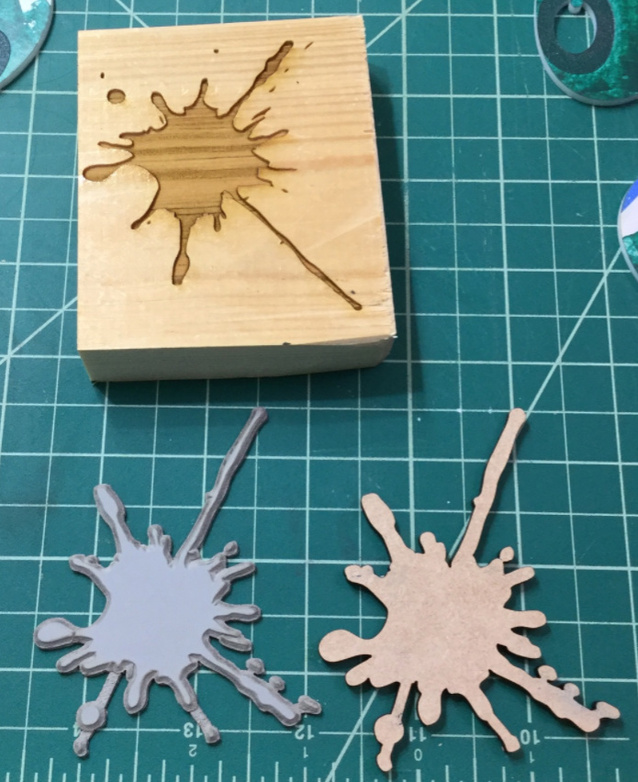
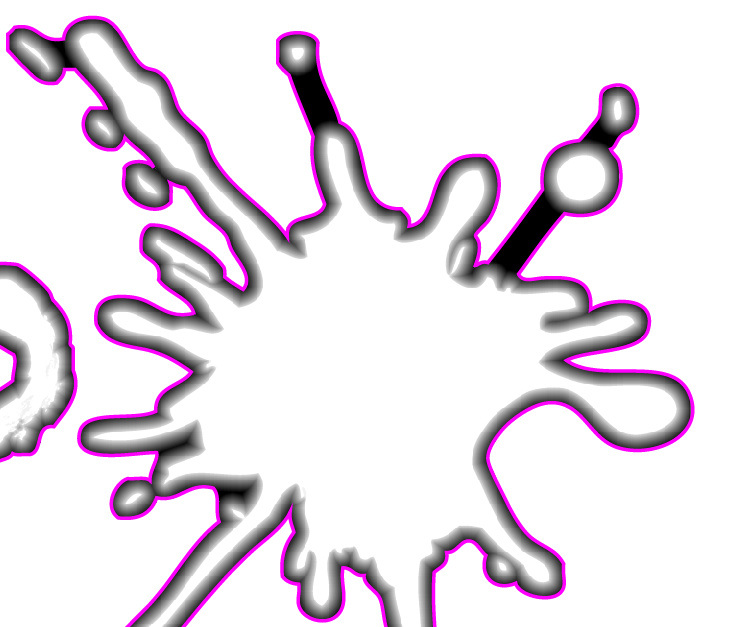
Then I saved that just black and white image in the same dimensions as the stamp and took it into Illustrator to do a Live Trace/Paint thing and expanded it to create the cut line
This way it engraved only the minimum amount of material and I didn’t have to trim any of the stamp with a razor by hand afterwards
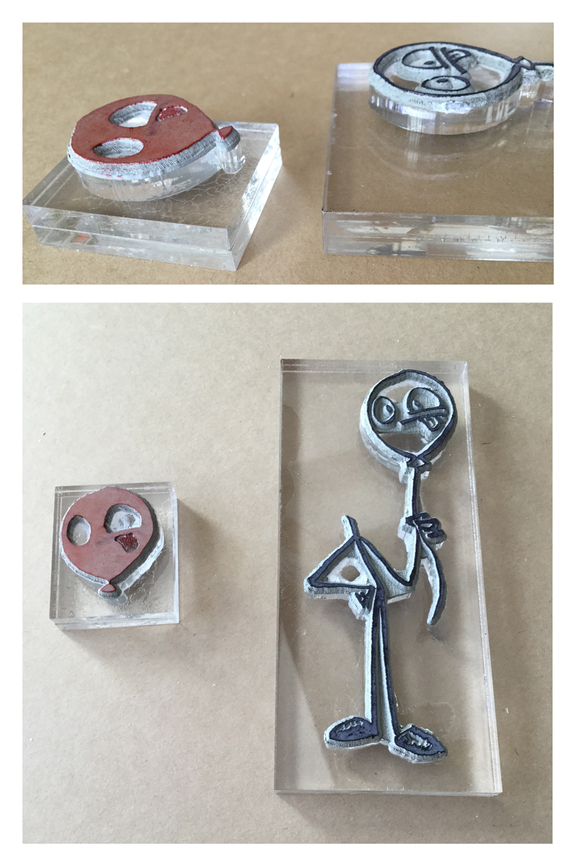
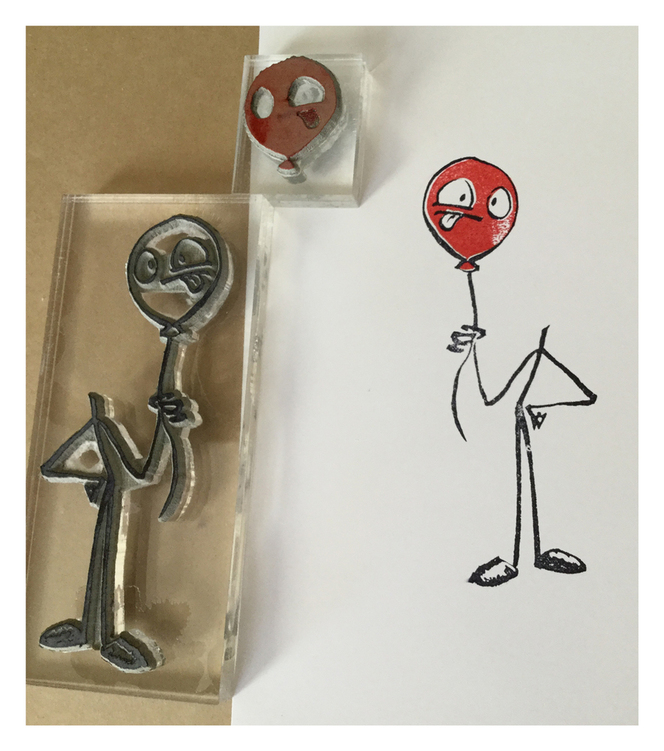
Two more stamps to use with 2 ink colors. The half-tone dots on the tongue weren’t big enough. I’ve refined it since I made this and it looks way great. Picture to follow below.
Not sure I would have had an idea of how to do the “color fill” part of the stamp without having watched David Bull on youtube make wood block prints(Look him up he’s AMAZING)
Getting the acrylic solvent between 2 small rectangles wasn’t very easy. Look at the mess between them! I flooded the heck out of it and it still didn’t completely fill the area between them.
After this picture was taken I went and picked up thicker acrylic from the scrap area at plasticare.