Two questions

If this is true, it would mean two things—both of which could be tested.

  1. Since the precision power range is meant to be the same on both Pro and Basic, it means that (at least on Pro) there is a significant power jump between black (0) and almost black (1) in your Model.
  2. Engravings would be very different on Pro vs Basic where full black was used.

I recall when they first debuted Precision power, the UI didn’t have the Full option, and the step from 99-100 was that large difference.

If you can select Full on the power setting for an engraving, then #2 is going to be the case—different results on Basic vs Pro. But I would still expect the pew values to ramp continuously without any big jumps, maybe from min pews to 110 pews…

But I don’t yet have a (working) laser, so my expectations are just guesses.

I recall this from previous posts on this forum.

Okay. Could be.

I’m so glad you asked this Xabbes! I have been trying to understand this “min power” thing for awhile. I just always leave it at 0 since we haven’t had any explanation of it from GF. (They really should explain these things.)

I read the first few comments and thought I understood and then the later posts got a bit deep :slight_smile: Can someone in the know confirm if this is still how it works? Is it true that white gets no power regardless and the lightest grey in the image gets whatever minimum power you set it to?

1 Like

I think the impression of non-linearity of the power ‘slider’ was due to the non-linear response of the material to the linear application of power. Back in June palmercr said he thought the power ‘slider’ was linear:

It seems the recently reverse-engineered puls file shows the ‘slider’ to be linear as well.

2 Likes

One thing to note here, if you look at proofgrade settings GF may not explain what these are or how to use them, but they use them in their settings, so we should likely experiment a bit more with them.

1 Like

Okay, here’s an authoritative answer to min power and mapping to transparent or white (and grays). :slightly_smiling_face:

I setup a file with 4 blocks of color - transparent, white, 50% gray and black. Equivalent to nulls for RGB values, 255/255/255, 128/128/128 and 0/0/0 respectively.

Then I converted to a grayscale bitmap.

The purple box shows that there is both a transparent block and a white one. I deleted the purple box and sent it to the GFUI.

I set the engrave to Vary Power, 225LPI, 0 Min power, 100 Precision power, 1000 speed. Set the text to PG engrave “graphic”.

Both the transparent & white got 0 pew pews. I know this because the head never moved past the 50% block until it engraved the text.

So then I set it to 10% for min power, left the rest the same, turned off the “0 Min” text, turned on “10 Min” and ran another set. Still no pew pew action on anything to the left of the 50% gray box.

Then I set it to “50 Min”, turned off the “10 min” text and turned on the “50 min” text to engrave. Again no pew pew for either the white or transparent.

Dropped a cut box on the work space and cut them out.

Peeled off the masking and this is what they look like. (Ignore the non-rectangular cuts and other artifacts of prior jobs - using scrap PG Draftboard.)

These do show that as the min is increased the 50% gray box gets darker which supports the conjecture above that the dynamic range is compressed as the min is increased.

To really prove that, I did one more run using 99 as the min power. I entered 100 but the GFUI changed it to 99. Didn’t bother weeding it.

26 Likes

Well done.

3 Likes

I can understand that and I agree to an extent. But when it’s a user setting that we control, we shouldn’t be left guessing at what it’s for or how it works. I hate using expensive material just to try and figure out how a feature they offered us works.

7 Likes

I understand now!

74670505

4 Likes

Thank you, Jim! THIS I get! I felt a bit dense with what was written before, though I greatly appreciate the vast knowledge that was laid out here. As @kittski said…it got a bit deep. I guess I’m more of a visual learner. Much appreciated! :grinning:

6 Likes

Yes, sista!

1 Like

LOL, read this and my brain immediately turned it in to

:musical_score: Sista @kittski, :musical_score:
Oh the time has come
And you know that you’re the only one…

Yeah, it’s been a long day. I might be a bit punchy.

7 Likes

:slightly_smiling_face: 
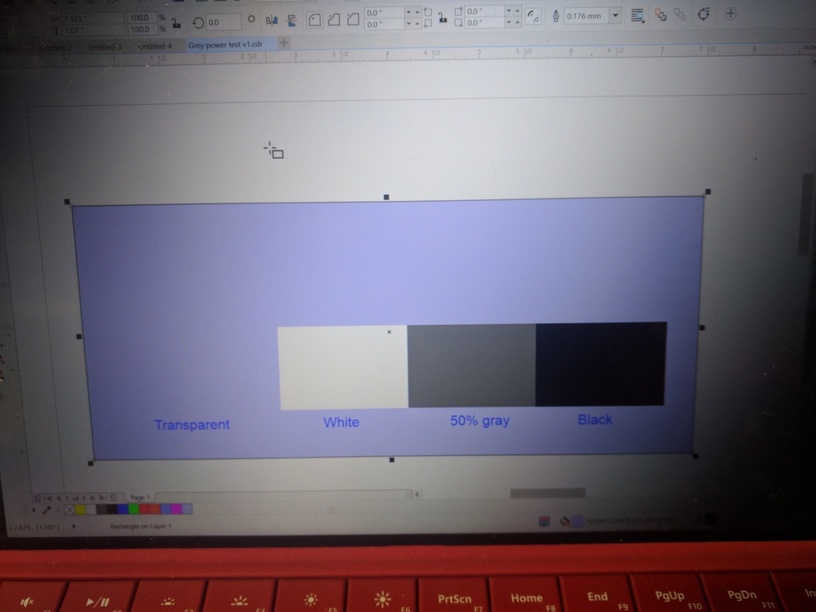
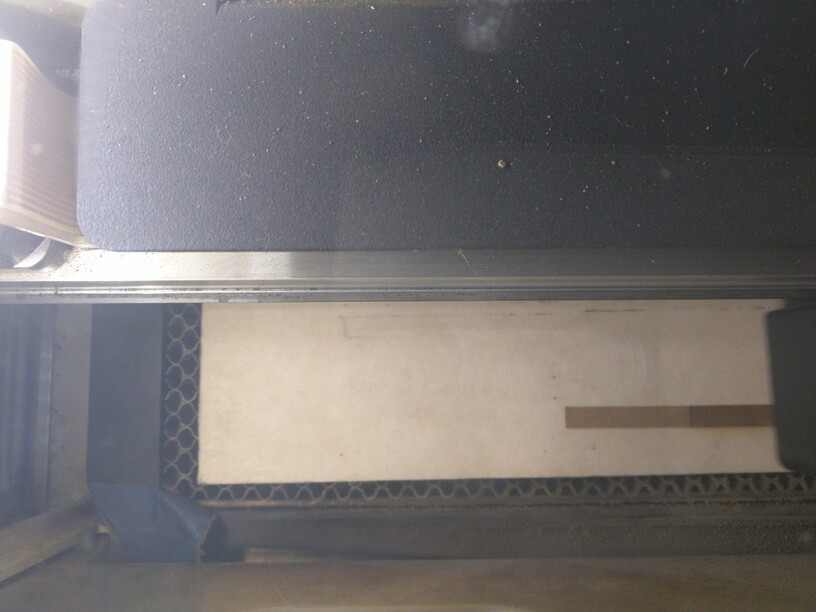
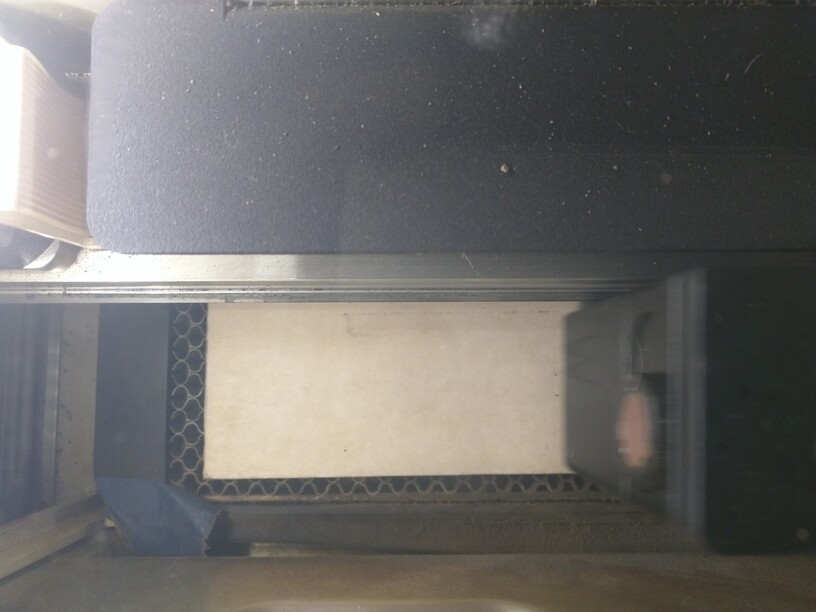
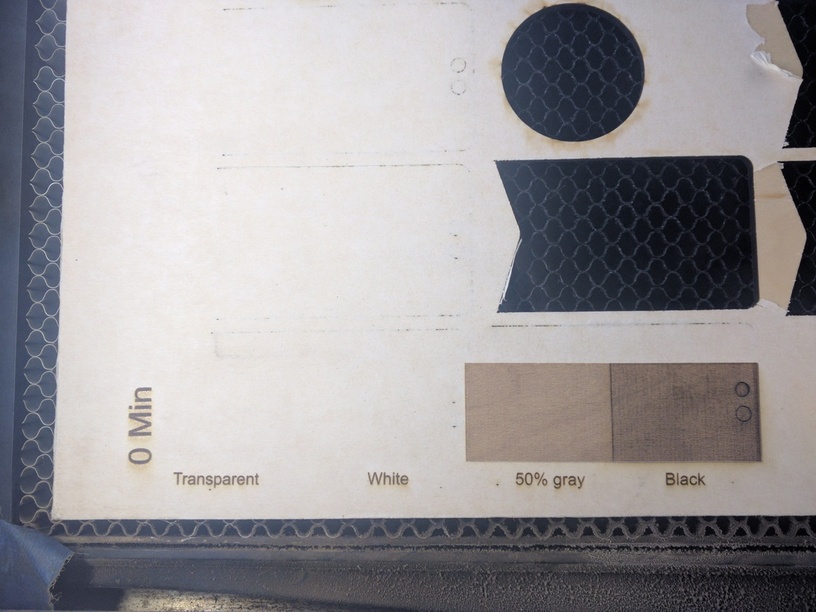
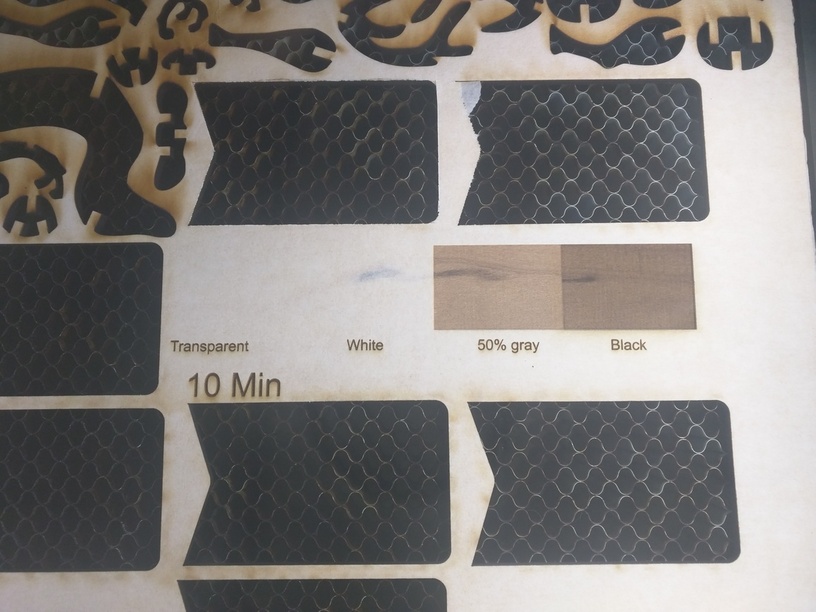
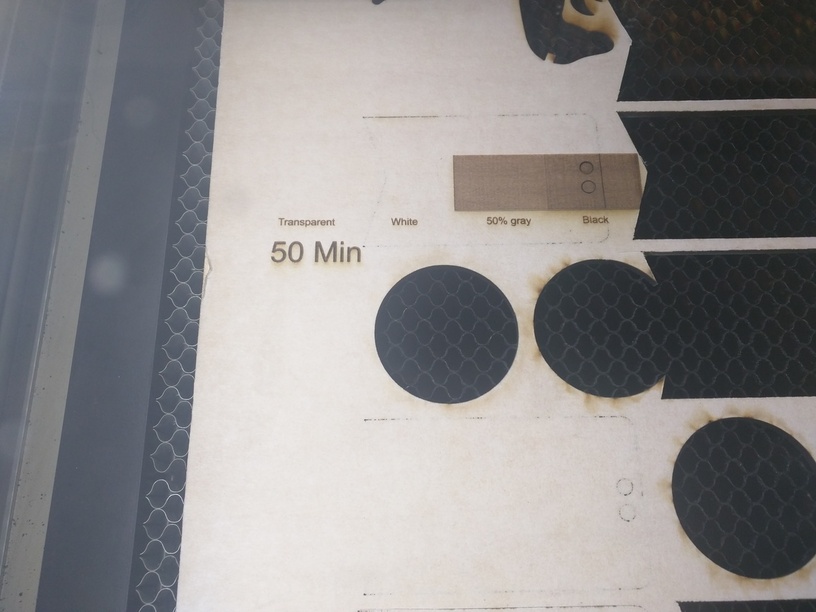
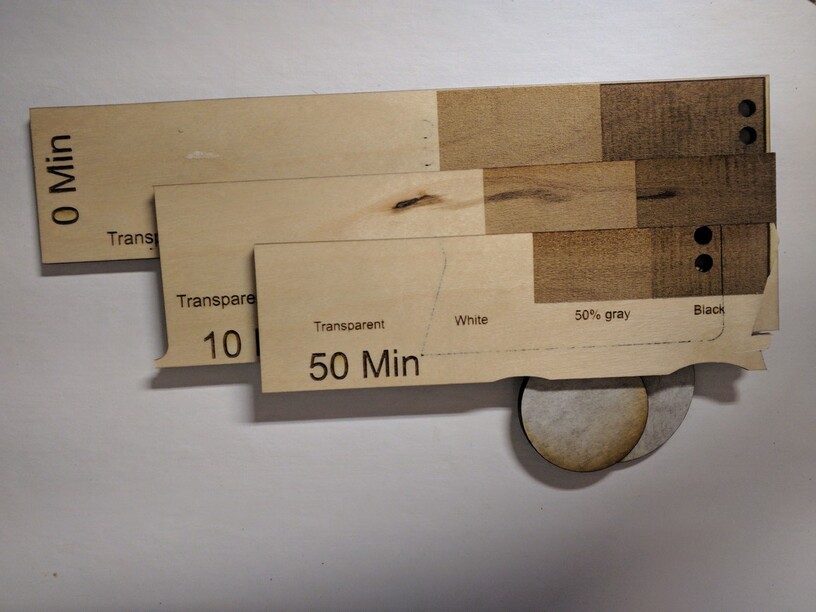
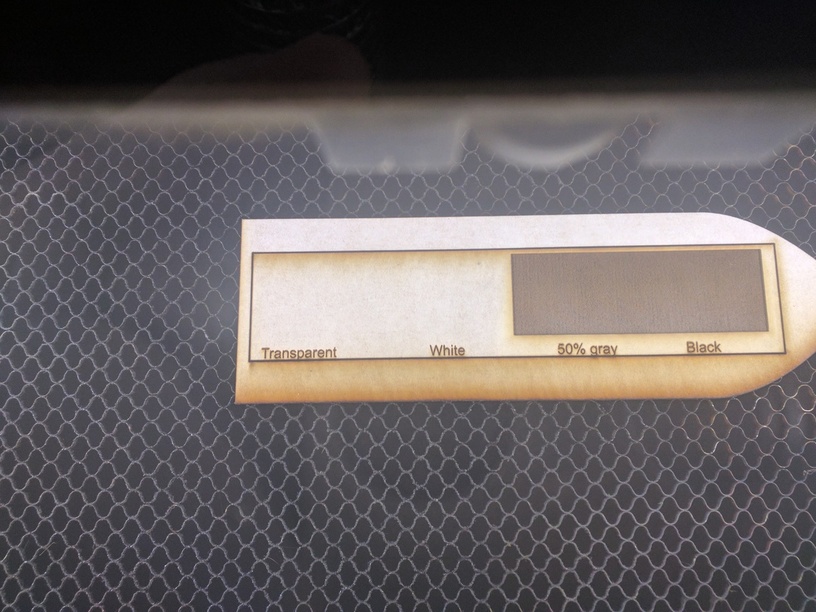
sometimes pictures help.

4 Likes

Awesome proof. Thanks!
Like I said, i find this behavior to be unintuitive since no design app does things that way. I think it’s not a good idea.

1 Like

Hahahahaha! Punchy is good!

3 Likes

My brain works in pictures to Xabbess!

1 Like

That was really helpful, thanks so much!

1 Like

Just speaks to one thing: I do my bitmap processing with bitmap software and recommend you do the same. All that control does is preprocess the bitmap.

Note that we do not document nor recommend the use of manual settings, although of course you’re welcome to experiment.

If I remember correctly, we use that particular setting for our Proofgrade presets to ensure that the lightest non-white setting removes the protective coating. There was a long-ago popular forum request to include all settings that go into Proofgrade defaults in the UI, so we decided to try it - aware that it might cause more frustration and upset than not. If that is the case, then my apologies. It’s not a very useful setting for anything other than its intended purpose, and I would personally recommend never touching it.

5 Likes

I suspect I speak for many when I say that seeing the actual settings for Proofgrade defaults in the UI is very, very helpful for giving us a starting point with other materials, and I really hope it never goes away.

13 Likes

@dan Even you may not recommend the use of some settings, I think that you are not explaining what they do is ridiculous. All functions should be detained in a GF manual.

4 Likes