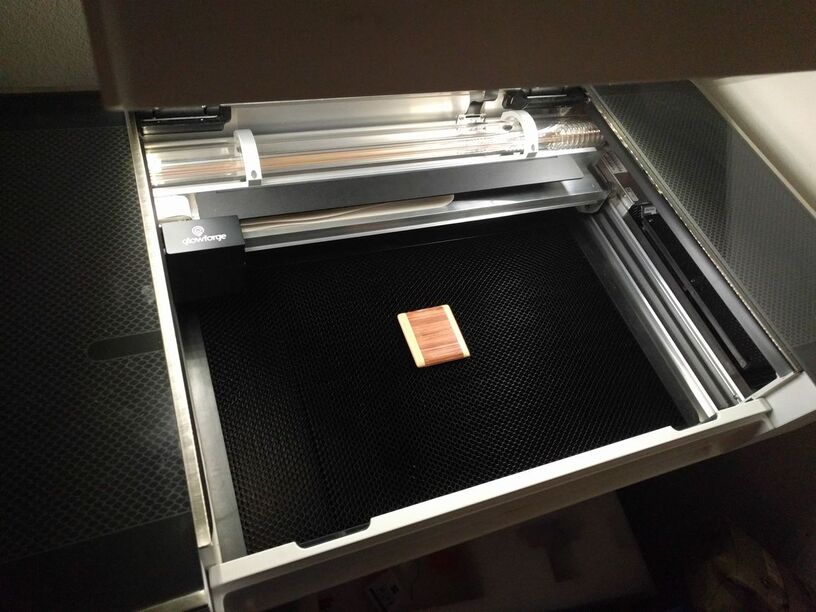
I’ve had my GF Pro off for a few months while I was busy with other things, and I turned it on today to print on the outside of a compact for a friend.
I placed the compact in the GF, using some tape on the backside to secure it to the crumb tray, then opened the app and aligned image I would be engraving onto the object.
I finalized everything, then went to the GF and hit the print button.
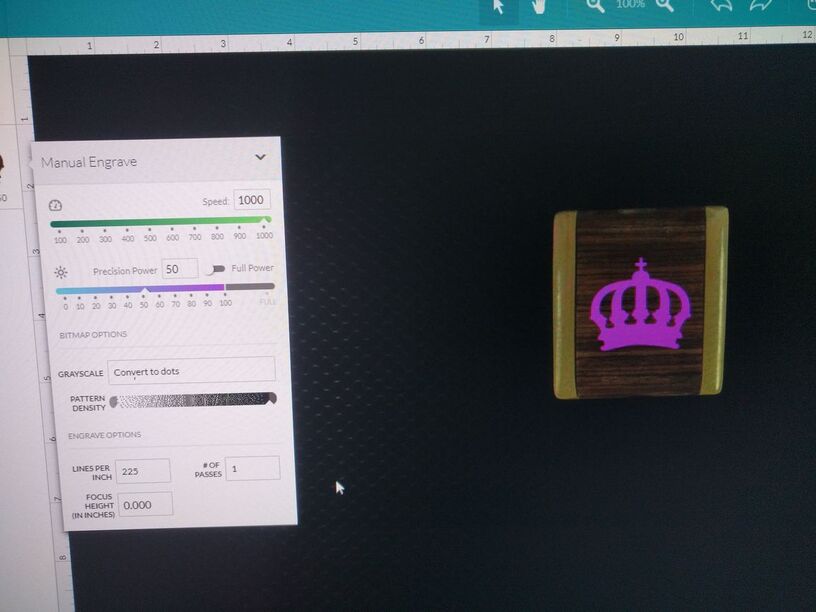
Immediately, I knew something was off, as instead of starting on the lower edge of the compact, like the proof specified, the laser was starting about halfway up the object. Additionally, after only a few seconds, I could see that the image was also rotated 10-15 degrees off of what I’d specified.
I’ve tried powering down and recalibrating the GF multiple times, and it doesn’t appear to be altering the location of the print.
The location being off is likely due to the material height not being precise enough. I assume you measured the compact with calipers. Does it rest flat on the tray? How thick is it?
The rotation, I can’t explain. If it is skewed rather than rotated, it could be that the air scoop is rubbing the top of the compact and losing steps on each pass. (Random conjecture.)
Support can’t help with non Proofgrade materials. We could move this to Beyond the Manual and add some detail about the compact and have the community help. If you’re worried there’s something wrong with the machine, you could try a “gift of good measure” on some Proofgrade and if it doesn’t work as expected, post pics to Problems and Support.
Compact is 3/32" thick and lays flat on the crumb tray
There appears to be around a minimum of 1/4" of space between the compact and the armature with the print head. I carefully moved the print head over the compact to check clearance before I started, then recalibrated the GF.
Also, if you do not have that taped down, the possibility that the air assist might shift it is very high. Double up some frog tape and stick it down on the grid. It will keep it from shifting when the fan hits it.
Awesome. If you want to square it up under the camera, you can align it against any sticks that you know are straight. I cut spacers, but things like rulers work well too. Just align those against the closed door. You can remove them after you tape down the compact.
Your design will come in perfectly horizontal. It helps to make sure the material is also horizontally aligned.
I extracted the logs to investigate the problem you reported, and in the one print that completed successfully, I can see the compact shifted position during the print.
If the compact is being bumped by the air assist fan, you might need to run this print with the crumb tray removed.
The software on your Glowforge is responsible for ensuring that the print lands on the material in the same place as the preview. When you’re done with a print, let a new image load. If the print appears on screen far from where it was supposed to go, you may have an alignment problem.
Most alignment problems come from the material being closer or farther from the camera than expected. While the software is still improving, you can take these steps for the most accurate alignment results:
Use Proofgrade™ materials.
If you don’t use Proofgrade materials, use a precision set of calipers to measure your material, and enter the thickness in the “uncertified materials” dialog.
Use material that is not warped or tilted.
Place your design near the center of the bed.
Clean the area underneath your crumb tray, particularly the four indentations on the floor.
Reboot the machine. Alignment can drift over time, particularly if you bump the head of your Glowforge while removing material.
Should you finish all of these steps, and find that you have an alignment error of more than 1/4", we’d like to have you try a few troubleshooting steps for us:
Turn off your Glowforge.
Check for small pieces of debris or dust.
Check the lower door to make sure it closes all the way. It may require some force to open, but open it, wipe any dust off the edges, and close it all the way.
Remove the tray and clean any dust or debris from the surface underneath. Pay careful attention to remove all debris from the four dimples where the tray rests.
Check the lid to make sure it closes all the way. Small particles of material, such as dust or debris, can prevent it from closing completely.
Check the surface your Glowforge is on to make sure it’s flat. Ensure it is not twisted slightly and that there is no debris propping up one side of the machine.
Turn your Glowforge back on.
We included an extra piece of Proofgrade Draftboard with your materials shipment for troubleshooting. Place the Proofgrade Draftboard in the center of the bed and print the Gift of Good Measure using the default settings.
When the print finishes, leave the lid closed and wait until the fans stop and the picture updates. Without moving your artwork or your material, take a screenshot of the Workspace to show us the difference between the artwork placement and the actual print placement. Make sure to include the rulers in your screenshot and show as much of the bed as possible.
Mac: Press Shift-Command-4 and click and drag a box around your image. You’ll find the screenshot file saved on your desktop.
Windows: Click on the Start Menu and type “snipping tool”. Open the Snipping Tool > New then click and drag a box around your image. Click the Save icon and name and save your file.
Send us the screenshot along with the date and time of the print, and we’ll investigate.
It’s been a little while since I’ve seen any replies on this thread so I’m going to close it. If you still need help with this please either start a new thread or email support@glowforge.com.