Vail Topo Trails Map

Sure! For those wanting to skip the longer read…TLDR: DEM data from SRTM dataset, brought into GIS, generalized, extracted contours, added google imagery and OSM backgrounds, added trail GIS linework from Hiking Project, set up project board as a layout to desired scale, exported to SVG. Opened in Illustrator, traced roads, trails, lakes, general laser cut prep work, export to SVG. In GFUI, engrave and cut sheet 1 with every other contour scored, ‘other’ every other contour cut. Engrave and cut same linework for sheet 2, but swap which contour set is scored and which one is cut. Assemble.

Long version…:
So for the topo, I started with a Digital Elevation Model (DEM). This is a raster image, but with 2 key differences-1) it has georeferenced info in it (if you put it in certain software, it’s tied to a geographic location), and 2) each pixel has a value associated with it that is the elevation. For this project, I pulled the DEM from free SRTM data (basically a decent resolution dataset that NASA and others have collected and processed for most of the globe) from the EarthExplorer website.

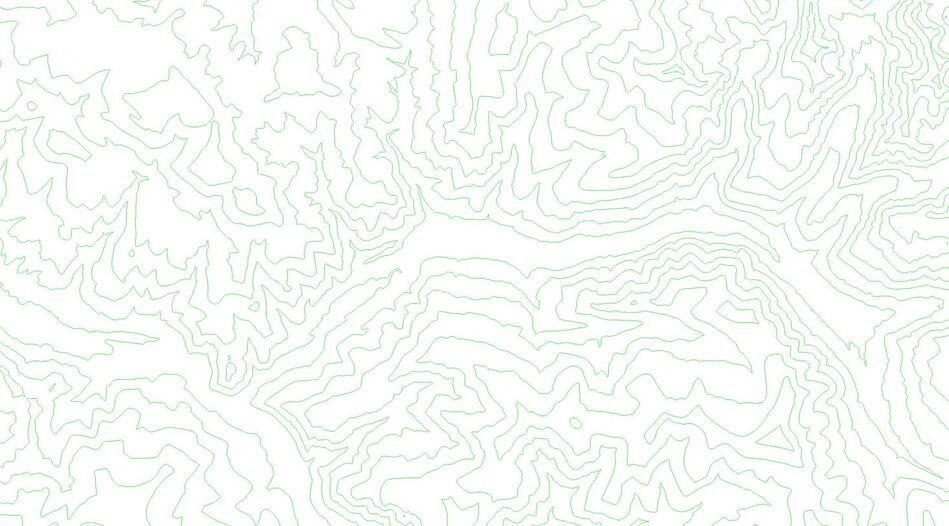
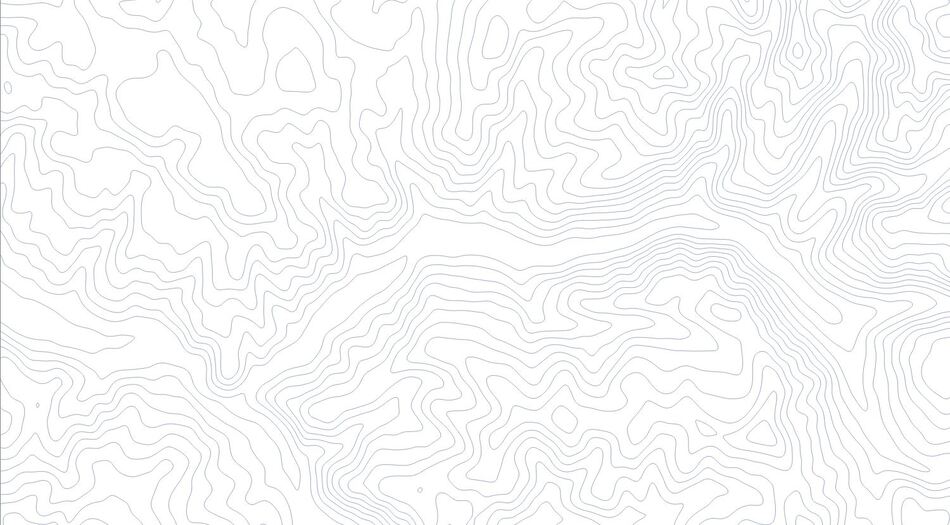
I brought it into GIS software, I use both ArcGIS (paid) and QGIS (free) for work, but I actually like QGIS a lot more. In GIS, you could use tools to just create contour lines from the DEM, although typically they will be pretty jagged and won’t look great. I used some other GIS tools to generalize the DEM, then create contours so they were much smoother-less accurate but more aesthetically pleasing. The tools and settings you use vary on each project, data source, scale, etc.

In GIS, I also pulled in an aerial image (Google imagery, etc.), and an Open Street Maps image to show lakes, roadways, and peaks. For trails, I downloaded trail linework from Hiking Project. Then I set up a GIS print layout to the size and scale I wanted for the project. Then exported to SVG with it exporting as much data as possible as vectors.

Imported the SVG into Illustrator, separated the data onto layers and went to work. I wasn’t happy with how choppy the trails were from Hiking Project, and some wouldn’t show great at this zoomed out of a scale, so I re-traced all the trails using the Hiking Project linework as a guide. Traced the I-70 roadway line, and the lakes. Took some artistic liberties along the way to avoid conflicts with contour lines (layers in the physical model), making lakes larger to read ok, etc.

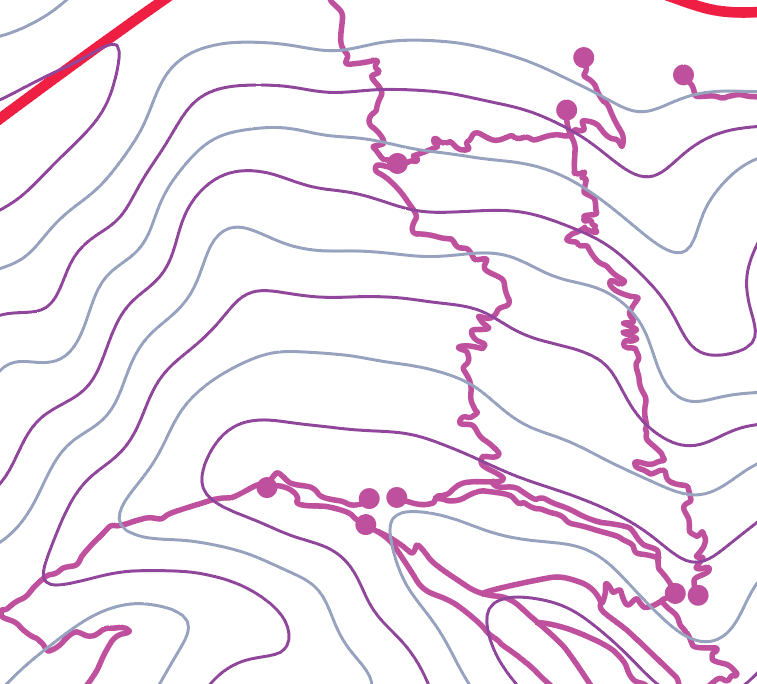
After that, it’s mostly standard stuff for laser prep-material testing, figuring out best width of strokes before outlining them, font sizes, etc. Then I exported to SVG for the GF interface. Once uploaded to the GF, the key thing is I engraved/cut the same file twice on 2 different sheets of material. On the first sheet, every other contour line was scored, and the other set of every other contour was cut. On the second sheet, I just swapped which set of contours cut, and which one scored. In this way, I basically created alternating contour layers where each layer overlapped the layer above/below it. Below is a quick screenshot where you can see the alternating contour line colors:

All of the labels, legend, title, etc. were pretty basic work in Illustrator. Sorry for the long read and hope this is helpful!!!

10 Likes

Wow, just an amazing build! I love the depth you have achieved in this piece.

1 Like

That was one ambitious project. Very nice!

1 Like

The use of standoffs is awesome. I love topo maps, but the execution of this one is fantastic.

3 Likes

Totally amazing!

1 Like

So that’s … quite a workflow. This is why I have always stalled on projects like this, it’s just a rats nest.

That being said, aren’t the quadrant maps vector at this point? Is there a specific reason you went to such lengths to get your topo lines instead of going for a more ready-to-wear solution?

Yup, very true. There are a variety of sources, and some def are more ready to go. Part of it is me knowing the GIS software already so it’s pretty quick and easy (ie going from downloading the DEM, to the generalization, to the contours, to filtering them out is less than half an hour if you’re used to the software). Part of it is me being more detail oriented than I need to be. But with the contours, the reasoning is to make them smoother. So here is what readily available contours for part of this area look like:

And here is what they look like from a generalized DEM:

The bigger amount of time was probably spent tracing the trails, which isn’t strictly necessary, but it reads so much better. The trails you can download as vectors are usually meant more for viewing on a screen where you can zoom in, so I spent the time to retrace them-this meant switchbacks take up a lot more space than they actually do to scale, and so on, but it made the lines more readable when engraved.

Honestly, if I wasn’t familiar with GIS software, the process would be more like going to one of the websites that will generate the contours for you, then putting in the aerial google image behind it in Illustrator and just getting it to match close enough, then tracing the trails, etc. that I want to show in it. Probably not a huge difference in time, but definitely a simpler process with less software.

4 Likes

Super cool! The level of detail in this is excellent, I can only imagine the challenge trying to keep all of these cut files and parts organized going into the assembly process…

I have a couple map ideas on my project list, definitely getting some inspiration from this.

Haha, yes there are some small pieces for sure! Somehow I only had to re-cut 2 tiny little pieces that I lost during assembly.

Yeah it’s pretty impressive how deep you are on this. I fooled with GIS stuff for a bit and was amazed at how obtuse it was. I ended up going for something more off the shelf as a result.

Your smooth contours are a neat trick, differentiates what you’ve made from a lot of the more literal interpretations.

Yeah, GIS is a love hate relationship for me. It’s amazingly powerful and really cool software, but the way you use it is very counter intuitive, especially if you come from a more creative or design background. I’ve been fortunate that I had classes in it to form a base understanding and I’ve had plenty of work projects that let me hone my skills and knowledge while being paid. For the contour stuff for example, I could pretty easily type up a step by step that anyone could download QGIS for free and be able to follow along. But, without the base understanding of how GIS works with files, etc., it becomes a really single use instruction that causes issues when trying to apply those concepts to other work :man_shrugging:

ArcGIS actually makes a plugin (paid of course I think) for Adobe Illustrator-I’ve tried it and I honestly think it’s easier exporting from GIS and importing into AI though.

that is nice maybe some day I’ll be good as you