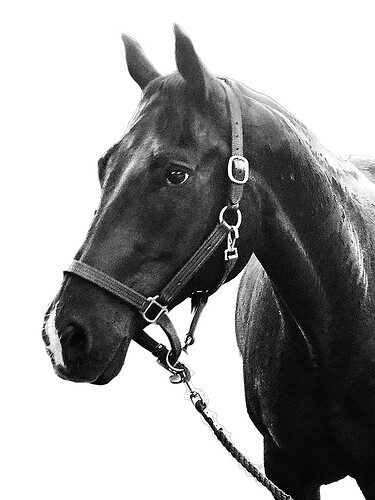
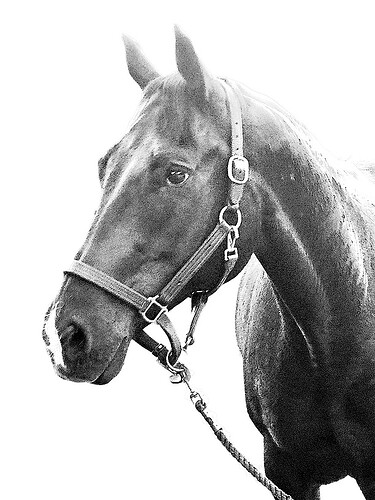
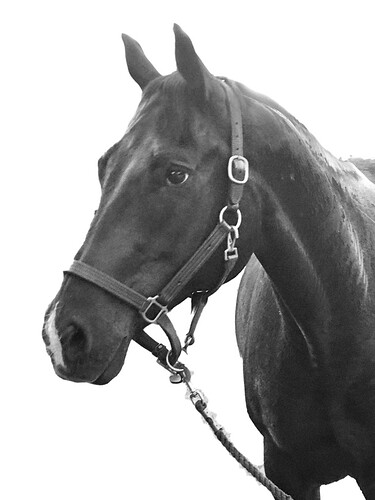
Hi. I read a lot on the photo engraving thread and tried to prepare this picture as recommended. when I upload it to the gfui, it looks like it’s going to be really dark and his eye won’t really show up. can somebody either reassure me, or at least let me know what it is I’ve done wrong?
You’re going to lose a lot of detail in those blacks, which may be fine. I might try to take advantage of the dynamic range a bit more by using a curve. Let’s see. Brb,
You can lighten up the shadows and keep the contrast for the eye. Strongly recommend you cut out a small piece and test first.
Warmblood or thoroughbred?
What eflyguy said (which was essentially what I said). Looking at your source image, it’s a jpg with a bit of noise in the white. I’d probably try to mask out that white bg and save it as a transparent png to avoid random dots in your “white” spaces.
it’s my nieces horse, and I don’t know what kind he is, just that she loves him more than life itself. I want to engrave her a plaque with Otto on it for christmas.
I await your wisdom with bated breath
I keep changing things in the interface to see what “looks best” on the interface and if I set it to sd graphic it looks much better than on hd photo or any photo setting. does this make any sense to you?
You can’t trust the preview. Graphic (which uses vari-power or 3D mode) is very difficult to pin down on an edit for a realistic looking engrave. The preview may look better but doesn’t mean the engrave will.
You’re probably getting to the point of changing too many things at once.
What he said.
You need to cut a small section and test to see what works best for your image and materials. There’s no one best option for all situations.
Looks like a thoroughbred to me. I had an OTT thoroughbred named George many moons ago 
I would go here and make it high rez dot and not variable engrave. As 1355 dot with the dial back from the darkest and high speed you could get a very nice result. If you clip out an area in the center of eye and bridal to run several tests you could hone in on the perfect settings for the photo.
If you use PhotoShop, I highly recommend JBManning’s photoshop action for the glowforge. It has made a huge difference in time and output on photos I have been engraving. I tried an action from someone else before (not specifically geared toward the GF) and I was less than happy with the results.
can you tell me how you cut a small section to test?
Either duplicate the file, then use the “Crop” function to reduce down to one small but representative section, or select a similar area and use “Copy”, then create a new document from the clipboard.
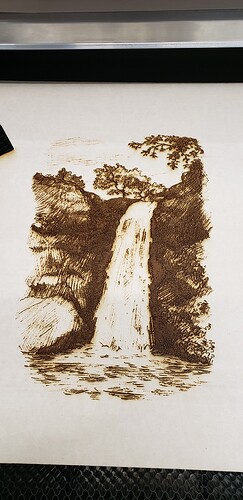
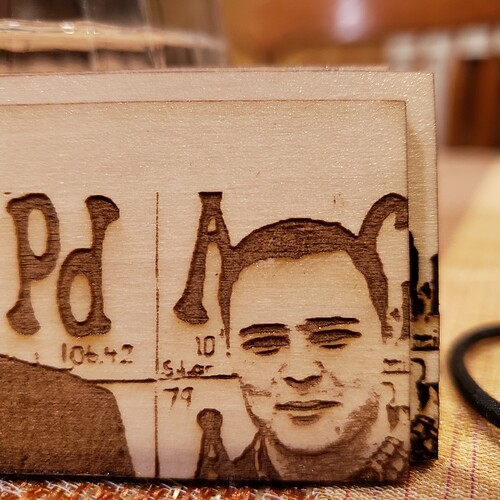
I just did something like that. I assume you plan to do it on wood? Be warned that if you plan to take the peel off afterwards, then, depending on what settings (speed and power) you use, you’ll literally lose some of the time detail that could be captured (if you enlarge it a bit) by the laser cutter, since it will do it do delicately that it won’t burn through the actual peel and won’t touch the wood on those parts. Also, in order to get his eye to show up inviting the white part, then enlarge the picture. Also, if you want a different effect, change the gray scale setting to vary power instead of dots. (That will take a risk of not getting through to the wood though.) To see what I’m talking about here are 2 pictures. The first is the cut while the peel is still on, the second is after I removed the peel
You can see the detail lost
I’m not sure what you mean by enlarging the print so it’s not as “delicate”. What you are seeing is the impact of the low power setting on photo engraves. You need between 5 & 10 on the power to make it through the masking and the glue. Anything less and it doesn’t get through the masking to the wood. (Do a couple of engraves with 5 and 10 to see which makes it through the masking. I typically use 5 but others have reported needing 10.)
By leaving 0 as the low power setting you’re going to lose the detail that would be assigned power levels through about 10. But by making 10 your lowest power, when the various shades are assigned power levels by the GF software it will start with 10 and move up so all the lightest elements that you’re losing now will get engraved deep enough to penetrate the wood.
That’s a good point, thanks! So on Friday I did a few cuts of a picture that I converted to grayscale, but I didn’t do controlled experiments. Instead I tried with the peel, with the lowest power being 0, and lost detail, like you said, then I did without the peel, but my friend hasn’t used a laser cutter before, so he didn’t let me also increase the speed, so that cut burned a lot, and then I did a cut where I increased the speed and lowered the power, and took off the peel, and that one seems to be the best close up, even though it was the lightest and didn’t have any actual great or Noah, it was only burned enough to be darker brown. For the final outcome, I’d like to have a cross between the lightest one and the one with the peel and original settings. So I want it to be slightly darker than the lightest one, but not as dark as the one with the peel. Which setting do you suggest I change, assuming I do it without the peel again, because removing it after is quite annoying?
- Increase or decrease speed (relative to the lightest one)?
- Increase or decrease power (relative to the lightest one)?
- Change both (and how)?
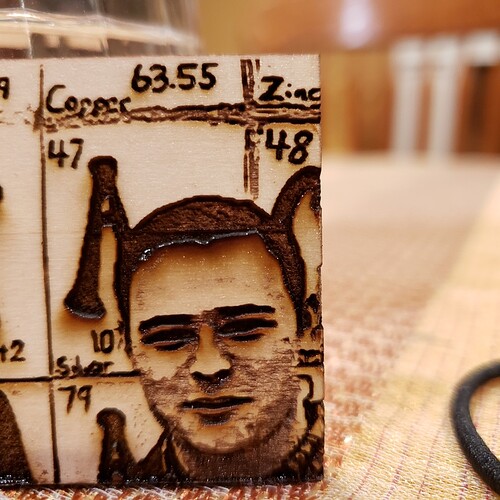
For reference this is the:
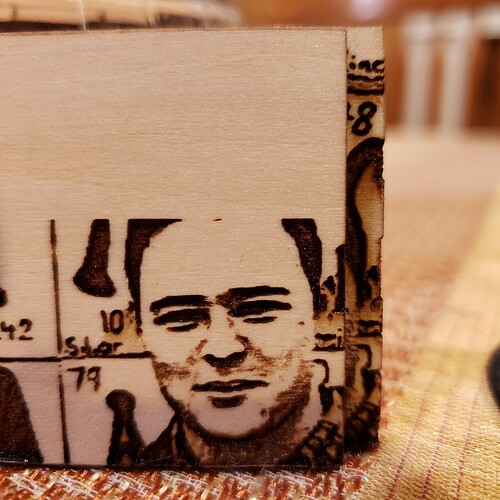
lightest one (close-up) (I did actually make it slightly smaller than the other 2, that’s partly the reason for it not being as detailed):
One cut with peel and then I removed the peel after the cut (close-up):
One without the peel but no settings changed (close-up):
p.s Sorry for such long posts.
I actually like the first one - but I’d lighten it up a bit more (might need to do that in the graphics application) to open up the details of the eyes that aren’t showing now.
@jbmanning5 has some great info & posts on preparing photos for engraving. He’s done some incredible work here.
of the three, I like the first one too, and i think that the eyes will be better once i enlarge the picture for the final print. since we scaled it down a lot for the practice. and only did a portion of it. also, that persons eyes in the actual raw picture you can’t really see the whites of his eyes lol
