Any recommendation on how to access/move forward on checking the idlers/wheels that affect y axis movement?
I am trying to really knock these preorders out and have a ‘temporary’ fix with the flower design where score it after the engrave to make the skipped lines less visible but that adds time and isn’t 100% the best product.
they are in hard to see and reach spots for the top back and bottom ones on each side but if you set your camera up you should be able to get a video of them. ill see how hard it is on my machine and get back to you.
So just to be clear, do the lines/streaks on your prints run from the front to back of the machine, or do they run side-to-side?
If a gantry wheel is broken, you should probably be able to tell just by gently moving the carriage with the belt off, like you did in the videos. It should move smoothly.
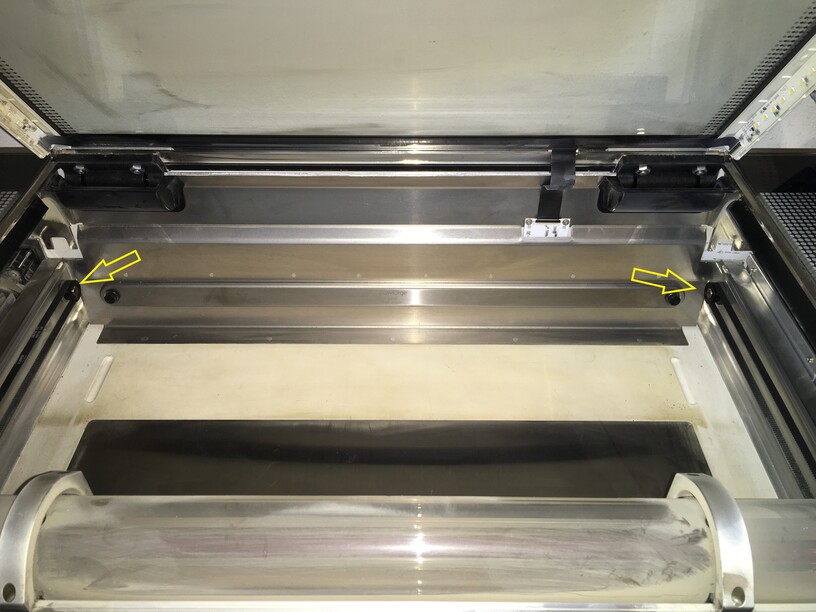
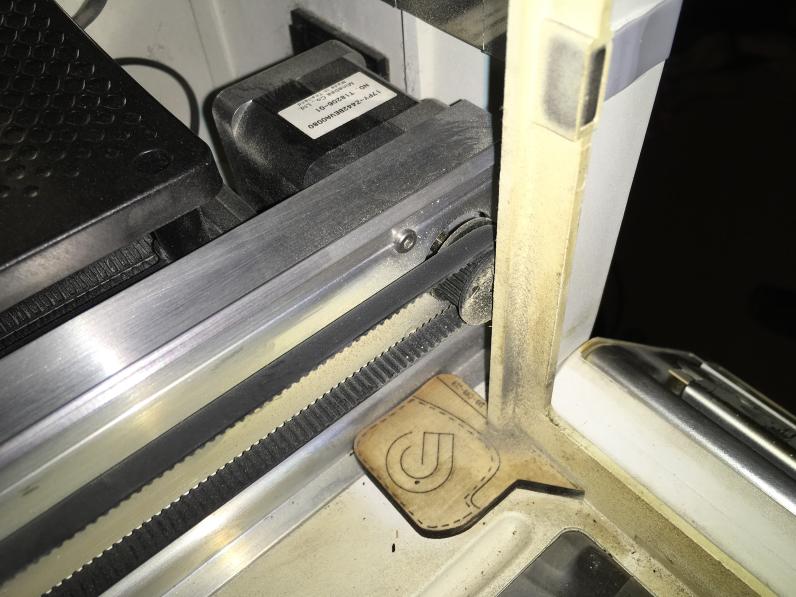
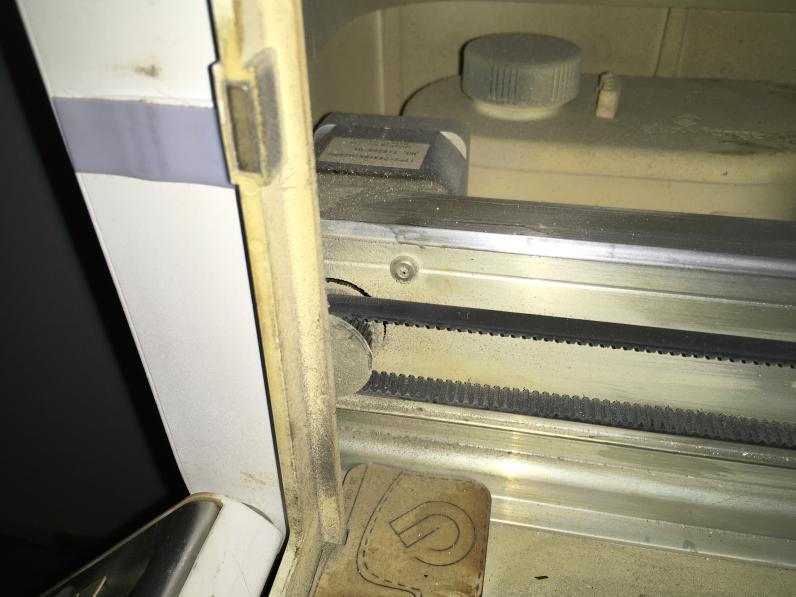
I removed my crumb tray and was able to get access to them pretty easily.
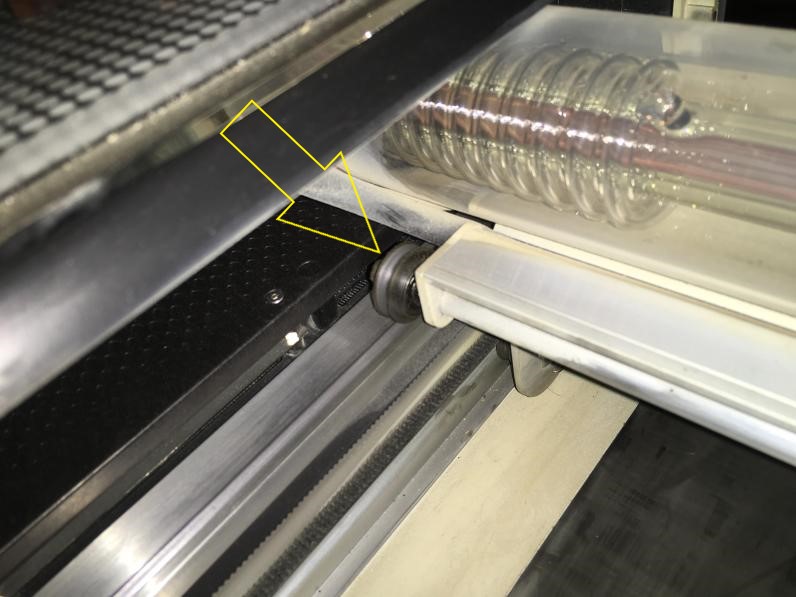
These are the 2 idler pulleys like the one you removed from under the gantry that was broken. but they are both for the other axis.
And yes i know my machine is a mess lol. in desperate need of a deep clean one of these yrs.
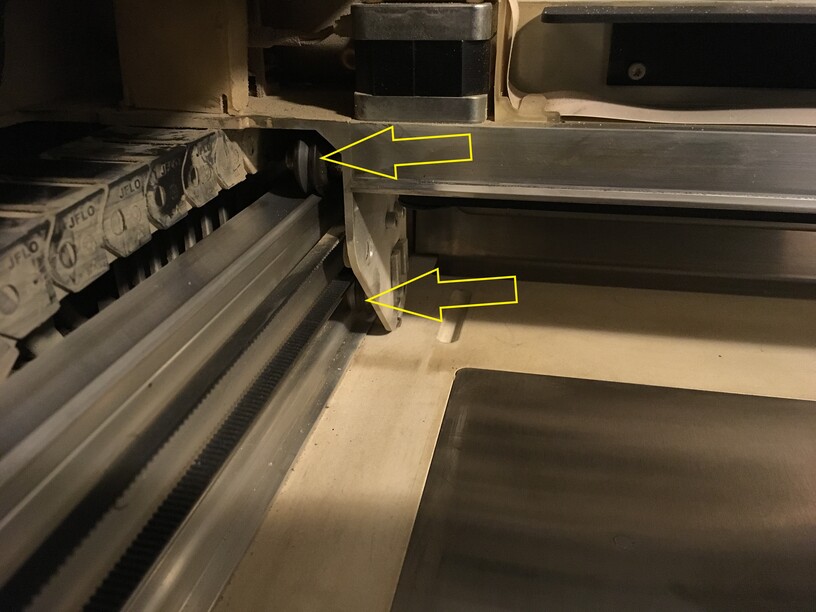
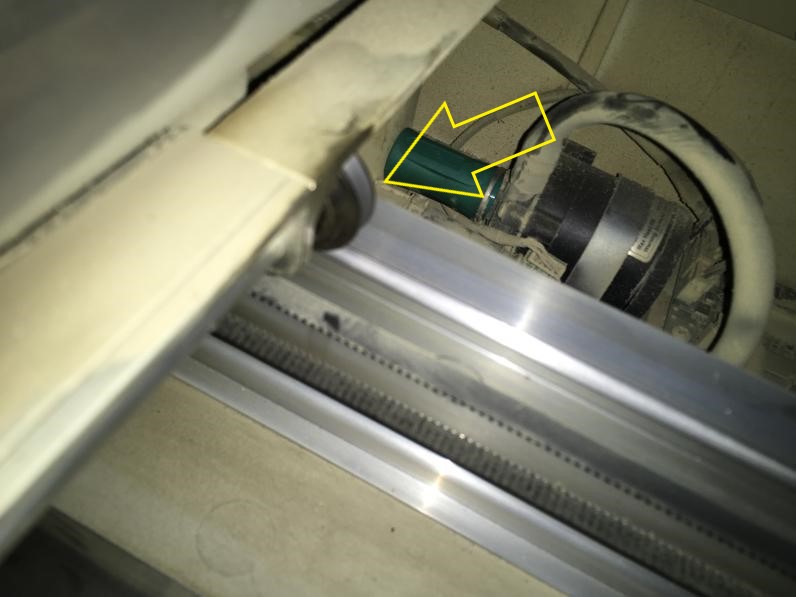
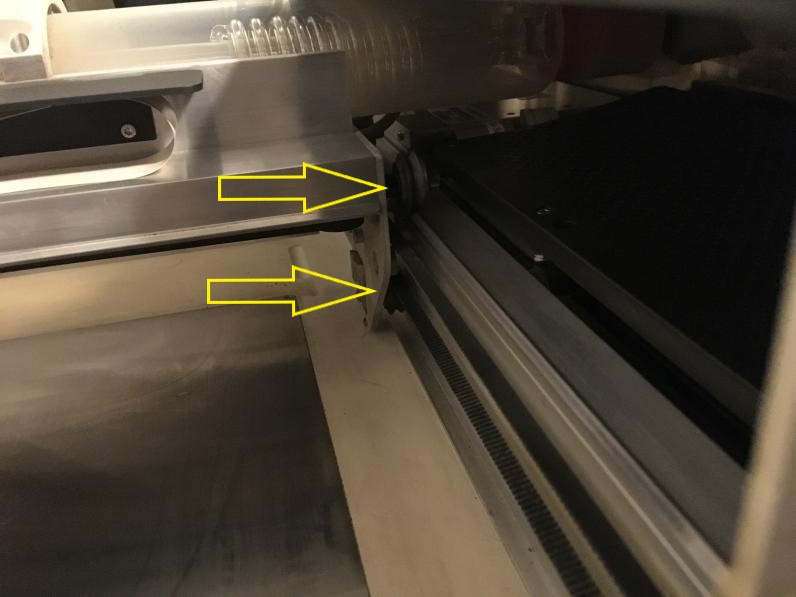
But those are the points i would check along with the belt itself to make sure there is no debris in the teeth or any debris on the rails the wheels roll on.
Maybe it does, but you don’t notice the slight distortion caused by this? Scoring and cutting typically move the head in both dimensions, and a slight skip won’t stand out so much. Since engrave will have one axis stationary while the other scans, it also gives more time for the belt to deform the damaged pulley when it is in a vulnerable orientation.
You would not detect a minor placement error along the Y axis with score or cut like you can during an engrave, where the Y axis is stationary for the duration of each pass along the X axis.
I’m sorry about the ongoing trouble with your engraves. We’ll take care of getting a new pulley sent out to you! I saw that you emailed us, so I’m going to close this thread and respond to you with next steps along with information on how to check the tension on your Y axis belts.