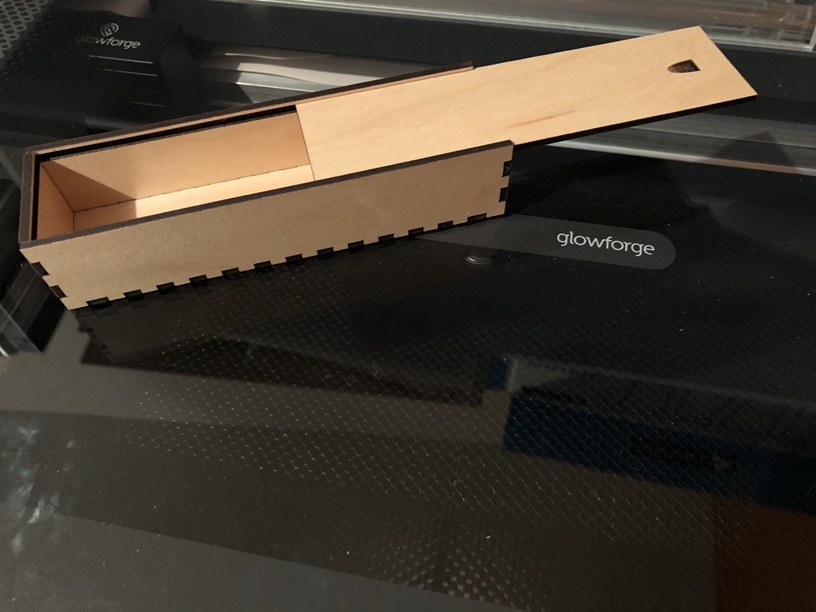
Now that I have a glowforge, I can make it myself. I generated the finger jointed box here…
Then went to Illustrator to remove the top row of fingers for the sides and al of them for the top. Then started adjusting the top and added the raster shapes for the grooves.
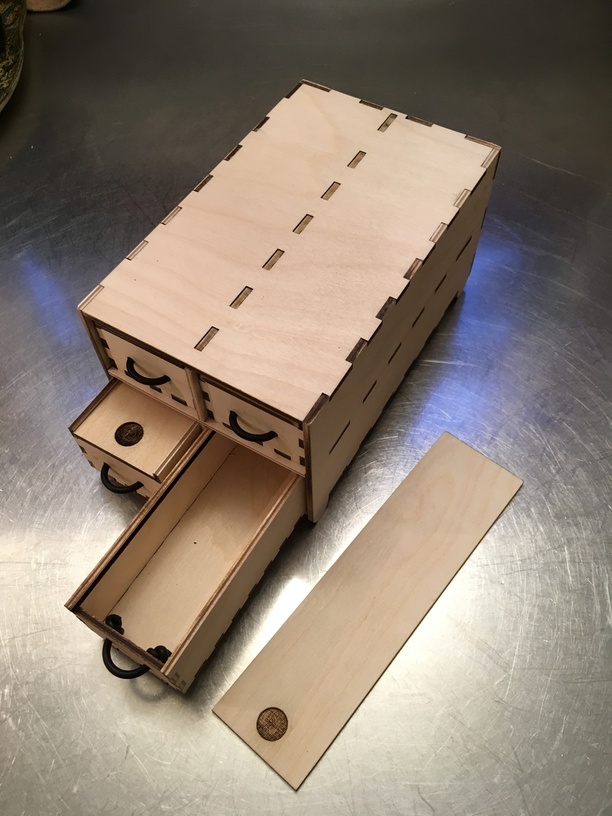
I used medium maple plywood and adjusted the engrave to make two passes to get the correct depth.
I just made my first groove-topped box from scratch and will be posting soon. I was particularly interested in your last sentence…about how you got the lid to slide more easily. I ran into the same problem…but did both things similar to what you did. One thing different though (forehead slap for not thinking of soap)…ran some candle wax in the groove.
When you first posted yours, I saved it as inspiration…as I’ve been wanting for quite some time to make a box with a sliding lid. Thank you!
A perhaps slightly more reliable way to get a groove of a consistent depth would be to make the walls of your box out of two pieces of material; an outside one, which is the nice finished wall, and an inside one, which is glued to the outside wall and has the groove cut straight through it.
There was an interesting (if slightly long) video on the Fusion 360 channel about various types of joins you can do with triple-thick walls: https://www.youtube.com/watch?v=HKcgTsXM4h4
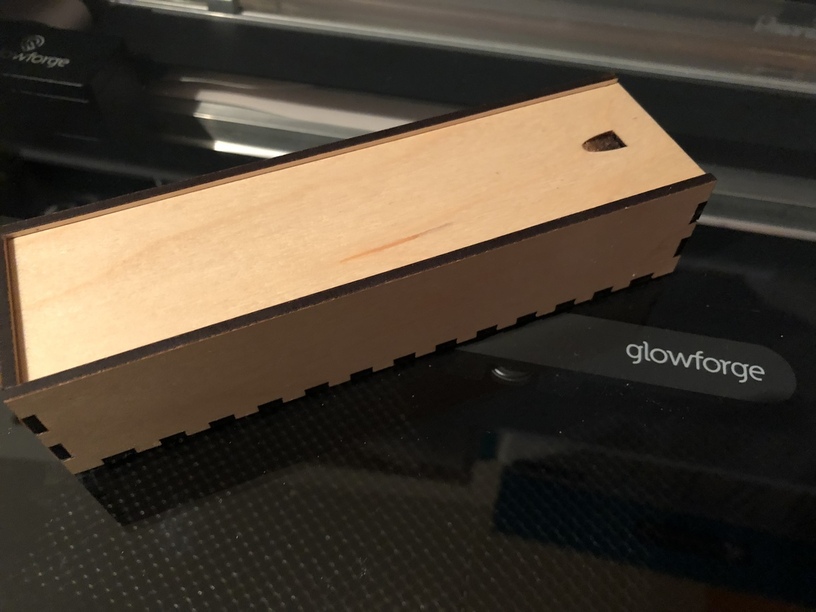
I did one in acrylic for a pencil case. The problem with acrylic was that with a groove wide enough to easily insert the lid… it easily slides off as well.
So I have re-designed it so that the lid falls down ever so slightly behind the front panel when fully closed. You have to lift up slightly when you slide the lid off, but it works much better now.
How does wood hold up? Is it pretty easy to slide in, and then has enough friction to stay in place once closed?
It is not even 24 hours old yet. But it perfect right now. It was a bit stiff at first, but after the soap and few slides it is just right. I can turn it and the lid will not slide off.
Thank you for sharing this. I tried something similar, but my results were lackluster. A 2nd pass (and in my case, better kerf) might have made a difference.
Let us know if you try it out. It really is more of a pen case, it is two short for an unsharpened pencil. I didn’t even bother to measure, I just typed the numbers into makercase.
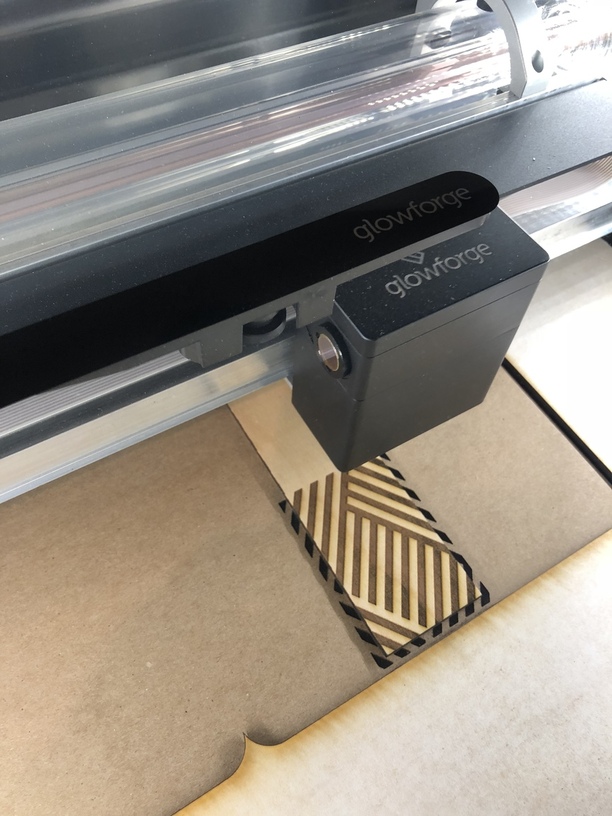
It took a little over 20 minutes to cut and engrave.
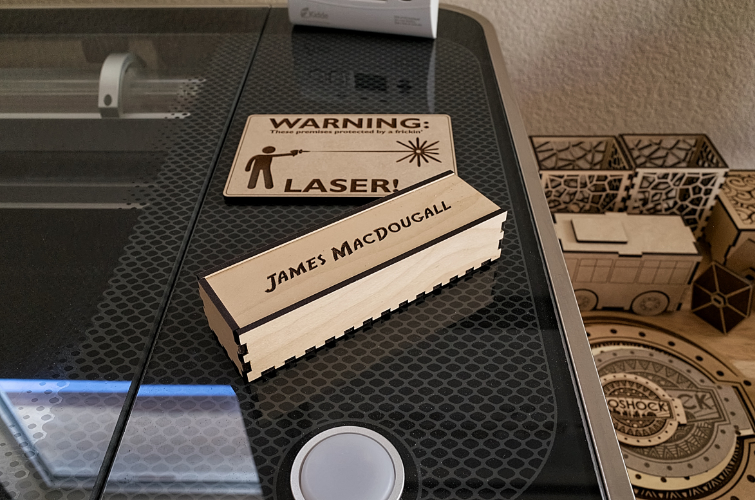
I just printed one out this morning…I engraved my son’s name on the top because I’m going to turn him a pen for Christmas and this will make a fantastic gift box! I had to slightly bevel the underside of the lid with my Dremel and a medium grit hobby file, and with a liberal application of soap the closure is smooth and secure. Thanks for posting the file!
Just a little bump for this really nice file from @bwente .
I made four of the boxes and a little case to hold them all as a present for my nephew.
The handles are made out of some rubber cord I had around, so if you use this file you might need to customize that part.
When you say you adjusted the engrave, does that mean you do a first pass and then establish an new intended material thickness focal point before running the channel engrave a second time?