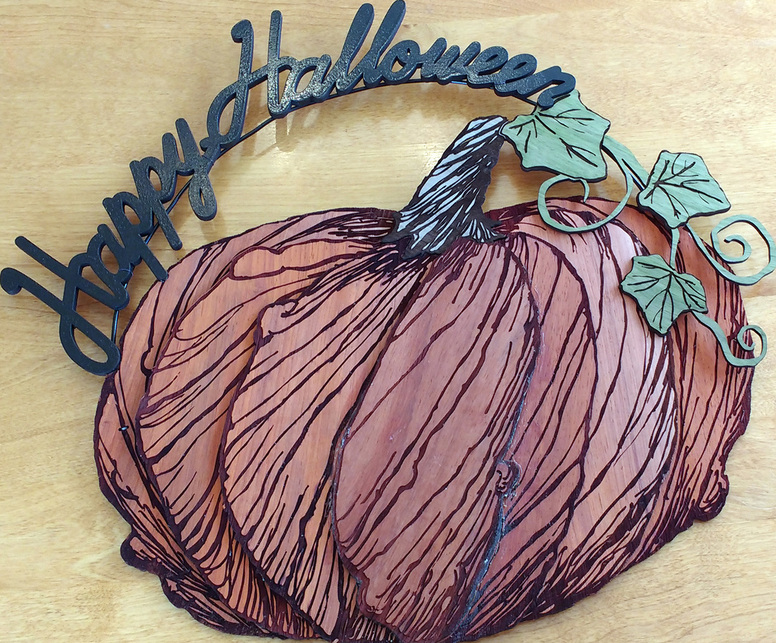
Today I’m happy to post a project I’ve been working on for a couple of weeks. My daughters are excited to start talking about Halloween, (it’s never too early, right?), so I dashed off a quick sketch of a Halloween pumpkin decoration to hang on our front door, and got to work making it a reality on the Glowforge.

I decided I wanted it to be the size of a nice large wreath so that it could be easily seen and read from the street, and that I would print the segments of the pumpkin in different layers to give it a more three dimensional appearance. Those two decisions ended up making this project somewhat extravagant in terms of print-time and hardwoods used. The finished piece is about 16"x16" and has 10 individually lasered parts, most of which took about 25 minutes to print.
For the pumpkin I used cherry hardwood without any additional stain. The leaves and stem are one piece of walnut. I decided I wanted to tint the leaves green, and after playing around a little I was pretty happy with the results of using a Prismacolor marker on the wood. The text is 1/4" plywood spray painted with some leftover glossy black paint.
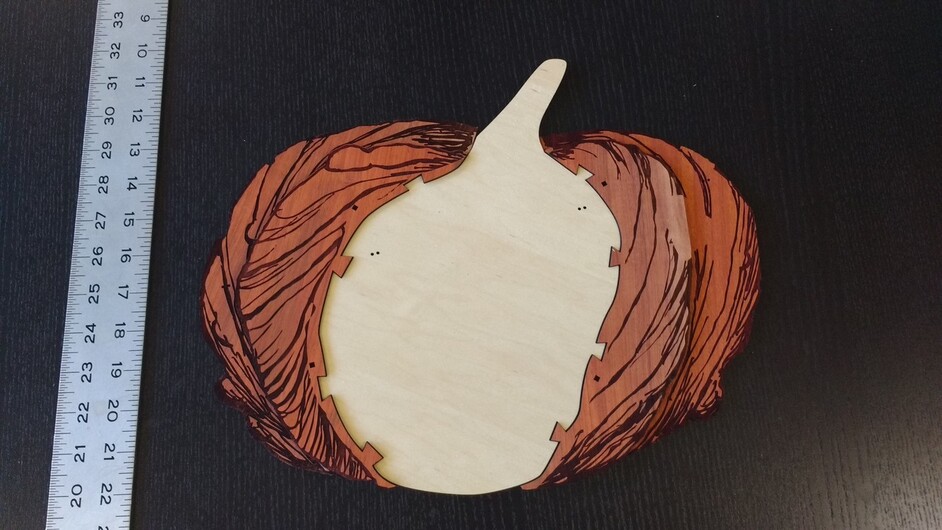
I assembled the piece using interlocking joints, dowels, and wood glue. I used a heavy gauge black wire from a craft store to give more structure behind the text, and that is how I plan to hang it on the door. The layers of the pumpkin were too large to print out of one piece of wood, so I split them into left and right pieces with interlocking joints. For the back two layers I also added a middle piece made out of 1/4" plywood. Since the parts are pretty lightweight I thought I could mostly use wood glue to layer them together. But the glue seemed to make some modest warping a lot more pronounced, and the process ended up being a messy hassle. In the future I will rely a lot more on dowels; those parts came together quickly and easily, and are very secure. I used square 1/8" dowels, and cut holes using the Glowforge to fit. To assemble those parts I just cut the dowel to length, dabbed on a little glue, and threaded it in. The dowel fit tightly into the hole, so it made for a very secure joint.

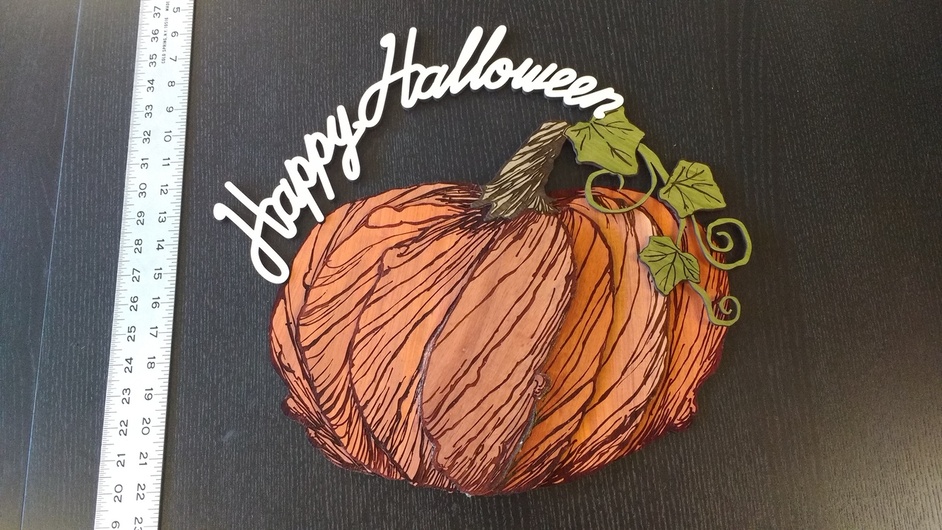
To get the hand-drawn look of the pumpkin texture I drew each part separately, scanned it, and traced it in illustrator. I had to play around with the trace settings, but eventually I was able to find a setting that resulted in a trace with smooth edges that was reasonably easy to edit. (I used fills only, path fitting set to 2 px, minimum area 10px, corner angle 20).
I am thrilled with how the finished piece came out. I love the way that the Glowforge lets me capture the organic quality of a hand drawn sketch, and I think that really comes through on this project. My daughters are excited too. We are the first house on the block to start decorating for Halloween.


