Pixelating a 3D model?

Your son is not alone!
There is a quite detailed thread here on the subject: Laser Cut Voxels

Not sure if anyone has hit upon the best answer yet.

5 Likes

I saw that thread before, but it does not deal much with what software to use to pixelate an existing 3D model.

I have seen a few programs that will do this. Unfortunately i don’t think any of them were ever fully released.

LScript Studs-out Lego looks like an interesting option.
https://code.google.com/archive/p/lsculpt/

Legolizer looks like it would be awesome, but unfortunately it isn’t available for purchase. But it sounds like he will convert models for people for a price.

1 Like

Not totally related, but just finished watching this.

6 Likes

That’s pretty cool!

1 Like

That is a really cool idea. Such a great way to add some cool new features to your old 3d printer.

1 Like

There are photoshop actions that turn a 2d picture into “lego” look. What if 123 Make cut the slices then you used that on each horizontal slice? (albeit very time consuming, but in theory?) There is the online brickify that will convert a file into bricks. Also legolizer chrome download(and I found a script for 3dsmax online to convert to “lego” bricks- in a cgarena.com forum)

1 Like

I looked into taking the 123 Make cut slices and superimposing them on a grid to divide each slice into blocks. That would work, but it’s a long process. You have to make sure that each slice is aligned with the one above or below it when cutting it into smaller pieces. You can use the “dowels” option to help line them up.

I have the patience to do this, but my 9 year old would not. I’d like a more complete solution.

Thanks for the suggestion about the online brickify and legolizer. I’ll look into them later today. Sometimes it’s just coming up with the right “search” terms.

I just sat down with a pad of graphpaper and a printout of an enlarged 2d sprite and started going to town on the pad drawing each slice. I’ll put it together and maybe make a revision from there, but i’m pretty confident in the voxels I am about to make. But it is very time consuming.

1 Like

Thanks Sawa. I had never heard the term voxel, and searched for it.

It brought me to this page: http://www.cs.princeton.edu/~min/binvox/ Which looks like it’s for creating minecraft models.

I was able to take this:

and turn it to this:

I still have to play with the program inputs to adjust the voxel size.

Once I figure that out, if I resize my input model appropriately, I could probably use his program to create the block pattern. Once I have that pattern, I can use 123D Make to cut it into slices.

It’s not pretty, but it should work.

I would still like something a little more kid-friendly.

3 Likes

In case anyone wants to try this program out themselves. Here are the steps I used (in Windows):

  1. Download the program to your computer (http://www.cs.princeton.edu/~min/binvox/)
  2. Click on Windows Start and Type “cmd”.
  3. In the command prompt window, type: cd c:\users\[yourusename]\Downloads (where [yourusername] is your windows user name).
  4. Type: binvox.exe -d 45 c:\Users\bgatien\Desktop\Dinosaur.stl, (substitute the path to your stl file) This will launch the slicing program. It takes a few minutes to execute.
  5. Once you are done, you can view the voxel file. I downloaded the viewvox.exe program from the same site, and typed: viewvox.exe c:\Users\bgatien\Desktop\Dinosaur.binvox

I was able to change the block size by playing with the -d option. I think by default, it makes a 256 x 256 voxel model. By specifying a different -d value, I get something like this:

6 Likes

Now I just have to figure out how to convert from one of his output formats (.binvox, HIPS, MIRA, VTK, a “raw” file format, minecraft .schematic format, Gmsh .msh format, and nrrd format) into something that can be read by 123D Make.

1 Like

Take a look at Qubicle if you are looking to do voxel based models! I use it for my game development.
It has a voxelizer tool that you can use to turn 3D models into voxels and then you can take it from there and edit them
http://minddesk.com/

2 Likes

Thanks @Dunfee.

I looked at the video and it looks a lot like what I’m looking for. Do you know if the basic edition (the $20 one) would allow us to import 3D models and convert them to voxels? I have a feeling I’d have to also get the Voxelizer module to do that (another $25).

This might be of some use: Kiri:Moto & Meta:Moto

1 Like

Awww, I was too late to the thread.

As I read the initial post, my first response was: ‘The easy way is to do a Google search for “Minecraft ______”’

@polarbrainfreeze’s approach with the binvox seems VERY similar to just using a Slicer with 0 perimeter walls, 10% infill, rectilinear fill type, and 0 degree Fill angle.

That would make you lots of nice squares to fill the model. Make your layer height be your desired block size, play with % infill to obtain proper block size in those dimensions. Remove or complete all partial blocks.

Back when I was following the ZBrushWorkshops training, one of the lectures covered the evolution of the adaptive skin function. Among the things shown was a regression of a sculpted model to what this thread refers to as a pixelated (or voxelized) form.

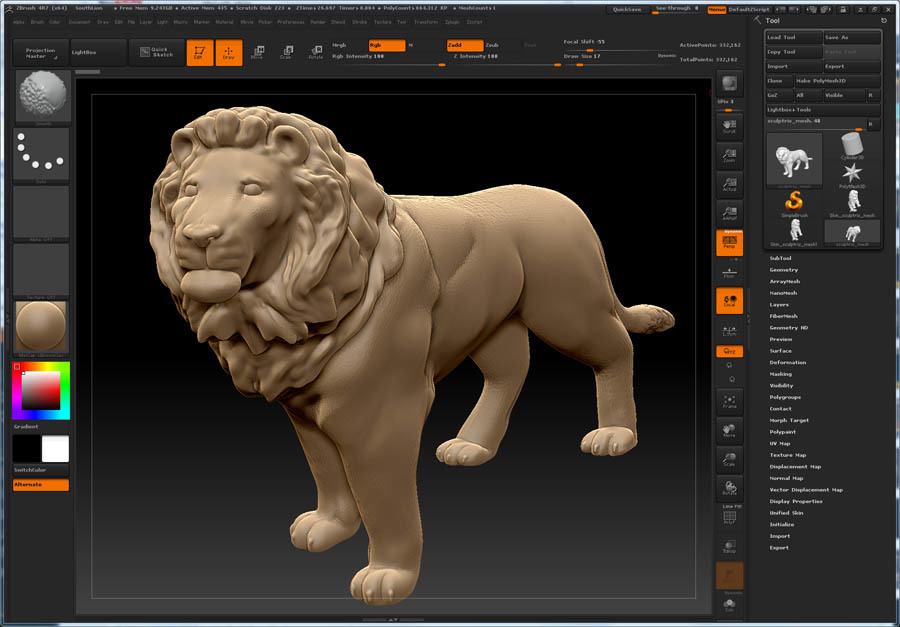
It doesn’t have to start with a sculpt. Any STL or OBJ mesh can be imported into ZBrush. Here, a sculpt previously created in Sculptris is brought into ZBrush 4R7.

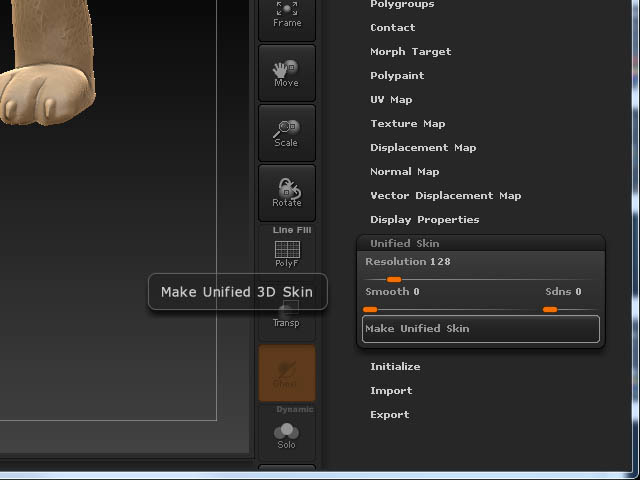
The target tool here is the Unify Skin function. The higher the resolution, the finer the pixilation gets. The slider goes down to 16, but here I cranked it to 128 and set Smooth to zero. Hit the Make Unified Skin button…

…Aaaaaand nothing happens. The 3D sculpt in the canvas hasn’t changed.

That’s because instead of ZBrush destructively changing the 3D sculpt, it ADDED a new object to the sculpt collection. This area permits working on concurrent sculpts while they stay quarantined.

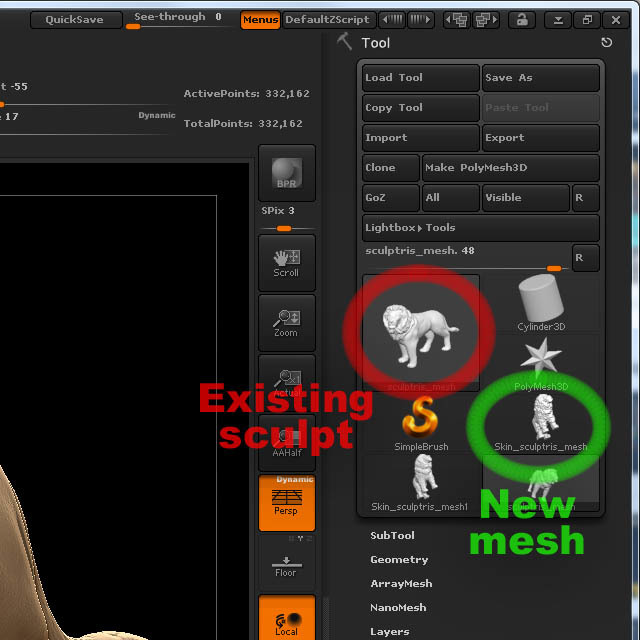
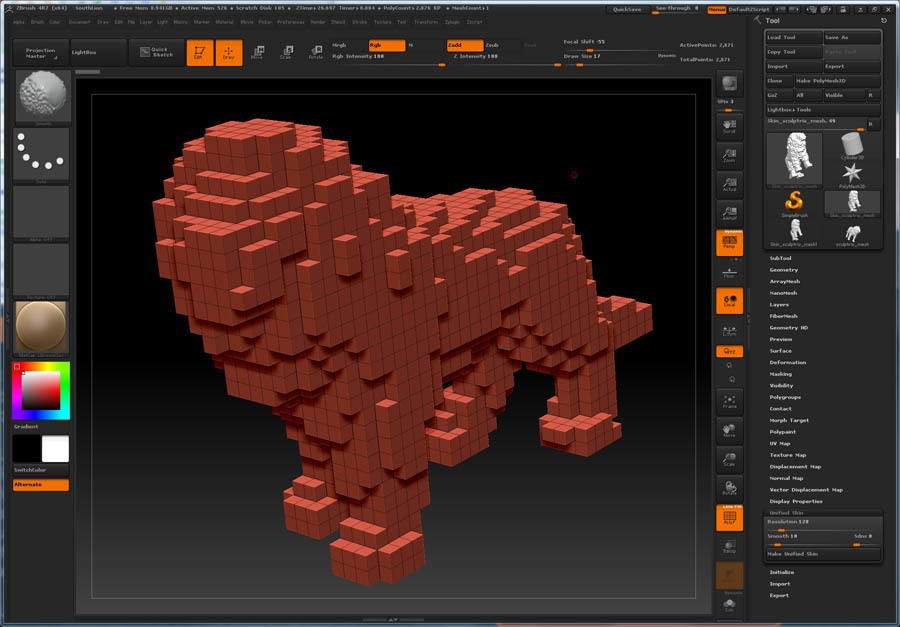
Just click on the recently added item and it’s instantly loaded into the canvas. Voila, one-click pixelization of any 3D mesh.

ZBrush menu > Zplugin > 3D Print Exporter saves the object as a common OBJ or STL mesh. Bring the pixelated STL mesh into Rhino3D.

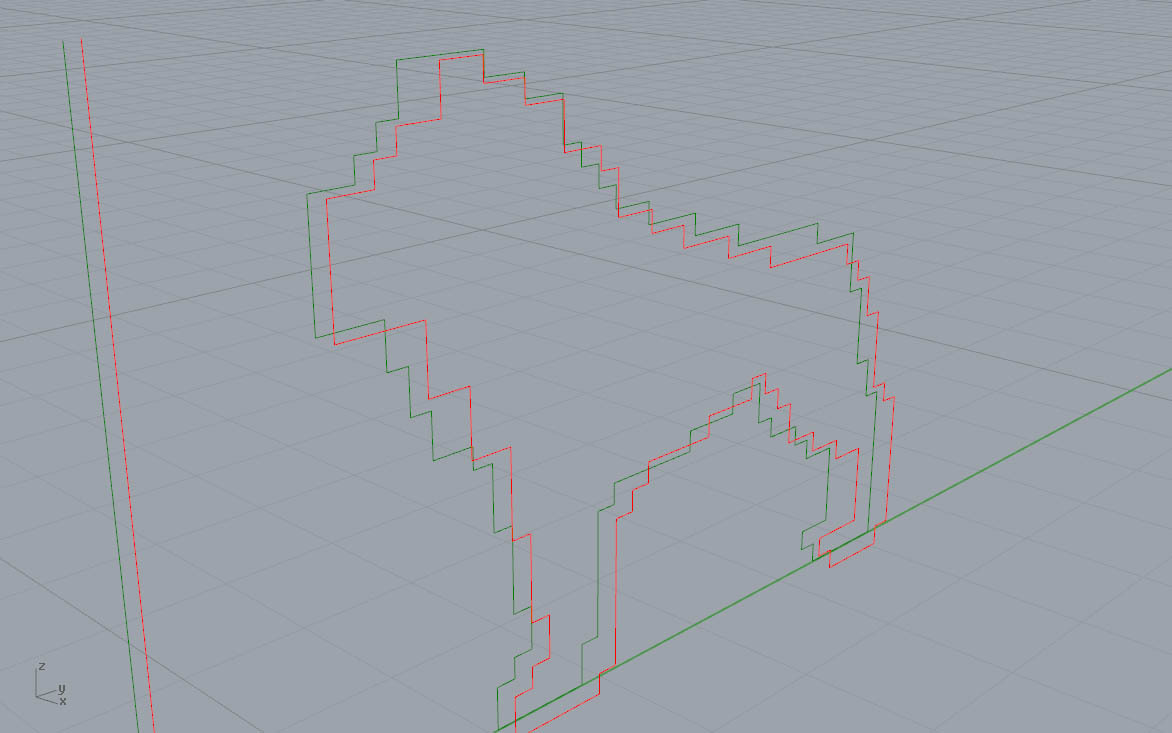
Drop a vertical line in front of the mesh and do a Curve > Curve from Objects > Project Curve command. Rhino asks for an object. Facing it head-on, click the lion mesh and the resulting projection has now created a line profile for that layer.

A Rhino3D ninja would probably Transform > Array a series of lines before executing a combined Project Curve command. In one swoop, profile curves for all layers gets created.

Better still, blast a hole through the side of the lion mesh at the start of all this and each layer of the projected curve will now also have an accompanying registration curve.

Export the projected curves accordingly to the Glowforge.

15 Likes

Whoa–thanks for sharing this, @JeremyNielsen. I know which toy my partner is buying next!

2 Likes

No problem! Let us know if you get it haha.

2 Likes