I have imported a jpg image and use proofgrade material, and everything turned out beautifully, although I noticed the engraving cut half way through the material. I turned out great, so I let it be. Next I tried to engrave a name onto a wood pen. I chose the minimum thickness and the lowest power, and it burned it beyond recognition, you can’t even make out the details. I would love to engrave non-proofgrade materials, please help.
You said lowest power, so I’m guessing “1”? But you didn’t say what speed. The combination of the two determine the depth of the engrave.
How did you prepare your font? I’d recommend rasterizing into a png rather than jpg if you’re rasterizing to avoid any compression artifacts.
Perhaps you were trying to engrave the font in an svg somehow. There’s a bit of a trick to that in that you have to convert the text object to a path. Though if you went this direction you probably got that far since without it you’d not get anything to engrave at all. Perhaps you’d be willing to upload an svg in a zip of what you were trying to engrave?
My guess is it is the source file combined with settings rather than non-proofgrade that’s getting in your way here.
Setting the correct material thickness is VERY important. Otherwise the focus of the laser is off and it burns, blurs or doesn’t cut correctly.
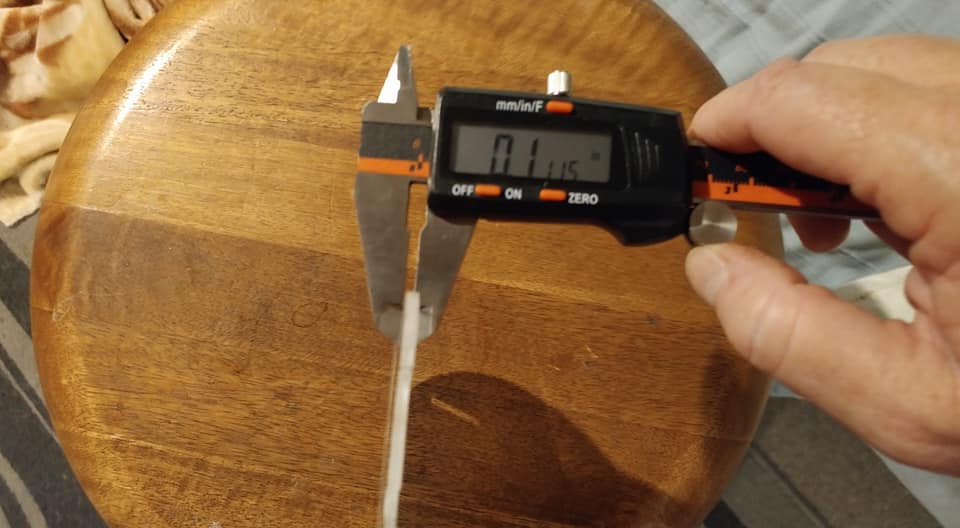
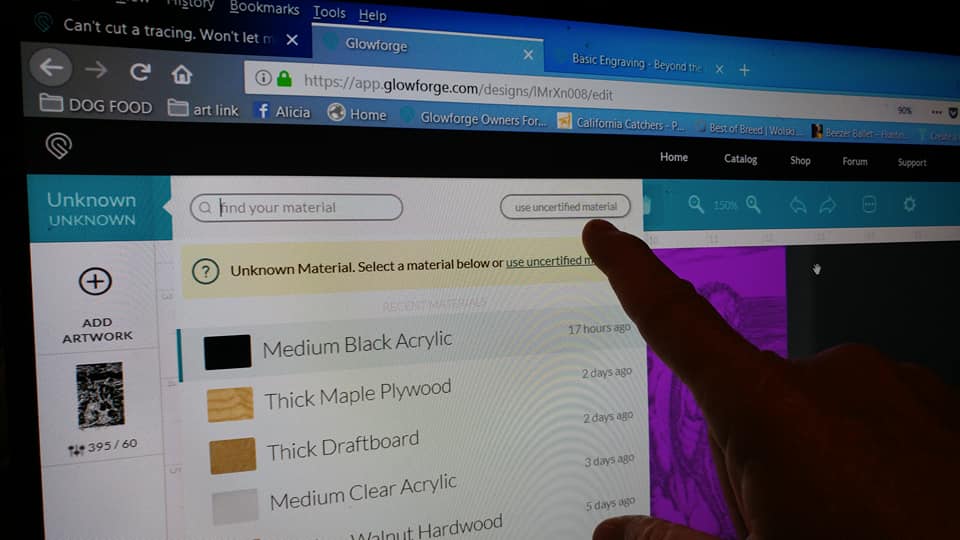
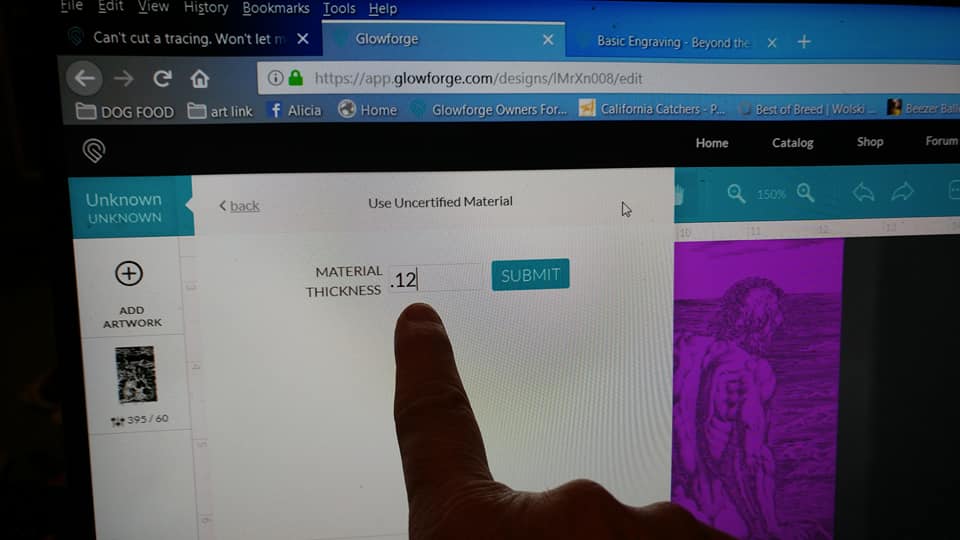
Okay, you want to enter the actual measured thickness in inches, using a caliper, into the Unknown Materials box at the top of the left hand column before you burn. First thing. It sets a focal point on the surface of the material, which is what you want if you don’t want to burn all the way through the wood with the engrave.
Use manual settings, high speed (1000 zooms) and low power (30 pews). If that doesn’t cut deeply enough, you can slow it down by about 10% or increase the power a little. ![]()
I had it set to 1000 on the speed, .01 on the thickness. That should have resulted in the lightest possible engraving. I had no way of measuring the actual thickness of the wood, since it was a finished product. That’s why I went with the minimum settings.
It sounds like the focal point at the bottom of the material is what caused the deep burn. For engraving you want the focal point at the surface of the material, not buried deeply within it. Focal point is measured from the surface of the tray up. So if you set a minimum thickness value, you were focusing deep inside the material.
Try entering that thickness correctly and it might be enough to take care of the deep engrave.
Thickness is not the depth of the cut, that is the thickness of the material on your bed for focusing the laser. You should measure from the crumb tray bed to the top of your material for the thickness setting.
The power setting is the second bar down on the interface.
A good caliper is absolutely necessary. You’re working with a machine that is very precise, don’t be afraid to buy a good caliper.
I think you may be confusing what the “thickness” measurement it.
It is the actual height of the material you are lasering. Since you put in a measurement of .01, you basically told the laser that the pen was the thickness of a piece of paper and all the energy was focused at the top of the tray. You need to tell the GF how high the pen is so you can focus the laser in the right place. You just need to measure how thick the pen is at the place you want to laser. It’s hard to do without calipers like in the picture though as the measurement has to be accurate.
For the lightest engrave you would use 1000 speed, power 1 AND put in the thickness of the pen.


(Opps, I should have put in the same number shown on the caliper (.11)
Oh man, did you take pictures of your hand pointing at the screen?! The ingenuity of non-technical people always amazes me. 
Ok, that makes sense, I was thinking the reverse. Thanks
