HA! I’m here at work trying very hard not to laugh too loud. 
5 Likes
Me too! (And failing.) 
3 Likes
Sort of. The surface of the material has to be at or above the crumb tray level. But no more than a half inch on top of that. So you have to pull the tray and shim up anything between 1/2 and 1 1/2 inches thick. Then if it’s not PG you have to tell it how thick the material is above the crumb tray level.
Not a huge deal and made pretty easy by using the drop down front door to pull the tray and add your shimming. I have stacks of 1/8 & 1/4" Baltic Birch so it’s not hard to grab a stack and the ability of the GF to focus means I don’t have to be spot-on with shims being exactly 11/2" or whatever - just need to get the surface in the range of 1.5-2" from the bottom.
3 Likes
That’s a neat idea, thanks for sharing and experimenting!
Thank you for sharing that.
Does anyone know if I am mistaken in thinking that once the continuous autofocus is finished that the cameras would be able to detect material thickness or will we be manually telling the glowforge with each job?
Still, sounds like pee-pee face. Lol…they need to change the name of the compound.
Poor Gout sufferers, as well!!
2 Likes
I might be wrong, but I think the manual thickness that we are entering up front is primarily to help focus the lid camera for placement of the cuts on the material.
Once the Glowforge starts cutting, it takes a starting thickness measurement of the material using the camera in the printhead. I believe that is the one that modifies the focal point to adjust for the actual thickness of the material.
It does that now. If you put in a piece of warped material, the cut still tends to stay very consistent…just did one this morning and it came out fine.
As far as needing to focus the lid camera for placement before the cut, that information is coded into the QR codes for the various Proofgrade materials. So if you don’t have a QR code, you need to add it in manually.
3 Likes
Cool. I have a few friends that would love some custom dice. I’ll have to remember this one.
We use a 32.5% solution of urea for the ‘diesel exhaust fluid’ Tier 4 diesel emissions standards to limit nitrous oxide emissions. Most diesel engines in the US started using it in 2010 for their exhaust aftertreatment.
Wasn’t that what got VW in trouble? They claimed their diesel engine design didn’t need that in order to meet clean emissions. Then it turned out that it was all computer trickery when being tested.
VW ‘cheated’ by using programming in their engine control module to run better fuel fuel economy at the expense of NOX emissions EXCEPT when the engine detected emissions testing was taking place. In the event that testing was detected it ran engine programming designed for better emissions rather than fuel economy.
1 Like
Score one for @ian ![]()
And I believe the reason they did that was to avoid having to add a urea scrubber to the engine like Mercedes and others did.
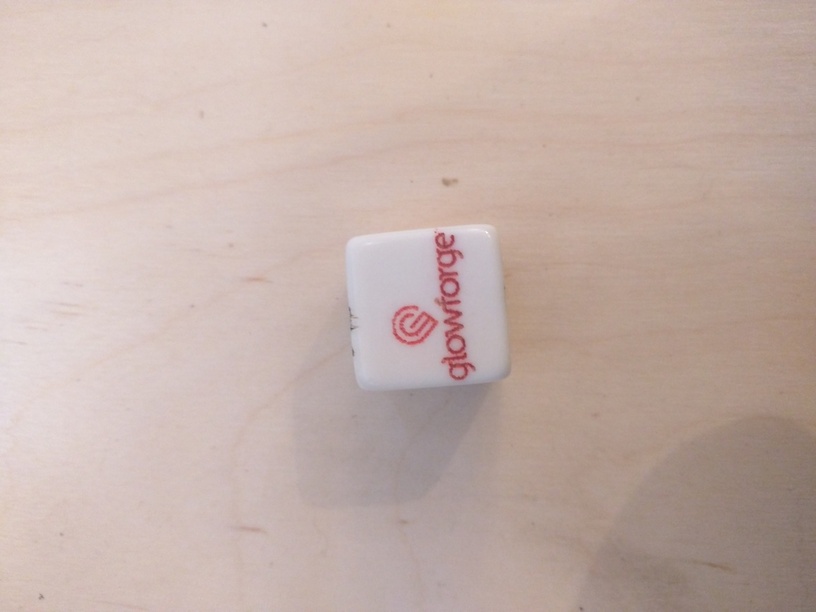
Okay so I’m reply to my own post here but I tried the paint pen trick with the die from last night. This first face is the lightest etch from above. Did a red smear of a chisel tip paint pen on the face and then wiped it off with a napkin. Still had some rest staining of the surrounding white so I followed it up with an alcohol wipe. BTW, the little lines on the top of the red face are actually part of the engrave from the other side - it was right up against the edge and engraved over the rounded edge a hair.
This next one is using a black paint pen in the lighter of the two Orodurin engraves. Same wipe with a paper towel followed by an alcohol wipe.
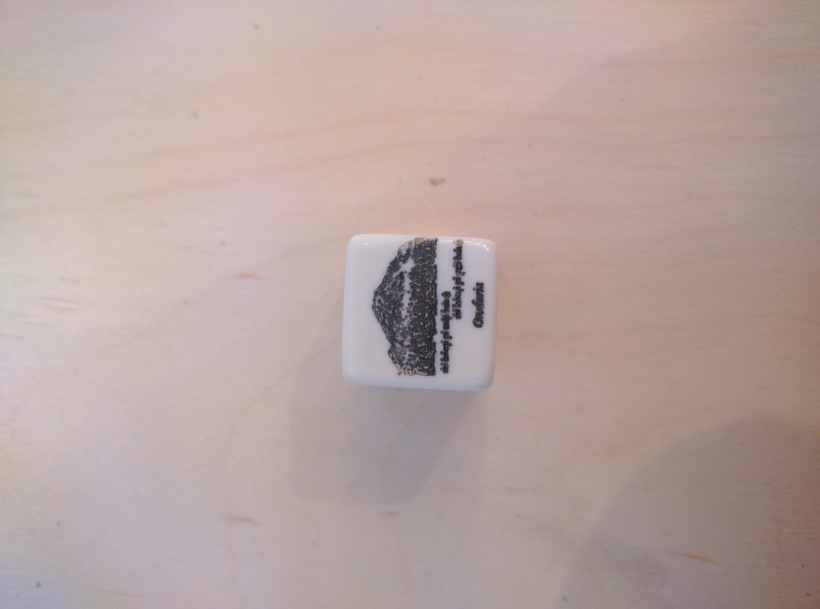
In both, the paint stayed in the engrave but wiped/washed off the rest. Pretty sure I wouldn’t bother to mask dice before engraving even if I wanted to color the engrave.
20 Likes
In my personal hopper: some kind of low-profile tray with sawtooth shims, like the old quoins for letterpress printing.
Not sure what those are but you’ve given me a great idea. A set of stepped (sawtooth) blocks where the steps are maybe quarter inch increments. Slide them under a flat plate (or sacrificial piece of plywood) resting on the step needed to get the desired height. I think I’ll cut some out tomorrow night and see how it works.
AWESOME! My kids love the Rory Story Cubes for making up their own stories in the car, and I always wished they had some specific icons on them for the kids to work with—now I’ll be able to make my own custom cubes for it—so cool! Thanks for sharing.
1 Like
I never heard of those before the thread here a couple of weeks ago.
Then I thought of making a version for grown-ups. ![]()
2 Likes
Yep, pretty much. My ultimate plan was for the blocks to act as legs of some kind of little frame that you could either put a flat piece of plywood on, or a piece with whatever kind of cutout was needed for the thing being engraved.
Now I think about it, you could also get away with some blocks that just had a set of slots so they could grab the outside of the sacrificial piece of ply. Stagger the slots on opposite side of the block for finer adjustment.
This seems to be the biggest fault on the GF for me, the really low height of materials.